How To Make Tahini
This homemade tahini recipe with only 1 ingredient is easy to make and so much better than store-bought! Use it to make hummus, tahini sauce, or drizzle it on avocado toast!
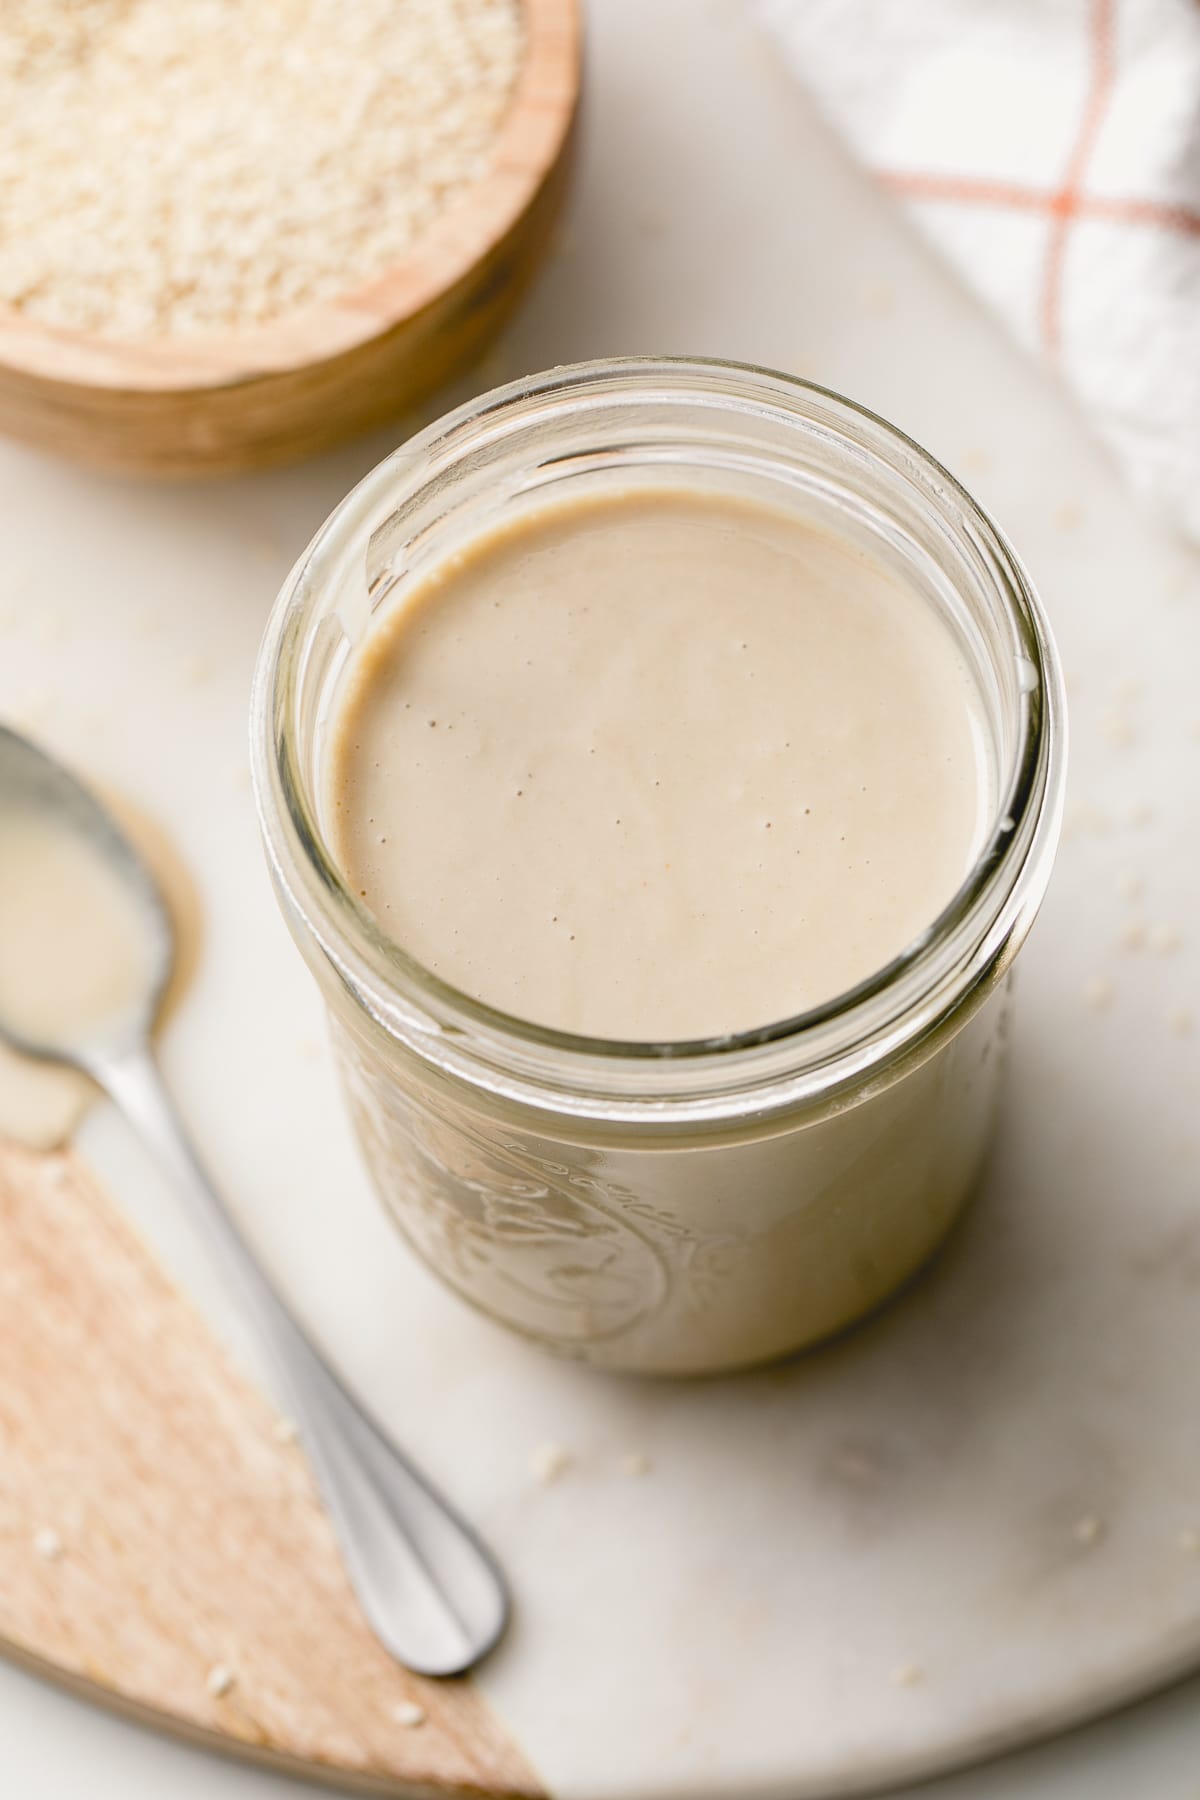
Tahini is a staple ingredient in Mediterranean and Middle Eastern cuisine, most notably, it is the main ingredient in traditional hummus.
Since I make homemade Almond Butter from scratch – I thought, why not make homemade tahini? And of course, it turned out just as good, if not better than store-bought, because I made it myself!
If you love tahini, you will love how simple and easy this homemade recipe is. With just 1 ingredient, it’s accessible, affordable, and so easy to make at home!
So without further ado, let’s get to it!
Ingredient Notes
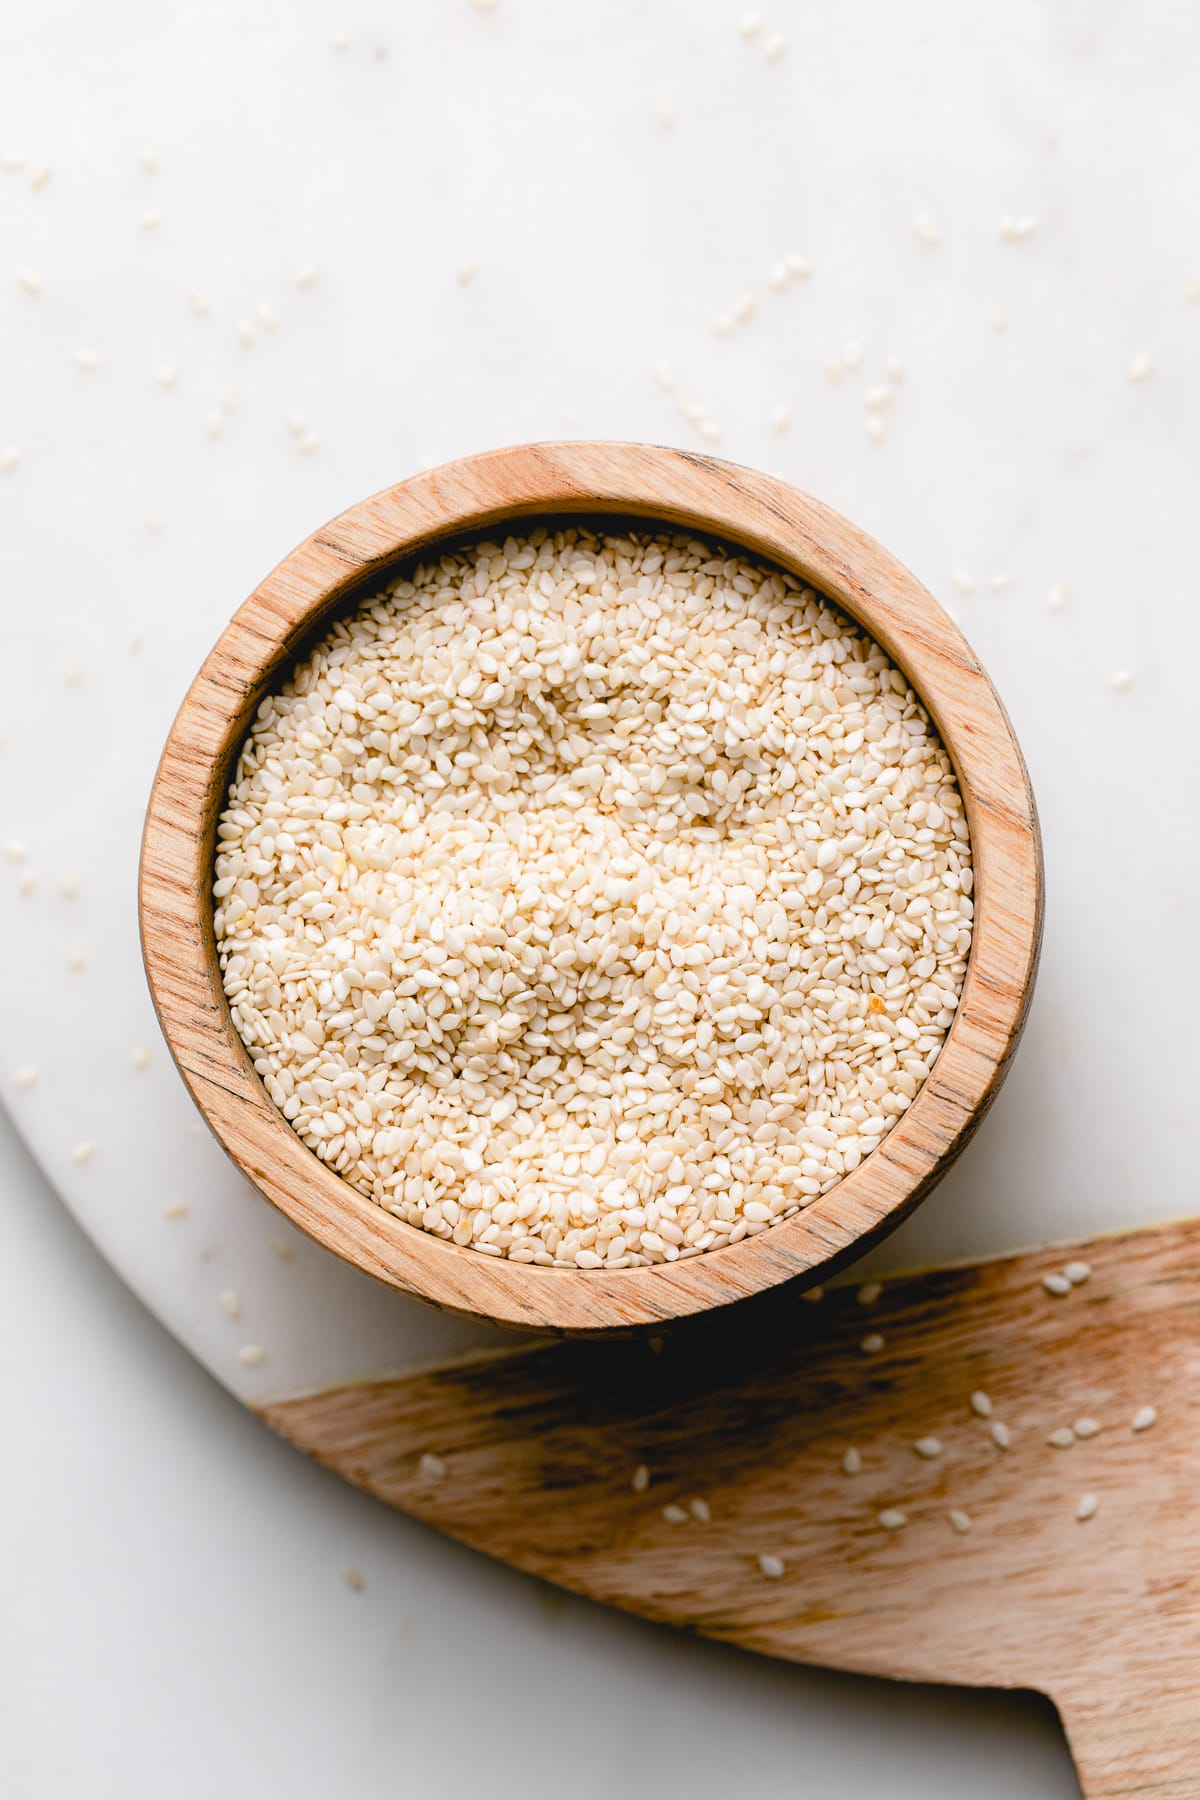
Tahini is made with unhulled or hulled sesame seeds (white or black). Unhulled sesame seeds contain more vitamins and minerals, but hulled are less bitter in taste. You can lightly toast the sesame seeds or use them raw (I typically use raw). Some tahini recipes add oil, but I prefer my tahini to be oil-free. It doesn’t need anything other than sesame seeds and maybe a pinch of salt!
Sesame seeds can be found at most large grocery stores. Some stores sell them in the bulk section. Also, you can purchase them online. For this recipe, I’ve used Bob’s Red Mill Sesame Seeds. I also recommend Anthony’s Hulled Sesame Seeds from Amazon (affiliate link).
Is tahini healthy? Yes, not only is tahini delicious and versatile, but it’s healthy and nutritious. The main ingredient, sesame seeds, are rich in calcium and important B vitamins! Plus, they contain essential omega 3 & 6 and beneficial trace elements like copper, magnesium, iron, phosphorus, and manganese. Read more about healthy benefits at Healthline.com.
What does tahini taste like? Tahini has a nutty flavor with a slight bitterness and tends to be an acquired taste. Once you become accustomed to its unique flavor, you will fall in love and want to use it in just about everything!
How To Make Tahini
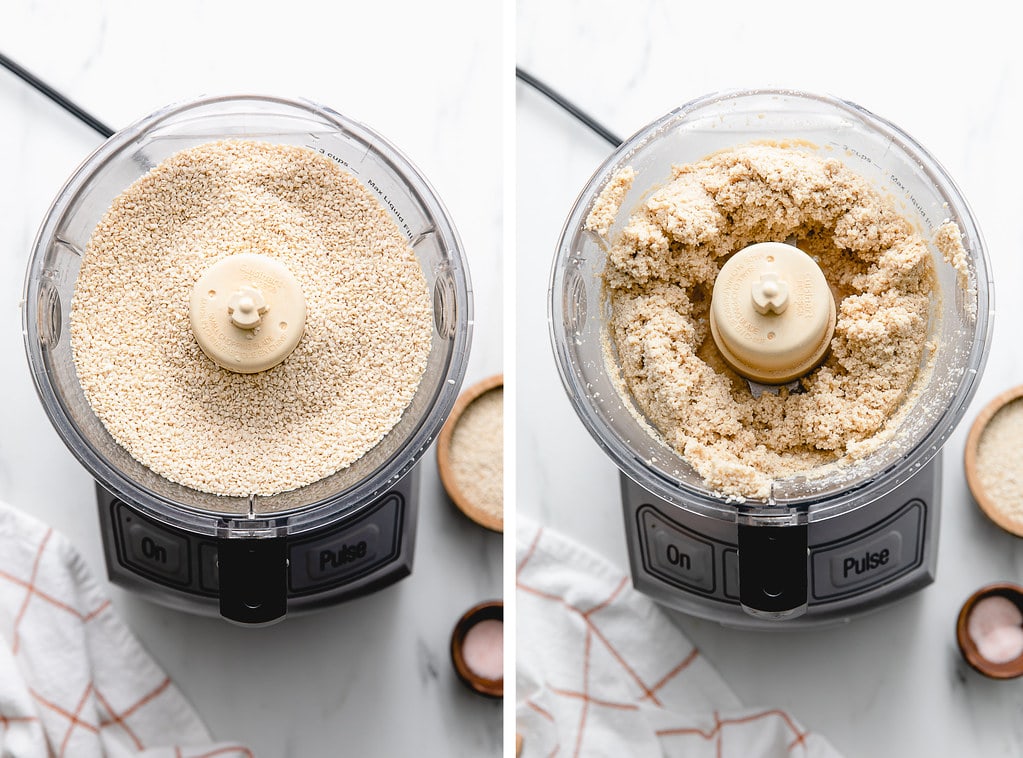
Here is a quick overview of what you can expect with photos for reference. The process is similar whether using a food processor or blender.
- Add the sesame seeds, about 3 cups, to the cup of a food processor or high-speed blender cup, and start processing. You can also add the optional salt and/or garlic powder at this time.
- After about 3 – 4 minutes, the sesame seeds will start to clump together, as shown above right.
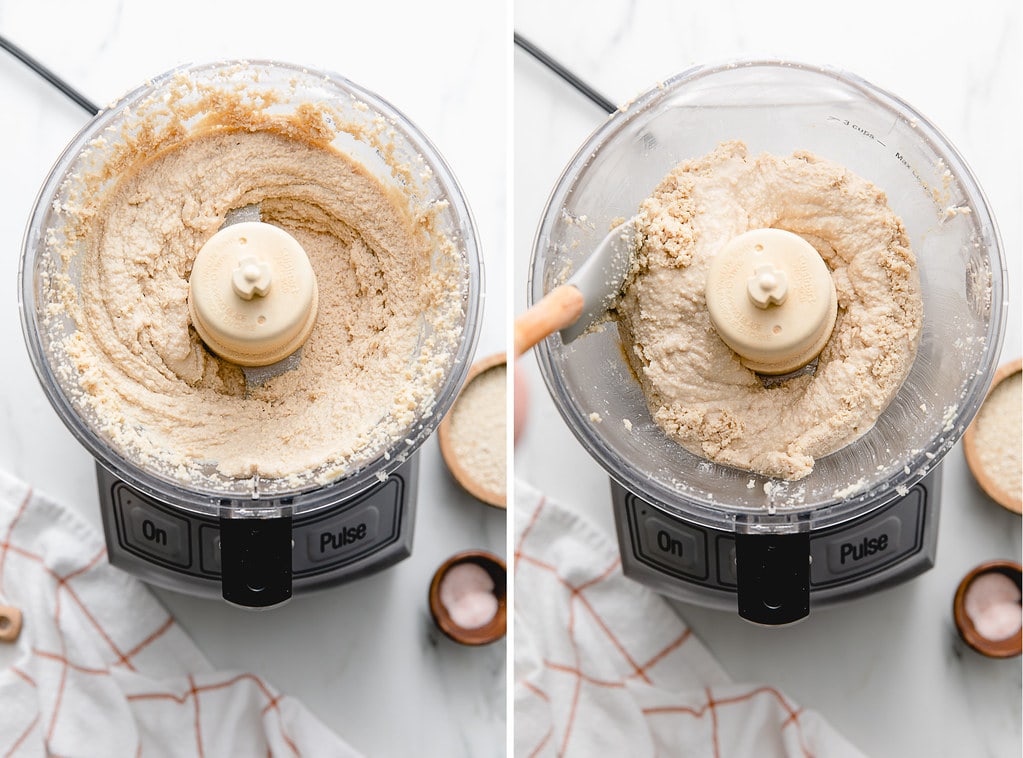
- After 5 – 6 minutes, the sesame seeds are starting to warm up and turn into a paste (above left). Every so often, stop and scrape down the sides with a spatula.
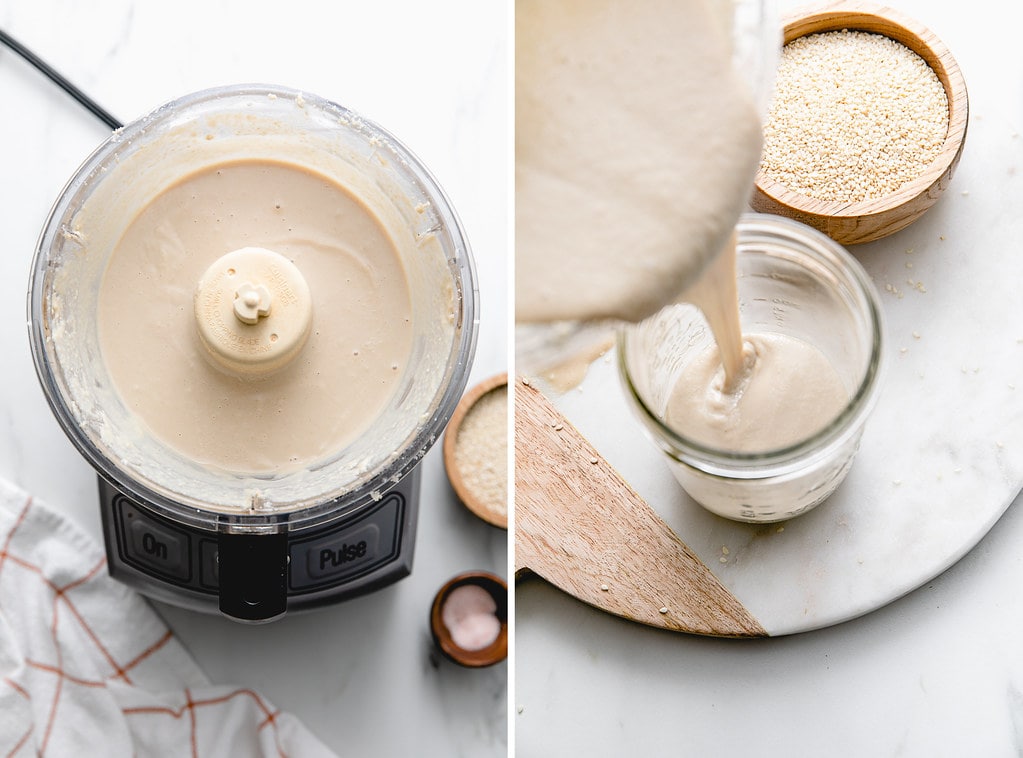
- And after 8 – 10 minutes you’ll have yourself a creamy paste!
And that’s it – the hardest part is cleaning up!
Top Tips
- Seed-to-paste ratio. 2 cups of sesame seeds will yield about 1 cup of tahini.
- Use good equipment. Tahini is best suited for equipment with a good motor. I used the small bowl of the Elite 12-cup Cuisinart (affiliate link). It is a workhorse in the kitchen! A high-speed blender such as a Vitamix or Blendtec meant for making nut and seed butter will also do the job with ease. But you can still make tahini if you don’t have high-speed equipment. It just may not be as creamy and take a little extra time.
- Add garlic. When adding the sesame seeds, add 1/2 – 1 teaspoon of garlic powder for a delicious garlic flavor tahini paste.
- Using a blender is the quickest method. If using a high-speed blender, you can cut the processing time in half. Process the sesame seeds at medium speed. I recommend adding oil if using a blender.
- Process longer for ultra-smooth tahini. Blend for an extra 5 minutes for an ultra-creamy paste. Even if it’s not completely smooth, it will still be delicious!
How To Store
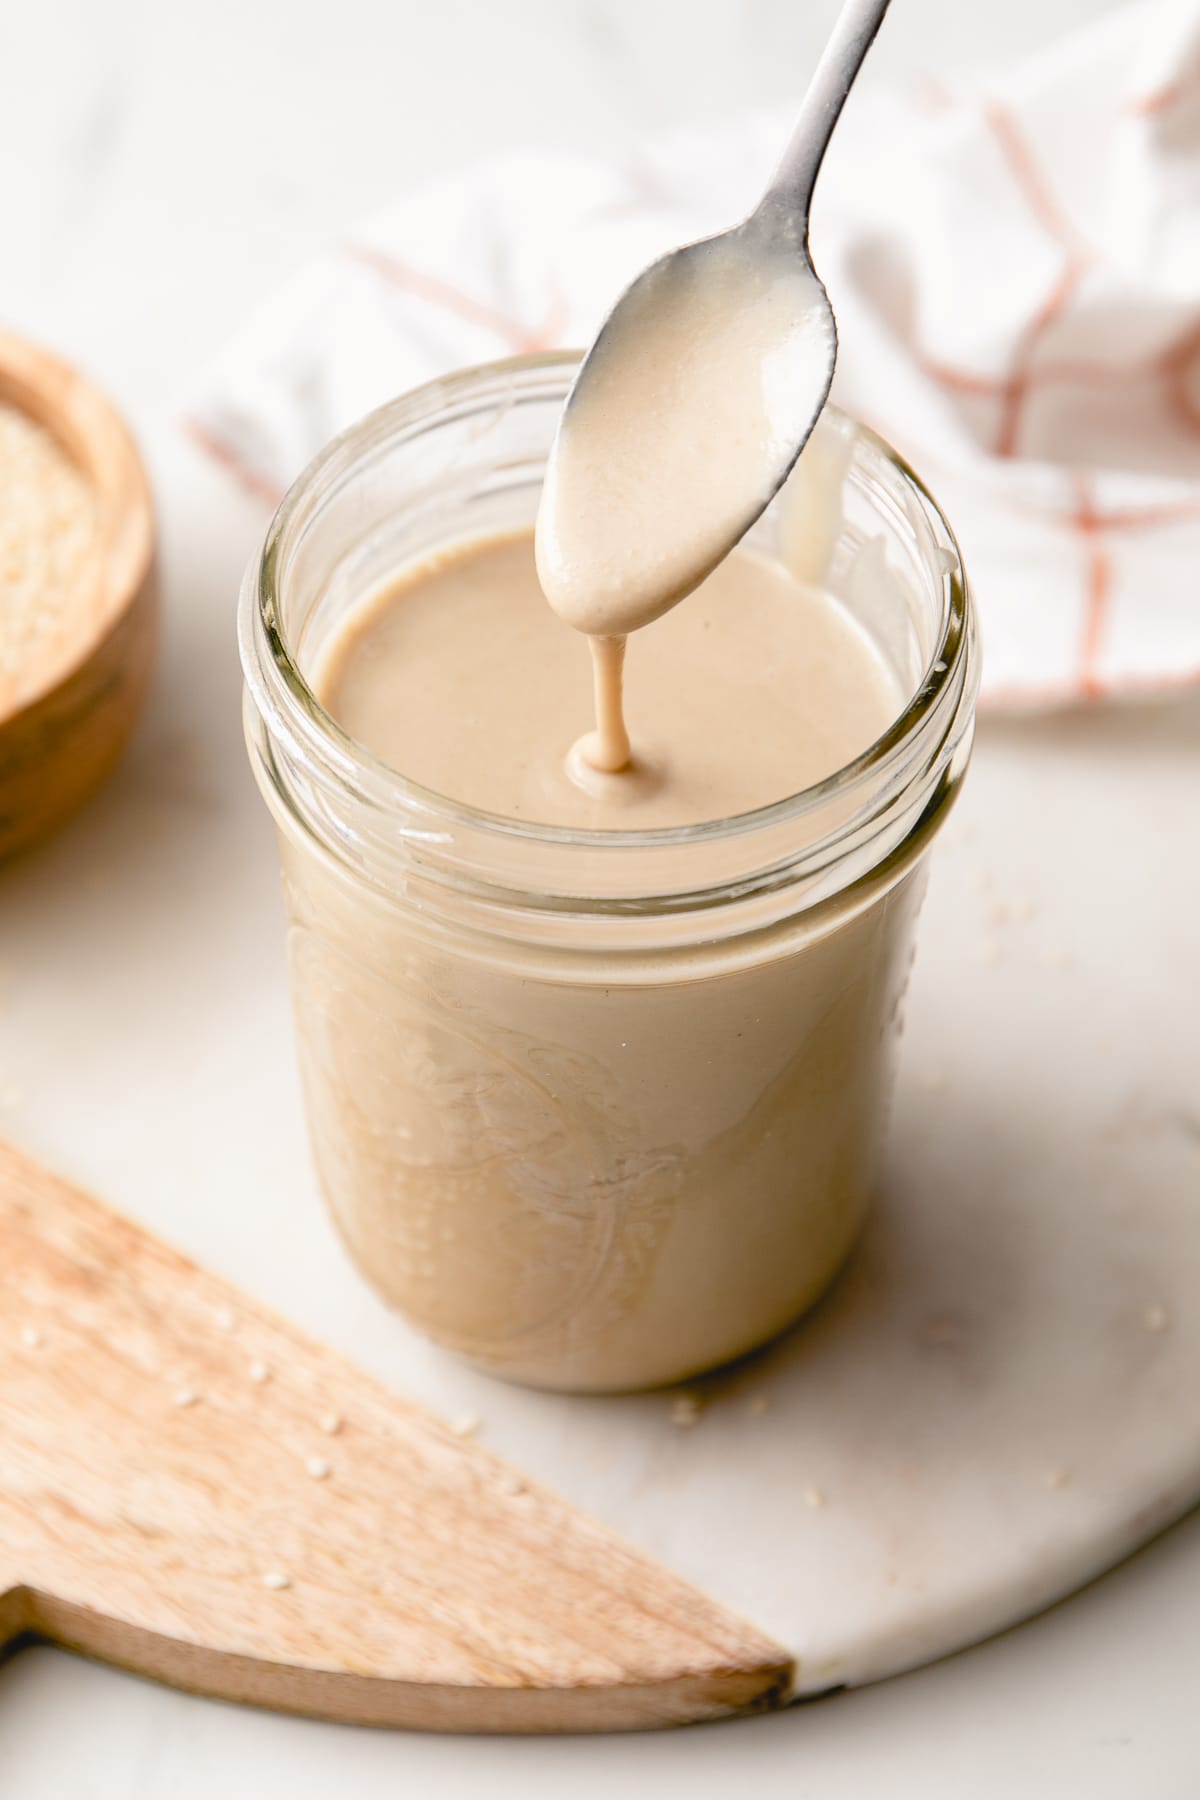
- Pantry: Tahini paste can be stored in the pantry for 1 – 2 months in an airtight container. If it separates, give it a good stir before using. If you notice any funny smells or mold, discard it immediately (I’ve never had this issue, but I mention it just in case).
- Refrigerator: I generally keep my tahini in the refrigerator to preserve maximum freshness. It will last for up to 6 months.
Ways to Use Tahini Paste
Now that you’ve made this versatile condiment, here are a few favorite ways to use it!
- Hummus: It’s perfect for this Favorite Hummus and Simple White Bean Hummus.
- Binder: Use it as a binder for this ‘Chickpea of the Sea’ Tuna Salad Sandwich or Stuffed Avocados.
- Soup thickener: It’s a great thickener for soups like this delicious Lemon Rosemary White Bean Soup or Lemon Chickpea Orzo Soup, adding a wonderful creamy butteriness!
- Tahini sauce + dip: You can also use it to make creamy Tahini Sauce, Lemon Tahini Dressing, and Tahini Miso Dip, which can also be used as a spread for sandwiches.
- Favorite flavor pairings: Tahini pairs well with flavors like lemon, miso, cumin, parsley, cilantro, garlic, etc.
If you try this sesame seed recipe or have a question, please let me know! Leave a comment and rate it below. I love to hear what you think, or any changes you make.
Homemade Tahini
Quick, easy, and oil-free, this homemade tahini recipe is an essential and versatile ingredient to add to your healthy lifestyle!
- Prep Time: 15 min
- Total Time: 15 minutes
- Yield: Makes 1 1/2 cups 1x
- Category: Condiment
- Method: blender, food processor
- Cuisine: Mediterranean, Vegan
Ingredients
- 3 cups hulled sesame seeds (1 lb.) (I used Bob’s Red Mill)
optional ingredients
- generous pinch of salt, or to taste
- 1 1/2 – 2 tablespoons oil (sesame, light olive oil, avocado, canola, etc.) *see notes
- 1/2 – 1 teaspoon garlic powder
Instructions
First, you may want to toast your seeds to bring out the most flavor, but this is optional. You want your seeds to become fragrant and slightly darker during the process.
Toast your seeds one of two ways:
- Preheat oven to 350. Place seeds on a roasting pan or rimmed cookie sheet and roast for about 10 – 15 minutes making sure to move them around every few minutes so the seeds on the bottom don’t burn.
OR
- Dry roast over medium-low heat in a skillet using one cup at a time (add more or less depending on your skillet). Be sure to move the seeds around frequently to ensure that they don’t burn.
Process the sesame seeds: Once you have toasted your seeds and they have cooled a bit, place them in your food processor or high-speed blender (add optional salt/garlic powder), and process until creamy, stopping to scrape down the sides a few times. The process will take approximately 5 – 10 minutes to blend, depending on your equipment (see notes).
Makes about 1 1/2 cups.
Store: Keep in the pantry for 1 month (maybe more) in an airtight container. For maximum freshness, store it in the fridge for up to 6 months.
Notes
Seed-to-paste ratio. 2 cups of sesame seeds will yield about 1 cup of tahini.
Use good equipment. I recommend a food processor or high-speed blenders such as Vitamix or Blend-Tec that is made for making nut and seed butter. Even if your blender doesn’t mention that it can make nut and seed butter, you can still make tahini. It just may not be creamy and take a little extra processing time.
Make garlic tahini. When adding the sesame seeds, add 1/2 – 1 teaspoon of garlic powder for a delicious garlic flavor sesame seed paste.
Using a blender is the quickest method. If using a high-speed blender, you can cut the processing time in half. Process the sesame seeds at medium speed. I recommend adding oil with the blender method.
Process extra for ultra-smooth paste. For ultra-creamy tahini, let the paste continue to blend for an extra 5 minutes. Don’t worry if it doesn’t become completely smooth, it will still be delicious!
Adding oil. This will help it process faster. I would use 1 tablespoon of oil for every 2 cups of sesame seeds used. Add oil once the sesame seeds start to clump together. If using a blender, I recommend adding oil.
FOLLOW TSV on Facebook, Instagram, Pinterest, Youtube, Subscribe (email), or RSS for more recipes and inspiration!

I’m commenting because I had tried to make tahini using some other recipe. It was a huge failure, floating in all the oil I kept adding because it just didn’t seem to be coming together. Ultimately, I think it was because I hadn’t had much experience using a food processor, but following your excellent instructions, complete with the very helpful photos, I was able to make tahini the way it should be. I was doubtful to try it, considering what an awful failure I had the first time. I never would have guessed that all I had to do was let the food processor keep running and do its job. I can’t thank you enough for doing such a great job of posting this information.
Thank you so much, Denise! Your comment has made my day. I’m so glad you found this to be helpful and had success making tahini! Cheers :)
Hi. I’m in a different country and tried making making my own tahini some years ago from white sesame seeds. I was very disappointed at how bitter it turned out. I would never have attempted to do it again had I not come across the suggestion somewhere online to pre-soak your sesame seeds overnight and then rinse and pat try before roasting them. This made all the difference for me, because now my tahini tasted authentic without being too bitter. We love tahini as it is wonderful to use in recipes, whether savoury or sweet.
Thank you for that information, Joanne! I will have to try that. You can also lessen the bitter taste of tahini by buying hulled sesame seeds. We prefer using those to unhulled. I hope you give that a try sometime and see if that makes a difference for you. Cheers to good tahini! :)
I’m so glad I found this recipe! I needed tahini, but didn’t want to pay $9 for a jar of it. Instead, I spent $3 on some bulk sesame seeds and 15 minutes of my time, and now I have delicious tahini! I used a mini-food processor, and didn’t add any oil or salt; I definitely had to process it a bit longer to get it smooth, and scrape more because of it, but it was well worth it!
Yay, so glad it worked well for you, Coby! I always think it’s so much better to make my own, even it’s a bit of work. Enjoy :)
This turned out great, I used a mini food processor [ can you believe it worked } I did have to pulse to get seeds warmed up , and lots of start, scrape, start but it worked great!
Thank you for this quick and easy to follow recipe!
Simple and delicious! Love it :)