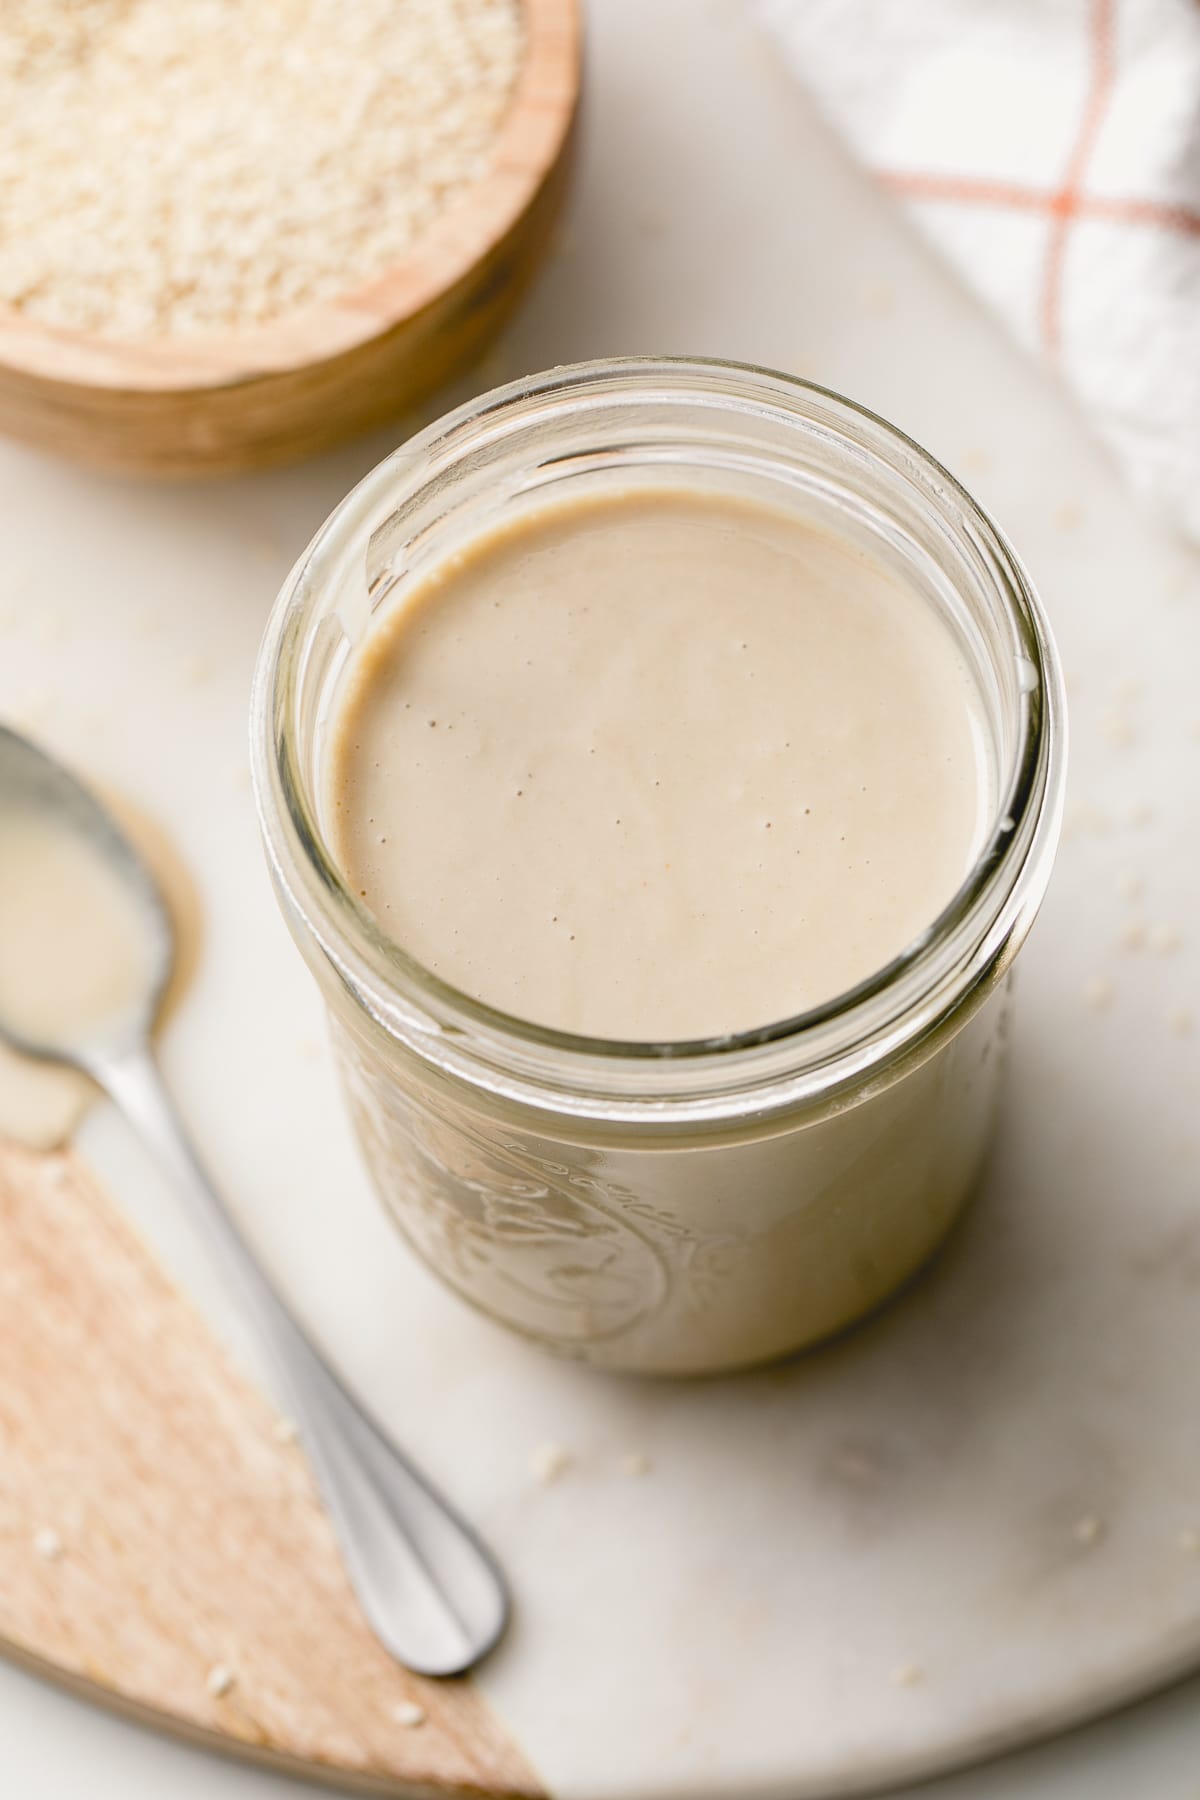
How To Make Tahini
This homemade tahini recipe with only 1 ingredient is easy to make and so much better than store-bought! Use it to make hummus, tahini sauce, or drizzle it on avocado toast!
Tahini is a staple ingredient in Mediterranean and Middle Eastern cuisine, most notably, it is the main ingredient in traditional hummus.
Since I make homemade Almond Butter from scratch – I thought, why not make homemade tahini? And of course, it turned out just as good, if not better than store-bought, because I made it myself!
If you love tahini, you will love how simple and easy this homemade recipe is. With just 1 ingredient, it’s accessible, affordable, and so easy to make at home!
So without further ado, let’s get to it!
Ingredient Notes
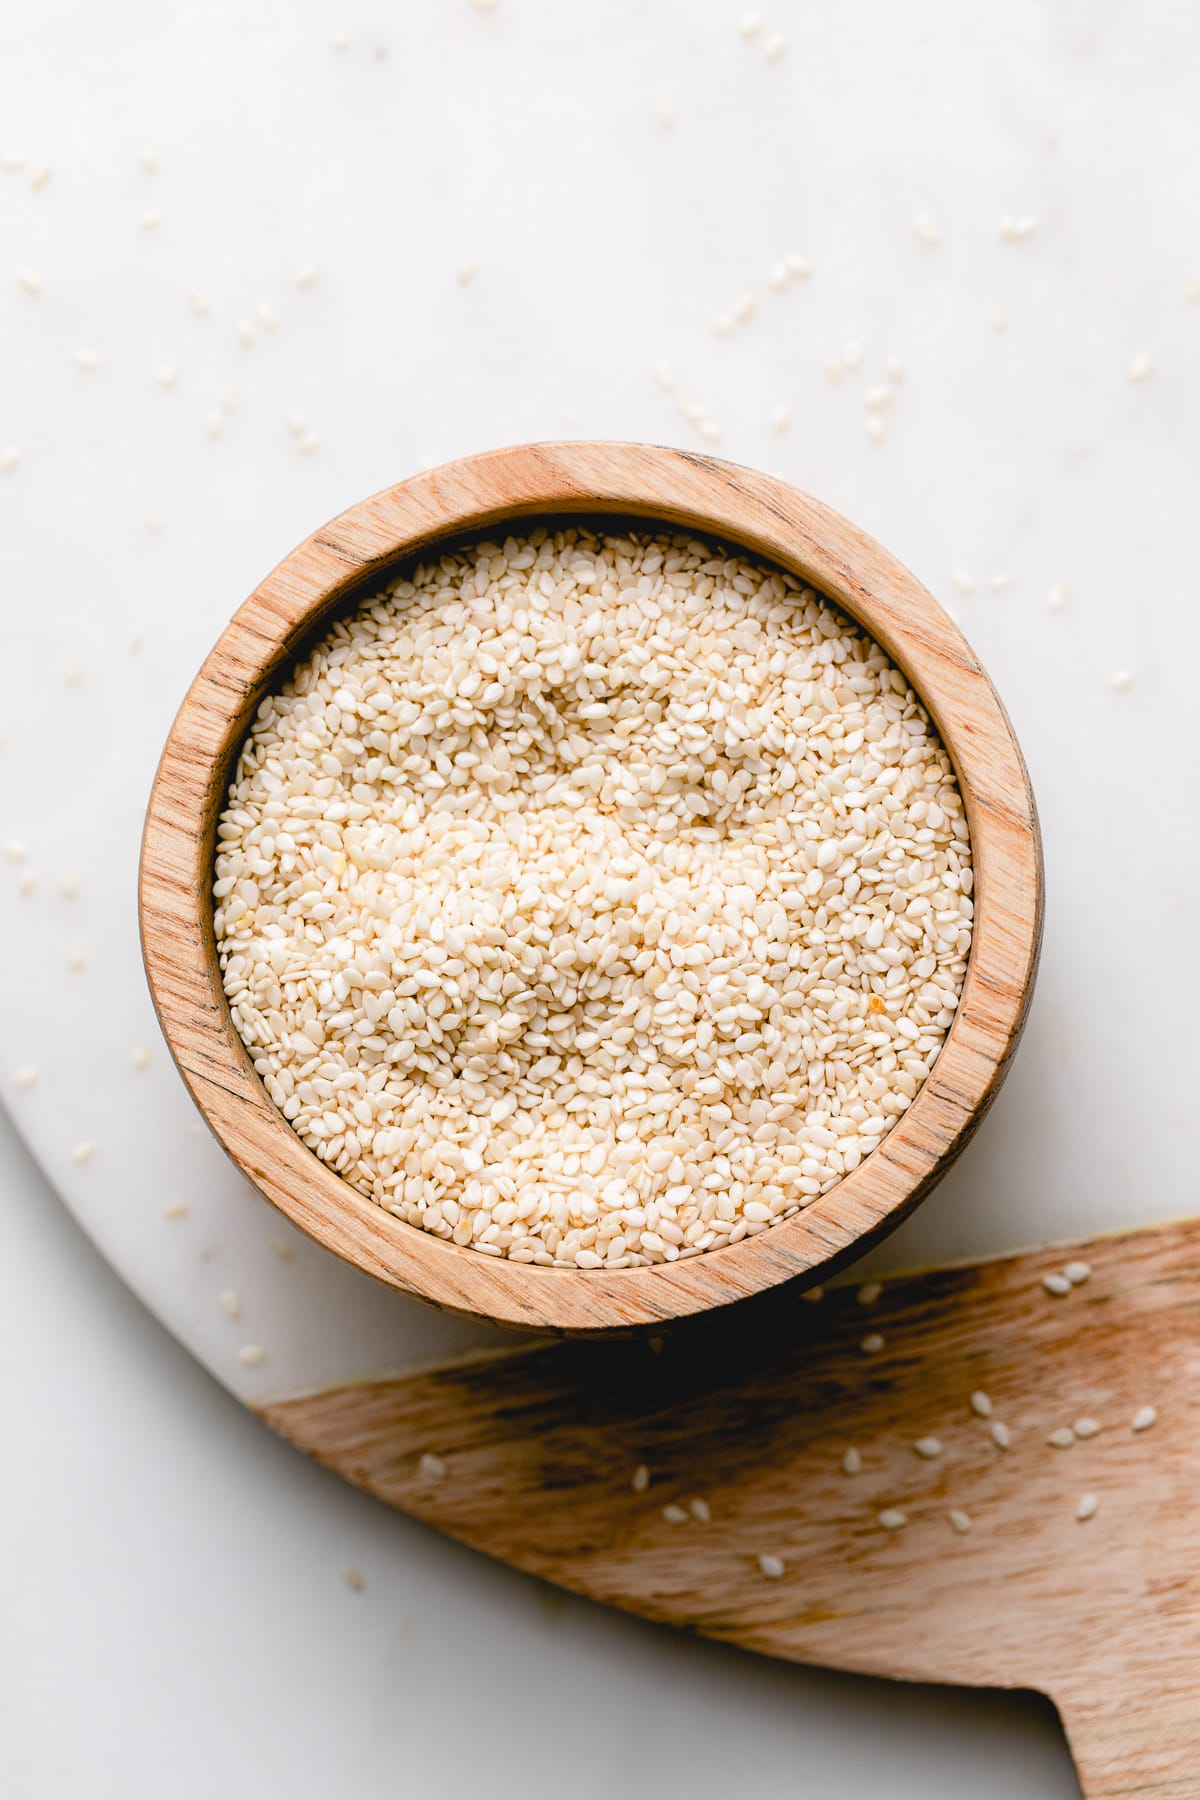
Tahini is made with unhulled or hulled sesame seeds (white or black). Unhulled sesame seeds contain more vitamins and minerals, but hulled are less bitter in taste. You can lightly toast the sesame seeds or use them raw (I typically use raw). Some tahini recipes add oil, but I prefer my tahini to be oil-free. It doesn’t need anything other than sesame seeds and maybe a pinch of salt!
Sesame seeds can be found at most large grocery stores. Some stores sell them in the bulk section. Also, you can purchase them online. For this recipe, I’ve used Bob’s Red Mill Sesame Seeds. I also recommend Anthony’s Hulled Sesame Seeds from Amazon (affiliate link).
Is tahini healthy? Yes, not only is tahini delicious and versatile, but it’s healthy and nutritious. The main ingredient, sesame seeds, are rich in calcium and important B vitamins! Plus, they contain essential omega 3 & 6 and beneficial trace elements like copper, magnesium, iron, phosphorus, and manganese. Read more about healthy benefits at Healthline.com.
What does tahini taste like? Tahini has a nutty flavor with a slight bitterness and tends to be an acquired taste. Once you become accustomed to its unique flavor, you will fall in love and want to use it in just about everything!
How To Make Tahini
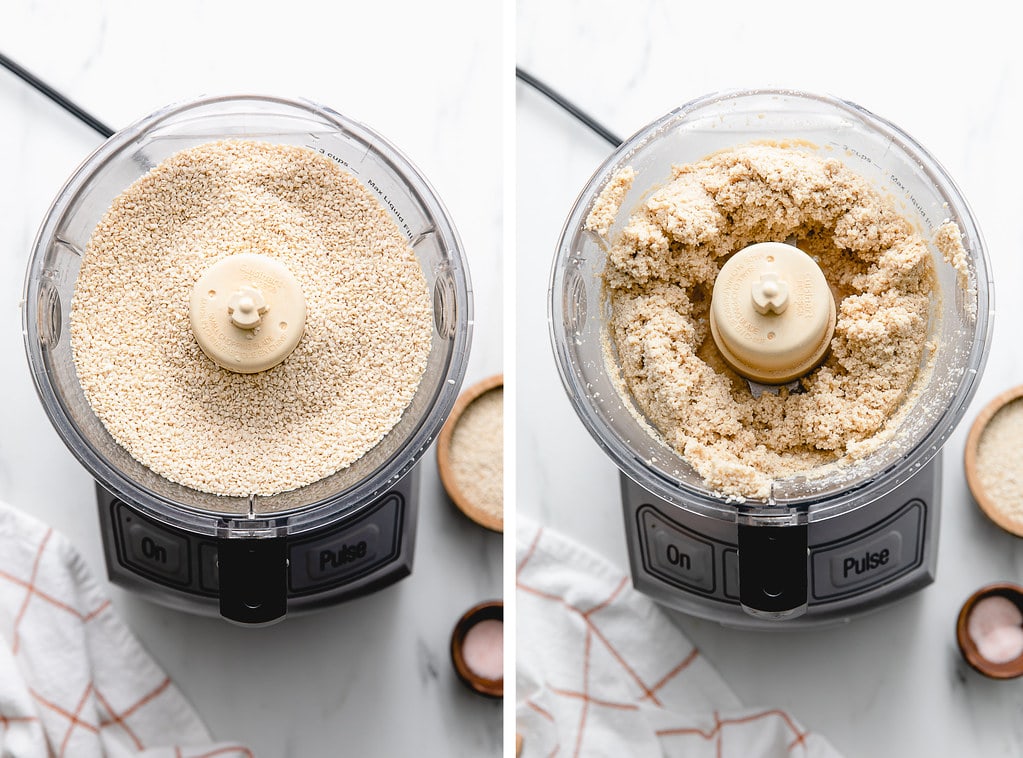
Here is a quick overview of what you can expect with photos for reference. The process is similar whether using a food processor or blender.
- Add the sesame seeds, about 3 cups, to the cup of a food processor or high-speed blender cup, and start processing. You can also add the optional salt and/or garlic powder at this time.
- After about 3 – 4 minutes, the sesame seeds will start to clump together, as shown above right.
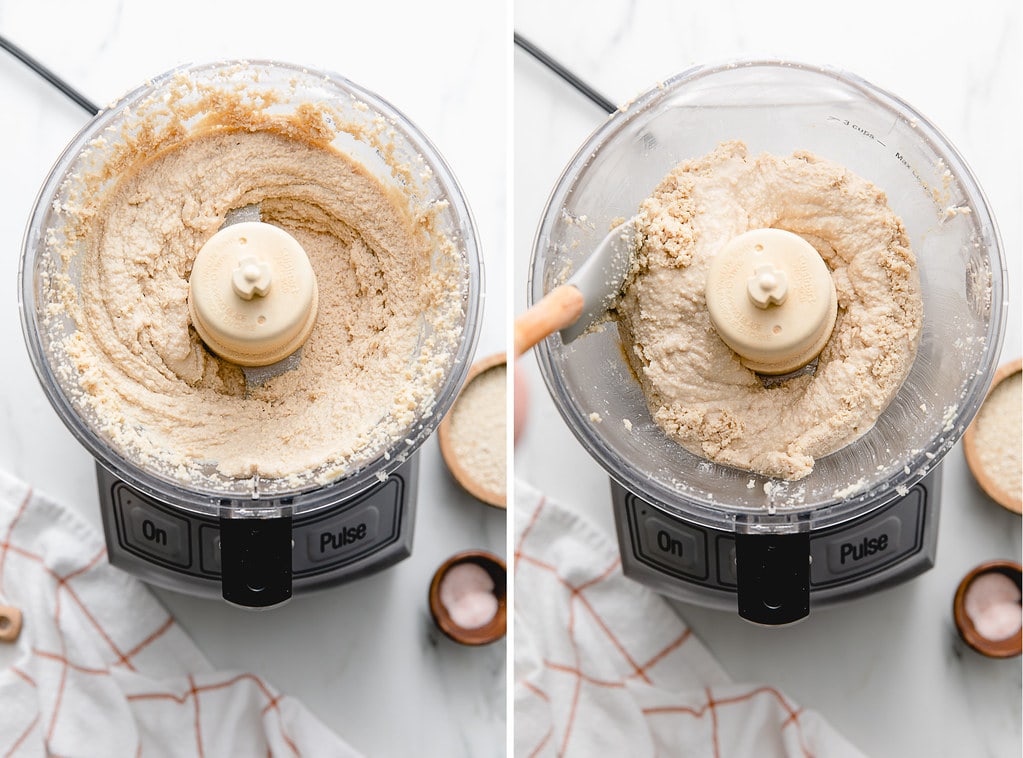
- After 5 – 6 minutes, the sesame seeds are starting to warm up and turn into a paste (above left). Every so often, stop and scrape down the sides with a spatula.
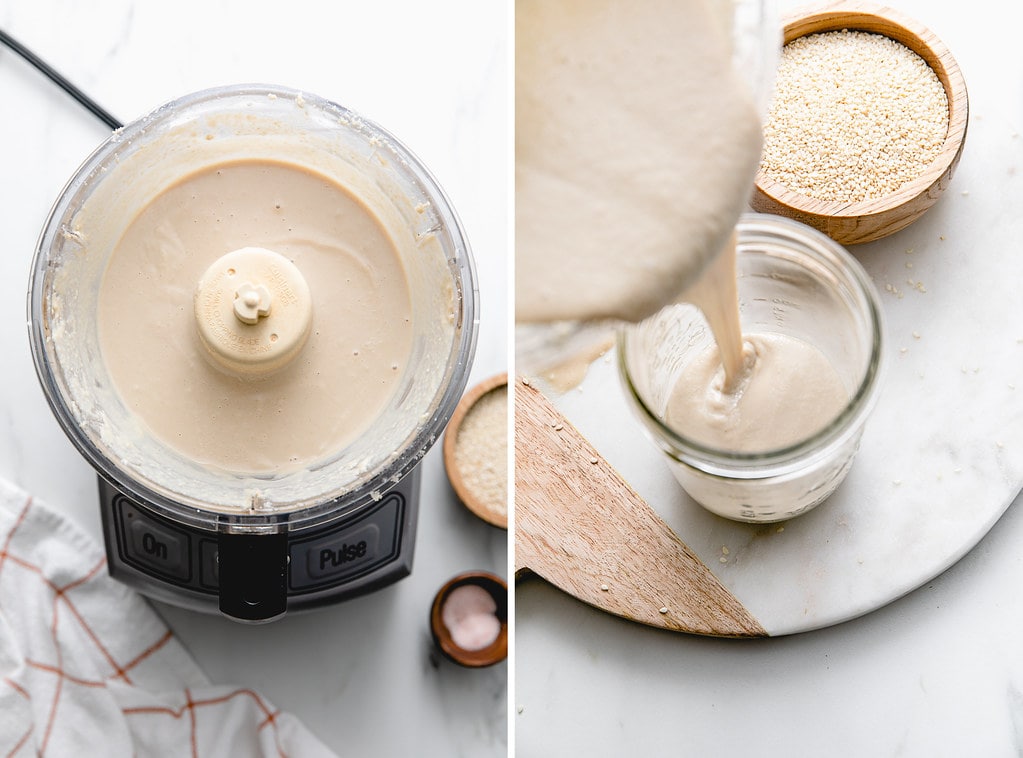
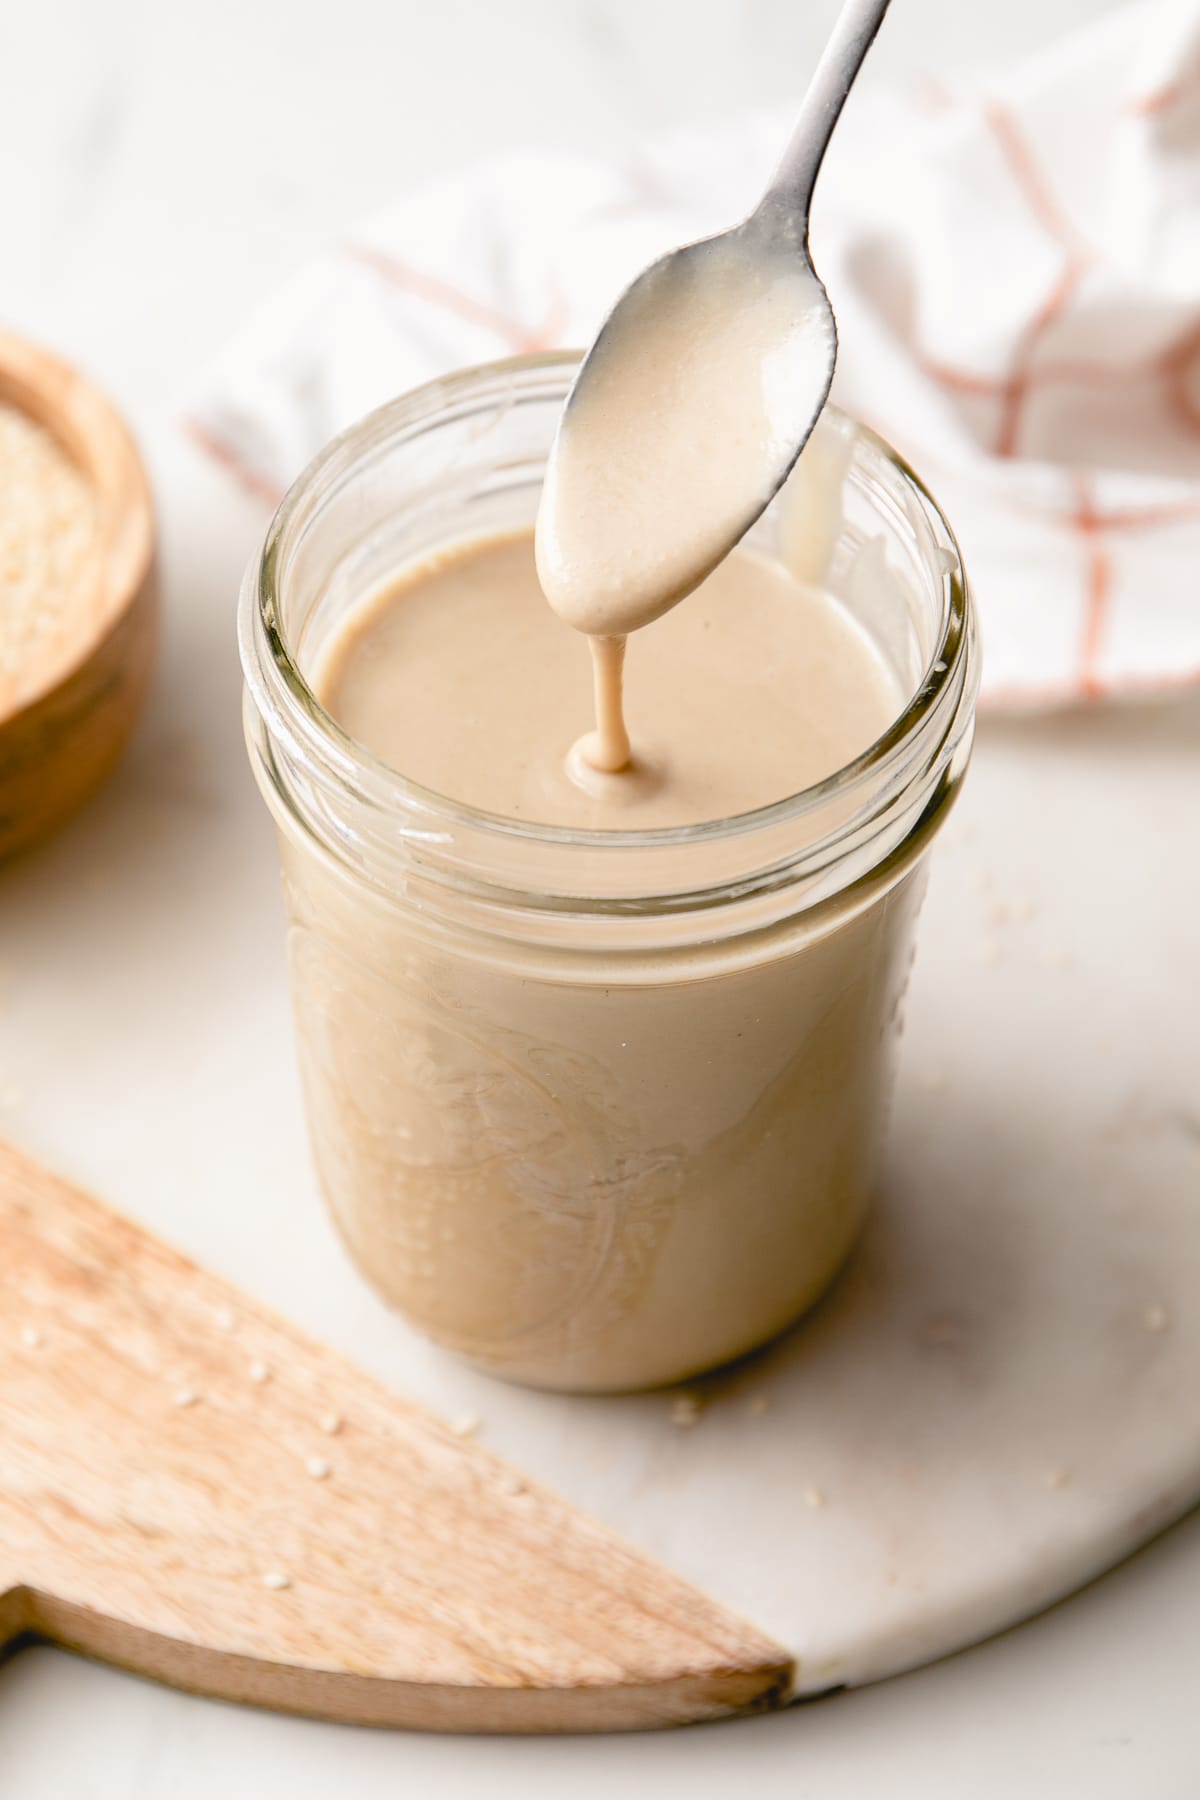
- And after 8 – 10 minutes you’ll have yourself a creamy paste!
And that’s it – the hardest part is cleaning up!
Top Tips
- Seed-to-paste ratio. 2 cups of sesame seeds will yield about 1 cup of tahini.
- Use good equipment. Tahini is best suited for equipment with a good motor. I used the small bowl of the Elite 12-cup Cuisinart (affiliate link). It is a workhorse in the kitchen! A high-speed blender such as a Vitamix or Blendtec meant for making nut and seed butter will also do the job with ease. But you can still make tahini if you don’t have high-speed equipment. It just may not be as creamy and take a little extra time.
- Add garlic. When adding the sesame seeds, add 1/2 – 1 teaspoon of garlic powder for a delicious garlic flavor tahini paste.
- Using a blender is the quickest method. If using a high-speed blender, you can cut the processing time in half. Process the sesame seeds at medium speed. I recommend adding oil if using a blender.
- Process longer for ultra-smooth tahini. Blend for an extra 5 minutes for an ultra-creamy paste. Even if it’s not completely smooth, it will still be delicious!
How To Store
- Pantry: Tahini paste can be stored in the pantry for 1 – 2 months in an airtight container. If it separates, give it a good stir before using. If you notice any funny smells or mold, discard it immediately (I’ve never had this issue, but I mention it just in case).
- Refrigerator: I generally keep my tahini in the refrigerator to preserve maximum freshness. It will last for up to 6 months.
Ways to Use Tahini Paste
Now that you’ve made this versatile condiment, here are a few favorite ways to use it!
- Hummus: It’s perfect for this Favorite Hummus and Simple White Bean Hummus.
- Binder: Use it as a binder for this ‘Chickpea of the Sea’ Tuna Salad Sandwich or Stuffed Avocados.
- Soup thickener: It’s a great thickener for soups like this delicious Lemon Rosemary White Bean Soup or Lemon Chickpea Orzo Soup, adding a wonderful creamy butteriness!
- Tahini sauce + dip: You can also use it to make creamy Tahini Sauce, Lemon Tahini Dressing, and Tahini Miso Dip, which can also be used as a spread for sandwiches.
- Favorite flavor pairings: Tahini pairs well with flavors like lemon, miso, cumin, parsley, cilantro, garlic, etc.
If you try this sesame seed recipe or have a question, please let me know! Leave a comment and rate it below. I love to hear what you think, or any changes you make.
Homemade Tahini

Quick, easy, and oil-free, this homemade tahini recipe is an essential and versatile ingredient to add to your healthy lifestyle!
- Prep Time: 15 min
- Total Time: 15 minutes
- Yield: Makes 1 1/2 cups 1x
- Category: Condiment
- Method: blender, food processor
- Cuisine: Mediterranean, Vegan
Ingredients
- 3 cups hulled sesame seeds (1 lb.) (I used Bob’s Red Mill)
optional ingredients
- generous pinch of salt, or to taste
- 1 1/2 – 2 tablespoons oil (sesame, light olive oil, avocado, canola, etc.) *see notes
- 1/2 – 1 teaspoon garlic powder
Instructions
First, you may want to toast your seeds to bring out the most flavor, but this is optional. You want your seeds to become fragrant and slightly darker during the process.
Toast your seeds one of two ways:
- Preheat oven to 350. Place seeds on a roasting pan or rimmed cookie sheet and roast for about 10 – 15 minutes making sure to move them around every few minutes so the seeds on the bottom don’t burn.
OR
- Dry roast over medium-low heat in a skillet using one cup at a time (add more or less depending on your skillet). Be sure to move the seeds around frequently to ensure that they don’t burn.
Process the sesame seeds: Once you have toasted your seeds and they have cooled a bit, place them in your food processor or high-speed blender (add optional salt/garlic powder), and process until creamy, stopping to scrape down the sides a few times. The process will take approximately 5 – 10 minutes to blend, depending on your equipment (see notes).
Makes about 1 1/2 cups.
Store: Keep in the pantry for 1 month (maybe more) in an airtight container. For maximum freshness, store it in the fridge for up to 6 months.
Notes
Seed-to-paste ratio. 2 cups of sesame seeds will yield about 1 cup of tahini.
Use good equipment. I recommend a food processor or high-speed blenders such as Vitamix or Blend-Tec that is made for making nut and seed butter. Even if your blender doesn’t mention that it can make nut and seed butter, you can still make tahini. It just may not be creamy and take a little extra processing time.
Make garlic tahini. When adding the sesame seeds, add 1/2 – 1 teaspoon of garlic powder for a delicious garlic flavor sesame seed paste.
Using a blender is the quickest method. If using a high-speed blender, you can cut the processing time in half. Process the sesame seeds at medium speed. I recommend adding oil with the blender method.
Process extra for ultra-smooth paste. For ultra-creamy tahini, let the paste continue to blend for an extra 5 minutes. Don’t worry if it doesn’t become completely smooth, it will still be delicious!
Adding oil. This will help it process faster. I would use 1 tablespoon of oil for every 2 cups of sesame seeds used. Add oil once the sesame seeds start to clump together. If using a blender, I recommend adding oil.
FOLLOW TSV on Facebook, Instagram, Pinterest, Youtube, Subscribe (email), or RSS for more recipes and inspiration!
I tried making a small batch today (1 cup sesame seeds and 1 tablespoon extra virgin olive oil). It didn't come out like your picture. Mine had a consistency closer to a packaged thai curry paste (not sure if that helps with explaining it), its quite thick and gets stuck to the spoon. I used the blender of at least 15 minutes though, not sure what went wrong…
Not sure either, maybe blending a little longer would've done the job. Mine looks ultra smooth here because it's at rest. It's a little thicker than it appears but it is no where near a thick paste, it's very spreadable. When blending and the seeds start to become pasty, you'll want the paste to warm up so the seeds will release their oils. This will help you achieve a smoother texture. Depending on your blender/food processor you may have varying results. Try once more and see if it can work for you. Hope that helps…best of luck!
Thank you Kayla! Luckily I share with OGP and that post was indeed mine. I appreciate you taking the time to let me know! Cheers :)
Thanks for the recipe. I read elsewhere that the seeds should be soaked for 4 hours to "deactivate the phytic acid to make them more digestible, and to start the sprouting process so that they are more nutritious and because it also brings out the natural oil in the seeds". Would you agree with this? Is it worth doing that step?
Thanks in advance!
I have never soaked mine before making my tahini but you can soak them to activate them nutritionally and neutralize any growth inhibitors found naturally in the seeds. It is up to you whether it's worth it or not. For me, I see it as a step that I will skip as I've never had any kind of issue with being able to digest tahini properly, at least that I'm aware of. I'm not sure about it bringing out more of the natural oils, they will come out naturally after being warmed up from processing. All in all, it couldn't hurt if yo have time and I would recommend trying it both ways to see what you prefer. I'd be interested to know how the soaking went and what the final outcome of your tahini was. Best of wishes :)
I helped mine along with a few drops of sesame oil and then with a little bit of olive oil. Delicious!
Does anyone have a tip to making the Tahini creamy? Or this really about how good your food processor is? Mine came out very paste like, I just used raw seeds like the author and I would rather not add any extra oil.
I would suggest to keep processing for another five minutes or so, the natural oils from the sesame seeds will start to release and should make it creamier. Just when you think your done, do it a little longer. If that doesn't do the job then it could very well be your food processor. Hope that helps and it turns out well for you!
Soak your sesame seeds first.
Wash twice and let the last soak sit in spring water. Blend with the same water after at least six hours of soaking and add spring water according to preferred thickness and taste. Add sea salt. Store in glass container in fridge. Holds for a week or more so make in small batches. Injoy
I just made a very small batch just for fun because I have an unopened jar of tahini. I started with toasted seeds from the Asian store and added a few drops of sesame oil to the seeds. I have enough tahini to make hummus. Homemade tastes much fresher and better than commercial tahini.
Took a few minutes of trial and error (trying every appliance in my house, LOL!) but my Tahini came out great! I lightly toasted the hulled sesame seeds. My small 3 cup food processor did the trick :) Thank you!!! I'm newly vegan for health reasons and trying lots of different recipes. Buying tahini isn't in my budget but making it is! I eat a ton of hummus and it just got a lot cheaper and tastier! Homemade is ALWAYS better.
Thank you for the tip about using the 3 cup food processor! I didn’t bother with my 11-cup bowl and I’m sure that helped me reach a reasonable outcome.
Perfect, the bigger bowl would have been too large, the smaller bowl is easier to work with.
I can't believe it's this easy! I will try it as soon as I can :)
Hi! Not sure why but mine never became the slightest creamy. I tried blending & put it in the food processor. Am I missing something?
Hmm, I don't know what couldv'e have happened except needing to let it process a little longer. It should only take 10 -15 minutes max, more like under 10 minutes depending on your equipment. Sorry it didn't smooth out for you. Hopefully you can try again and it will have a better outcome.
The 10-15 minute time frame was a key piece of information. I would surely have given up sooner. Thanks, so much, for the encouragement to give this a try.
Glad that helped, it definitely takes a few minutes!
you are soooooooooo encouraging me to give up the unhealthy lifestyle..
Great! That is what I aim to do if I can. It's easy once you get the hang of it. Cheers!