Kimchi Fried Rice
Quick and easy, vegan Kimchi Fried Rice is made with veggies, kimchi, garlic, and ginger and is ready in just 30 minutes! It’s full of tangy kimchi flavor and will be a weeknight favorite!
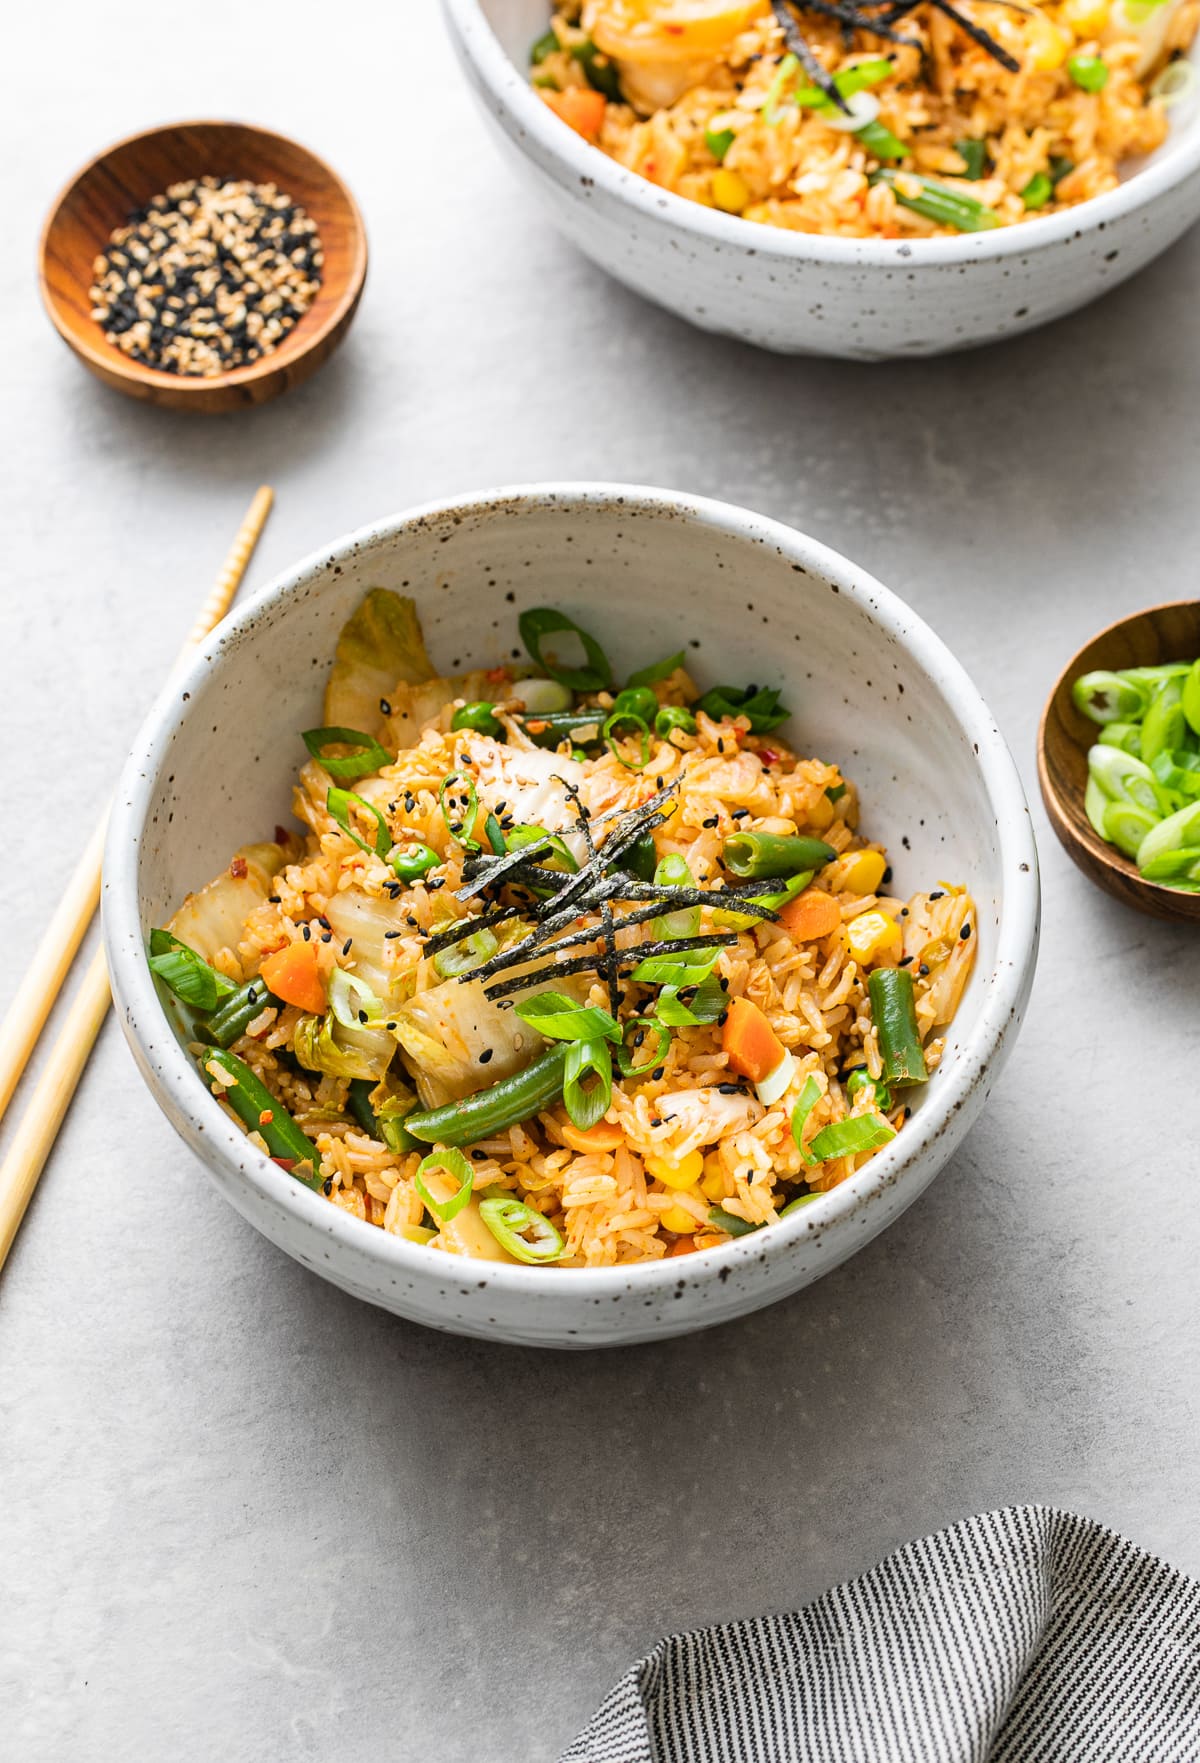
Today is a celebration of a delicious Korean staple mixed with fried rice for an easy and delicious side or main dish!
Why We Love This Recipe!
Kimchi is a fermented vegetable dish made with napa cabbage and is a natural probiotic that’s super healthy for the gut.
I’m always looking for different ways to use kimchi, and this kimchi fried rice is another fantastic way to get this tangy and addicting condiment into your meal rotation!
This recipe is meant to be simple and without much fuss. It is perfect for a quick and easy lunch, dinner, or even breakfast!
If you love kimchi, be sure to take a look at this homemade Vegan Kimchi (it’s super easy to make) and Kimchi Tofu Scramble Tacos!
Ingredient Notes
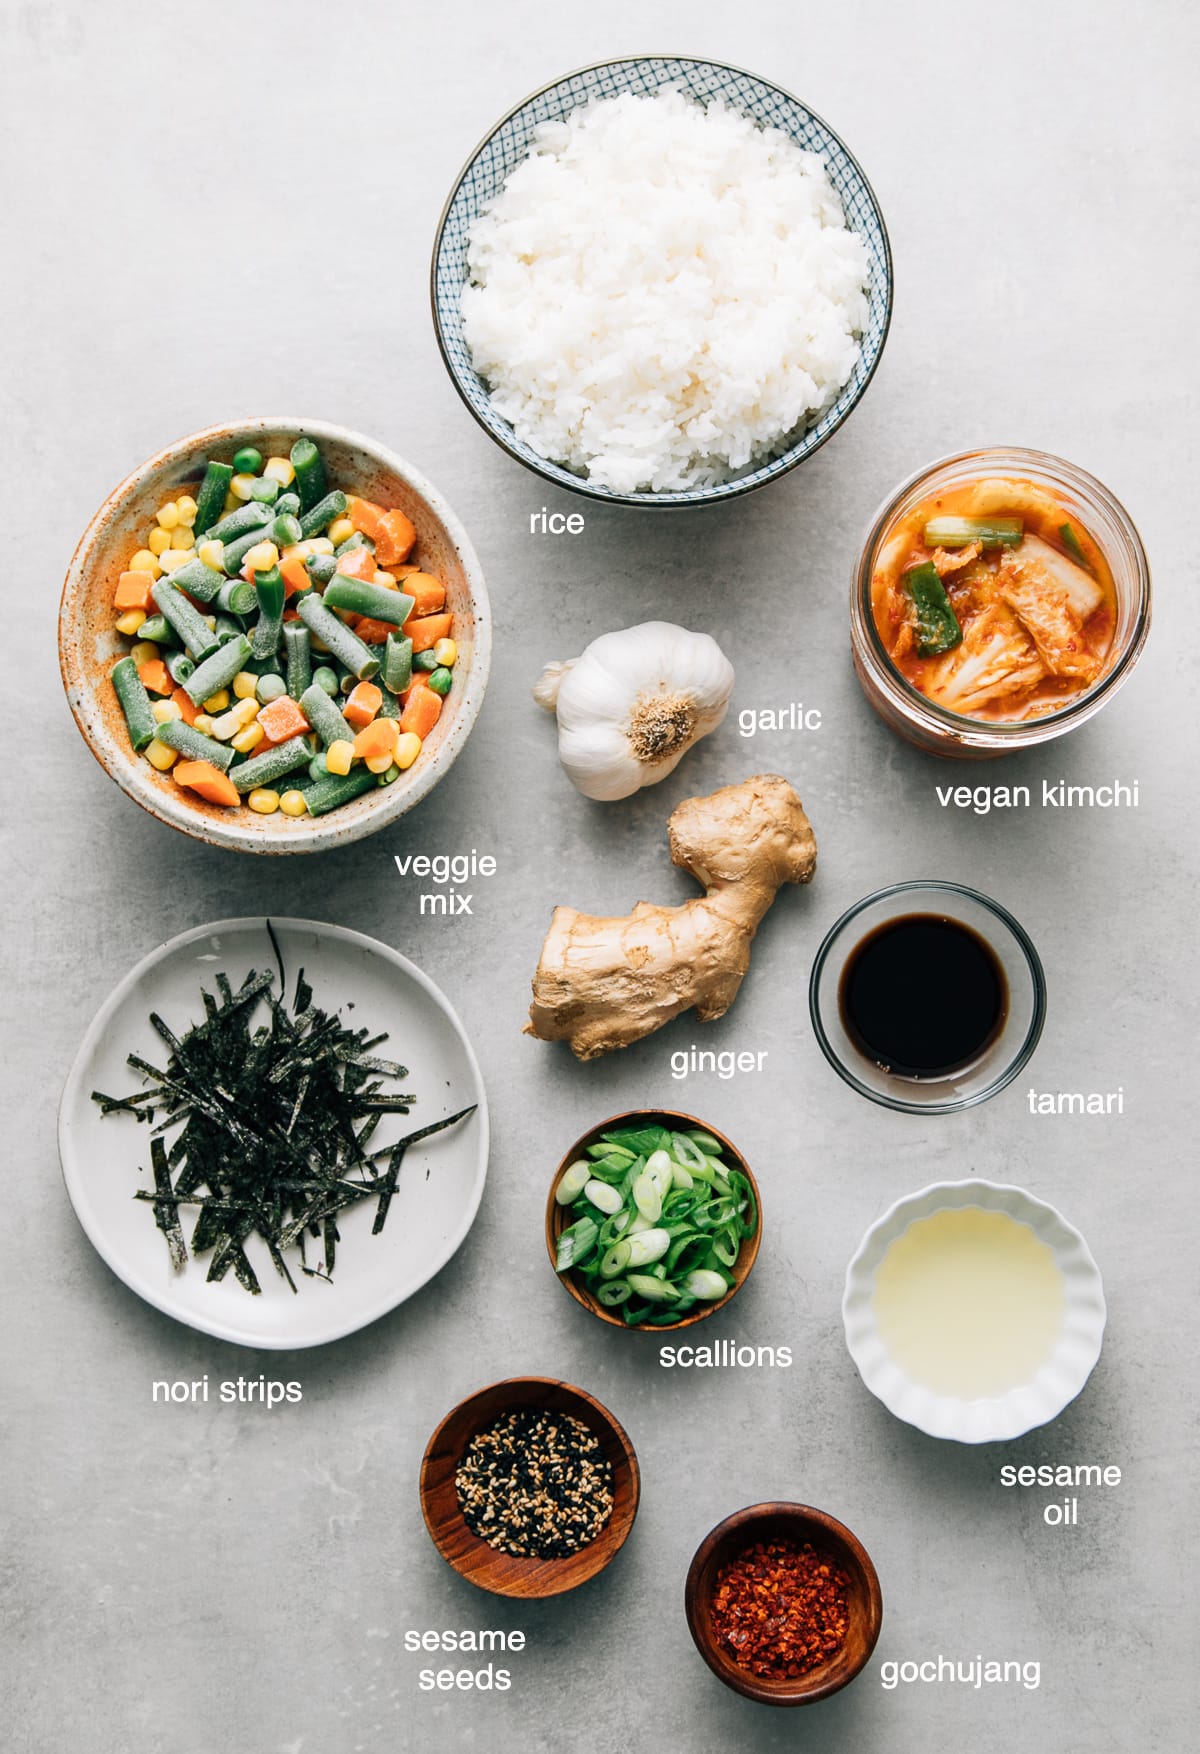
In this recipe, rice, garlic, ginger, kimchi, and a mix of frozen veggies are stir-fried, creating a scrumptious rice dish!
Here is everything you will need, plus ideas for substitutions:
- Rice – This recipe is flexible, so feel free to use your favorite rice – white rice, brown rice, or healthy forbidden black rice.
- Veggies – For convenience, we call for a frozen vegetable medley. Any combo of carrots, peas, green beans, or corn is great!
- Garlic – If you don’t have fresh garlic, use 1 – 2 teaspoons of garlic powder.
- Ginger – Adds a wonderful zesty flavor but can be optional. For ease, use ginger paste.
- Vegan kimchi – Use store-bought or make your own with this easy Vegan Kimchi recipe.
- Tamari – Naturally gluten-free, tamari adds umami and salty flavor. You can easily substitute it with soy sauce, or gluten and soy-free coconut aminos.
- Nori sheet – Thinly slice a nori sheet for a nice flavorful garnish.
- Scallions – Aka, green onions are great for adding a little freshness and flavor.
- Sesame seeds – Use any color for texture and extra nutrients as a garnish.
How To Make Kimchi Fried Rice
Making kimchi fried rice is as easy as can be!
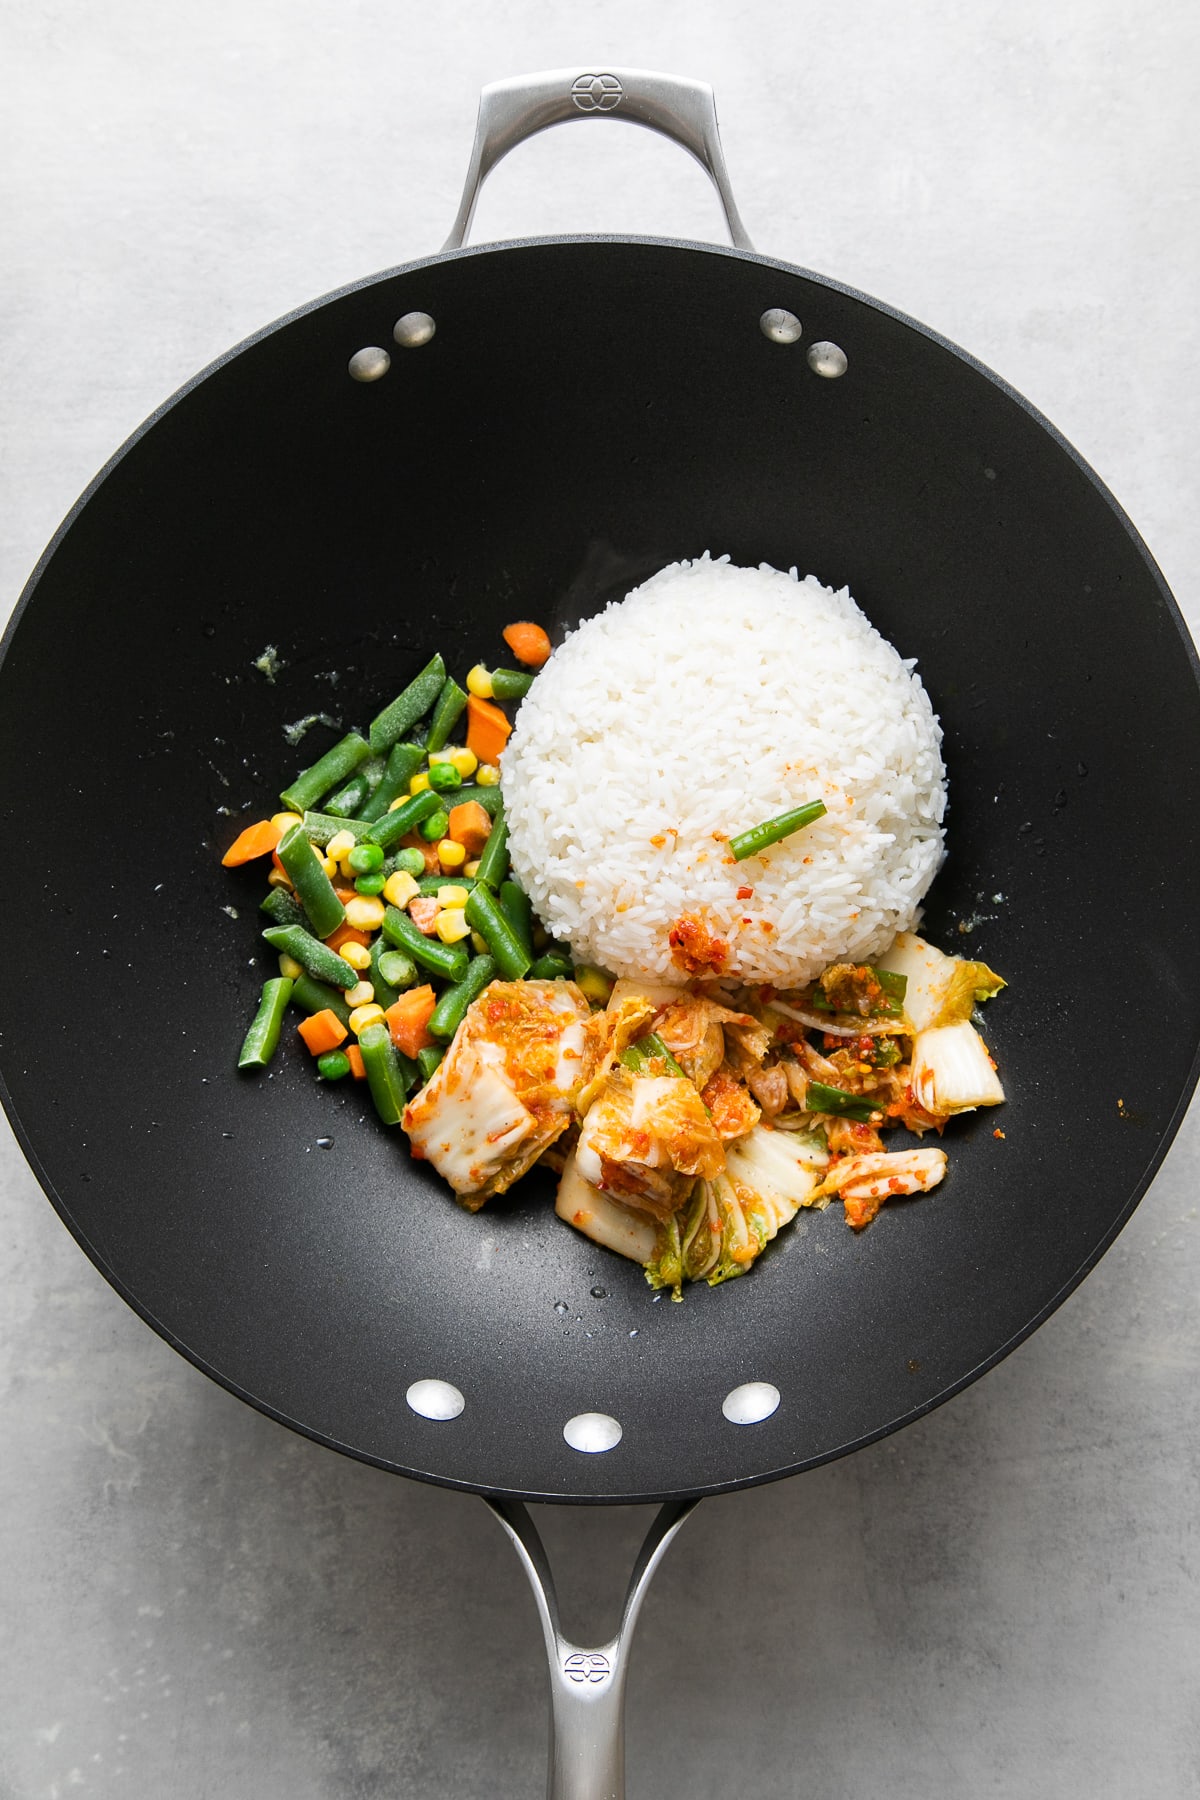
Here is a look at the process with a few photos for reference (Note – The full printable recipe is at the bottom of this post).
- Cook the rice according to the package directions.
- Stir-fry the garlic and ginger until fragrant.
- Add the vegetable mix, rice and vegan kimchi, and give a good stir to mix.
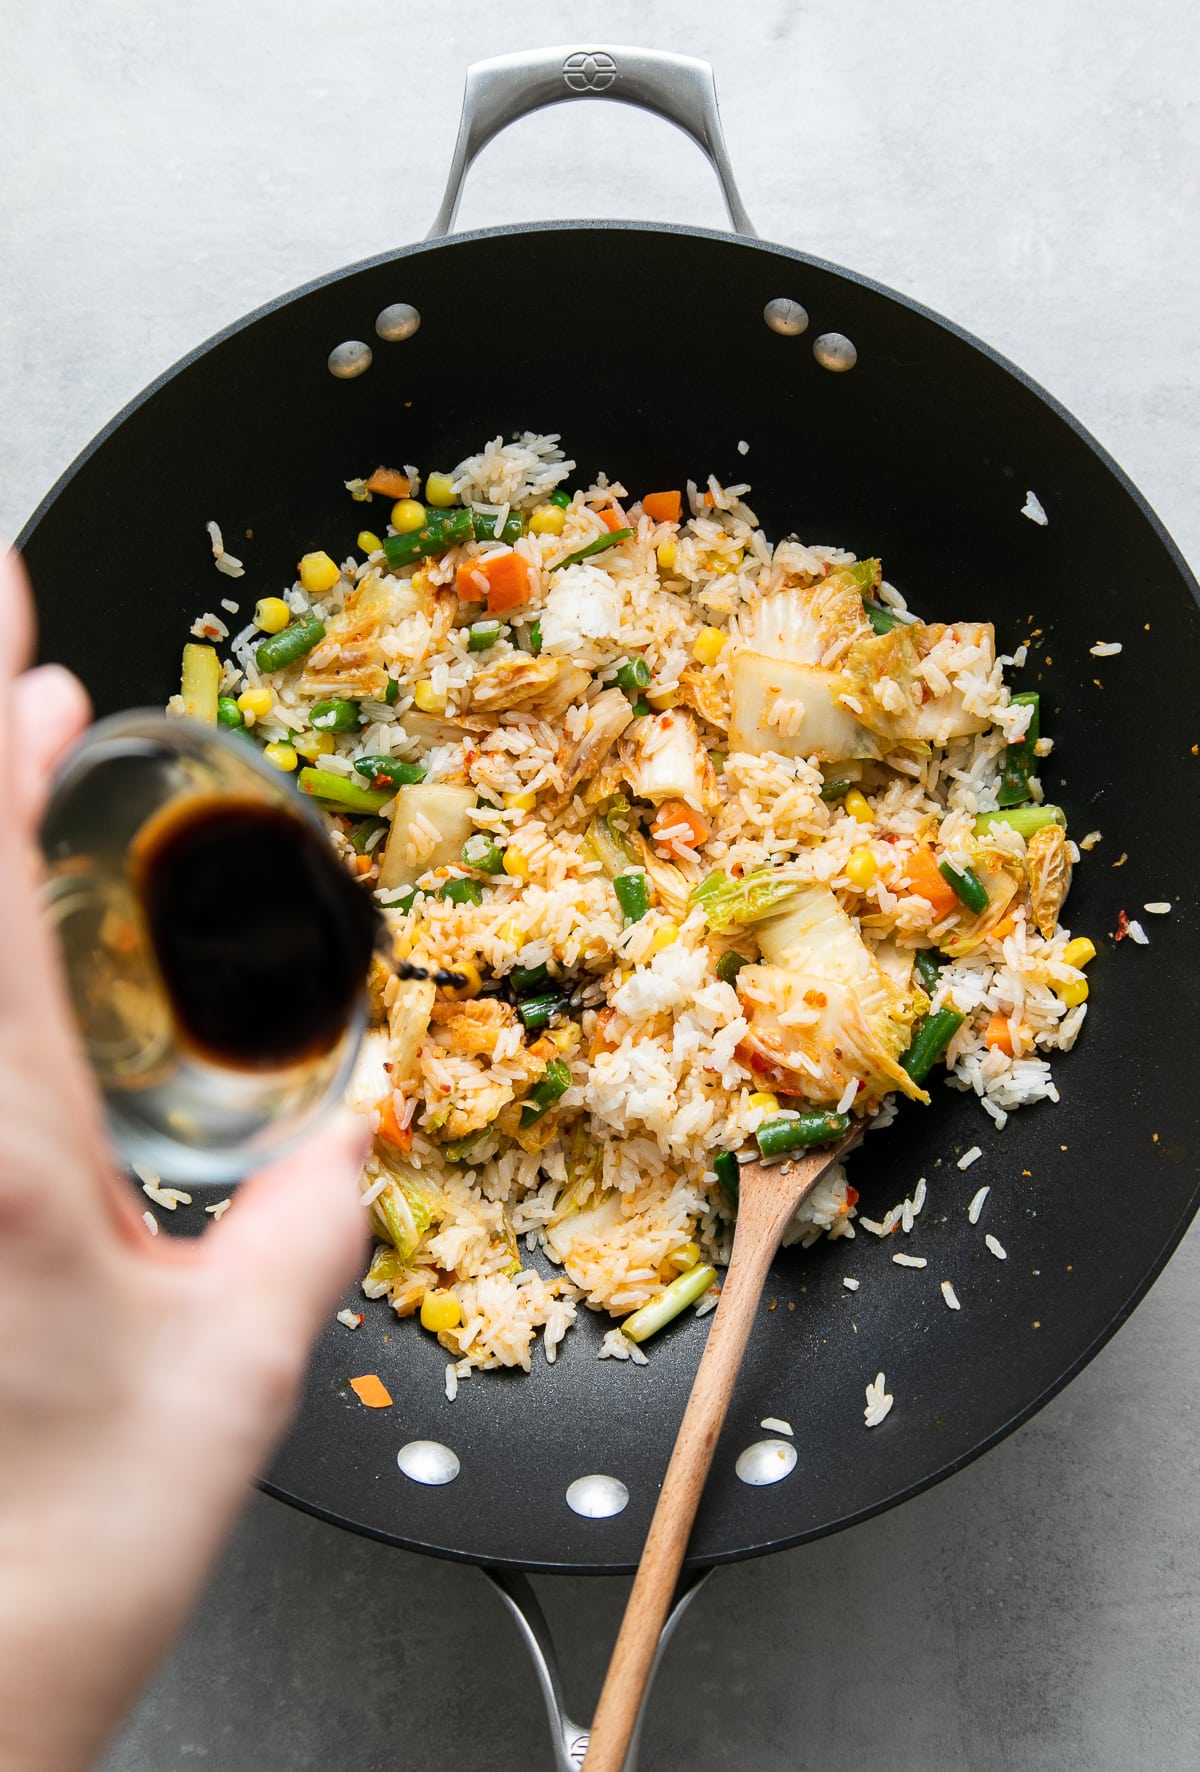
- Add in the tamari, soy sauce, or coconut aminos, and stir-fry for 3 – 4 minutes (shown below) or until most of the liquids have been absorbed.
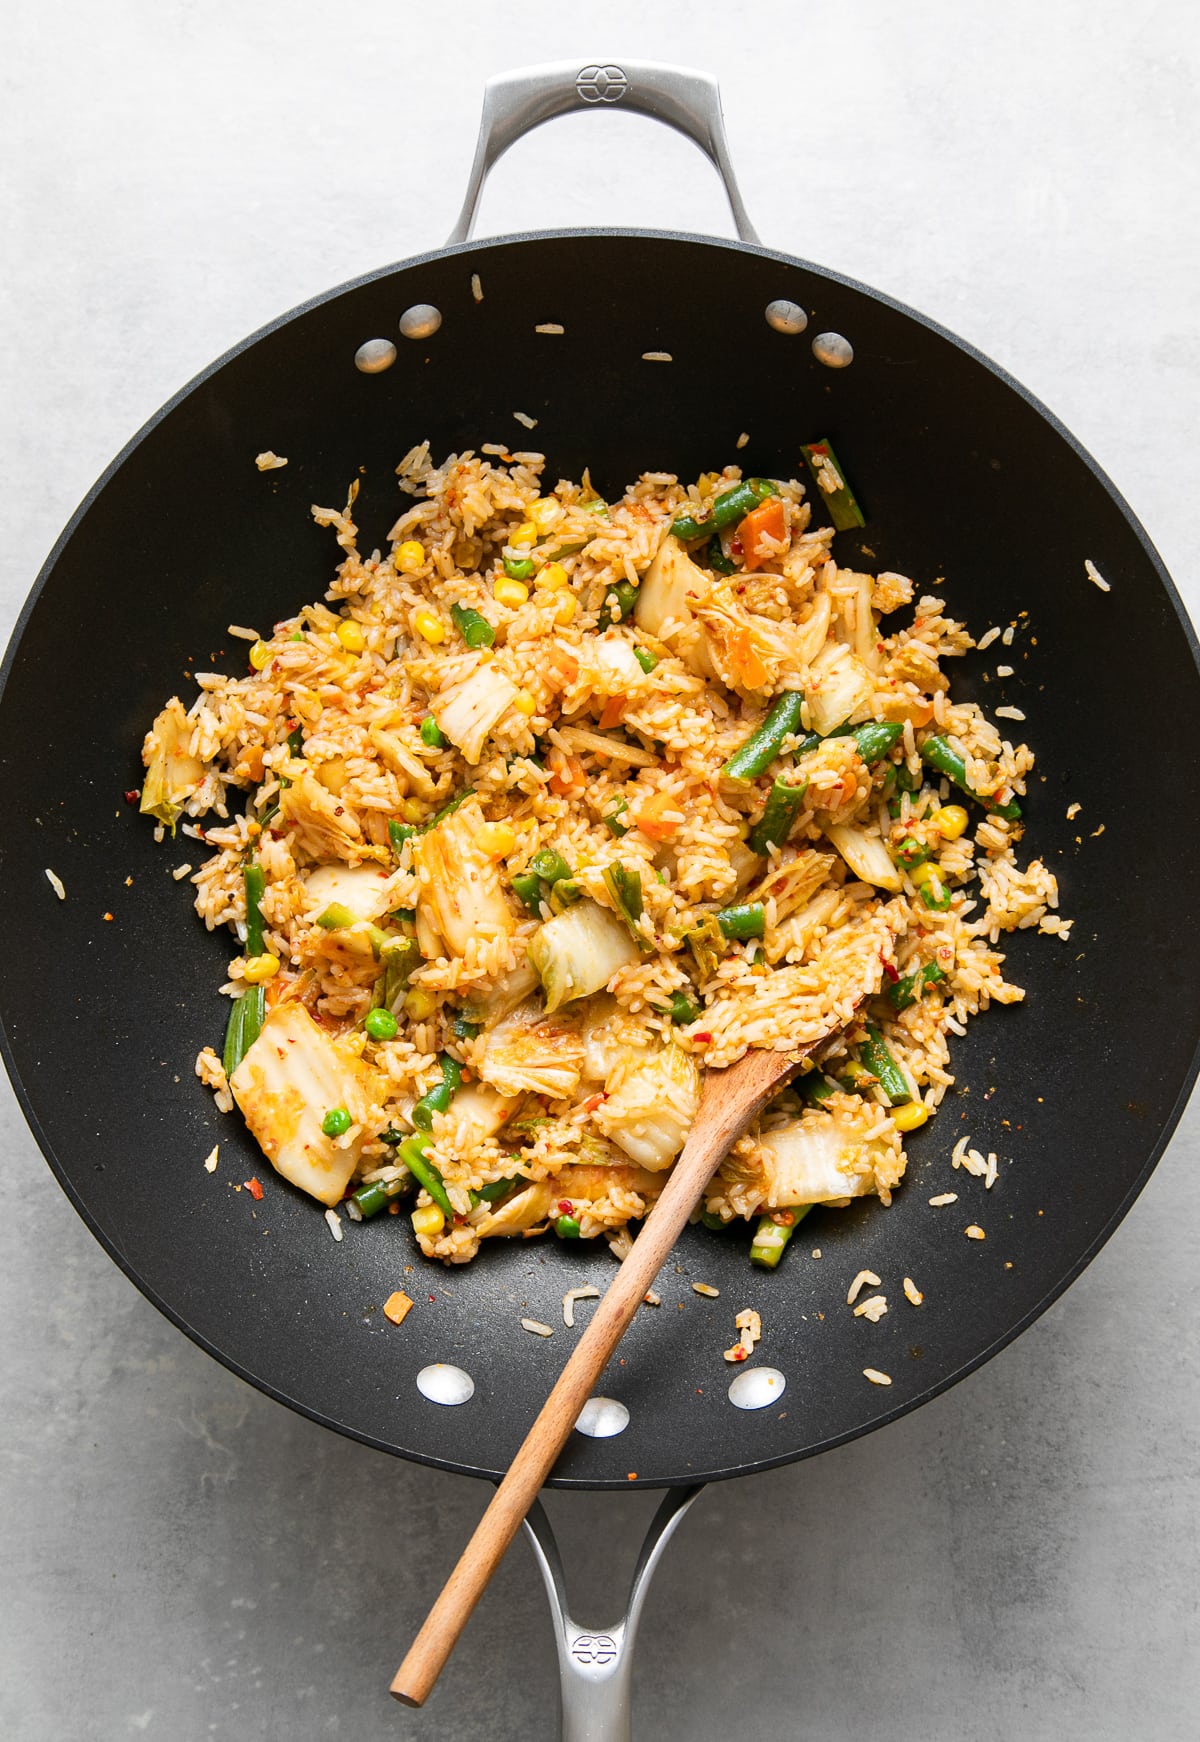
And that’s it, my kimchi-loving friends!
Now, you’re ready to dine on this delicious spicy fried rice!
Tips For Success!
- Use leftover rice. Day-old rice is excellent for making fried rice because it has lost most of its moisture. If possible, make the rice 24 hours before, keeping it in the refrigerator until ready to use. I must say I love it with freshly cooked rice too!
- If you don’t have rice, that’s no problem. If you’re not a fan of rice, try using 2 – 3 cups of cauliflower rice or cooked quinoa!
- Aromatic. Add 1/2 of a small onion, diced, and saute for 5 minutes before adding the garlic and ginger.
- Add protein. Add a couple of servings of crispy fried tofu for extra protein and texture.
- Where to find kimchi? Kimchi can be found in most grocery stores, usually in the refrigerated plant-based section. Be sure to check the label as most store-bought kimchi contains fish. If it’s vegan, it will be labeled.
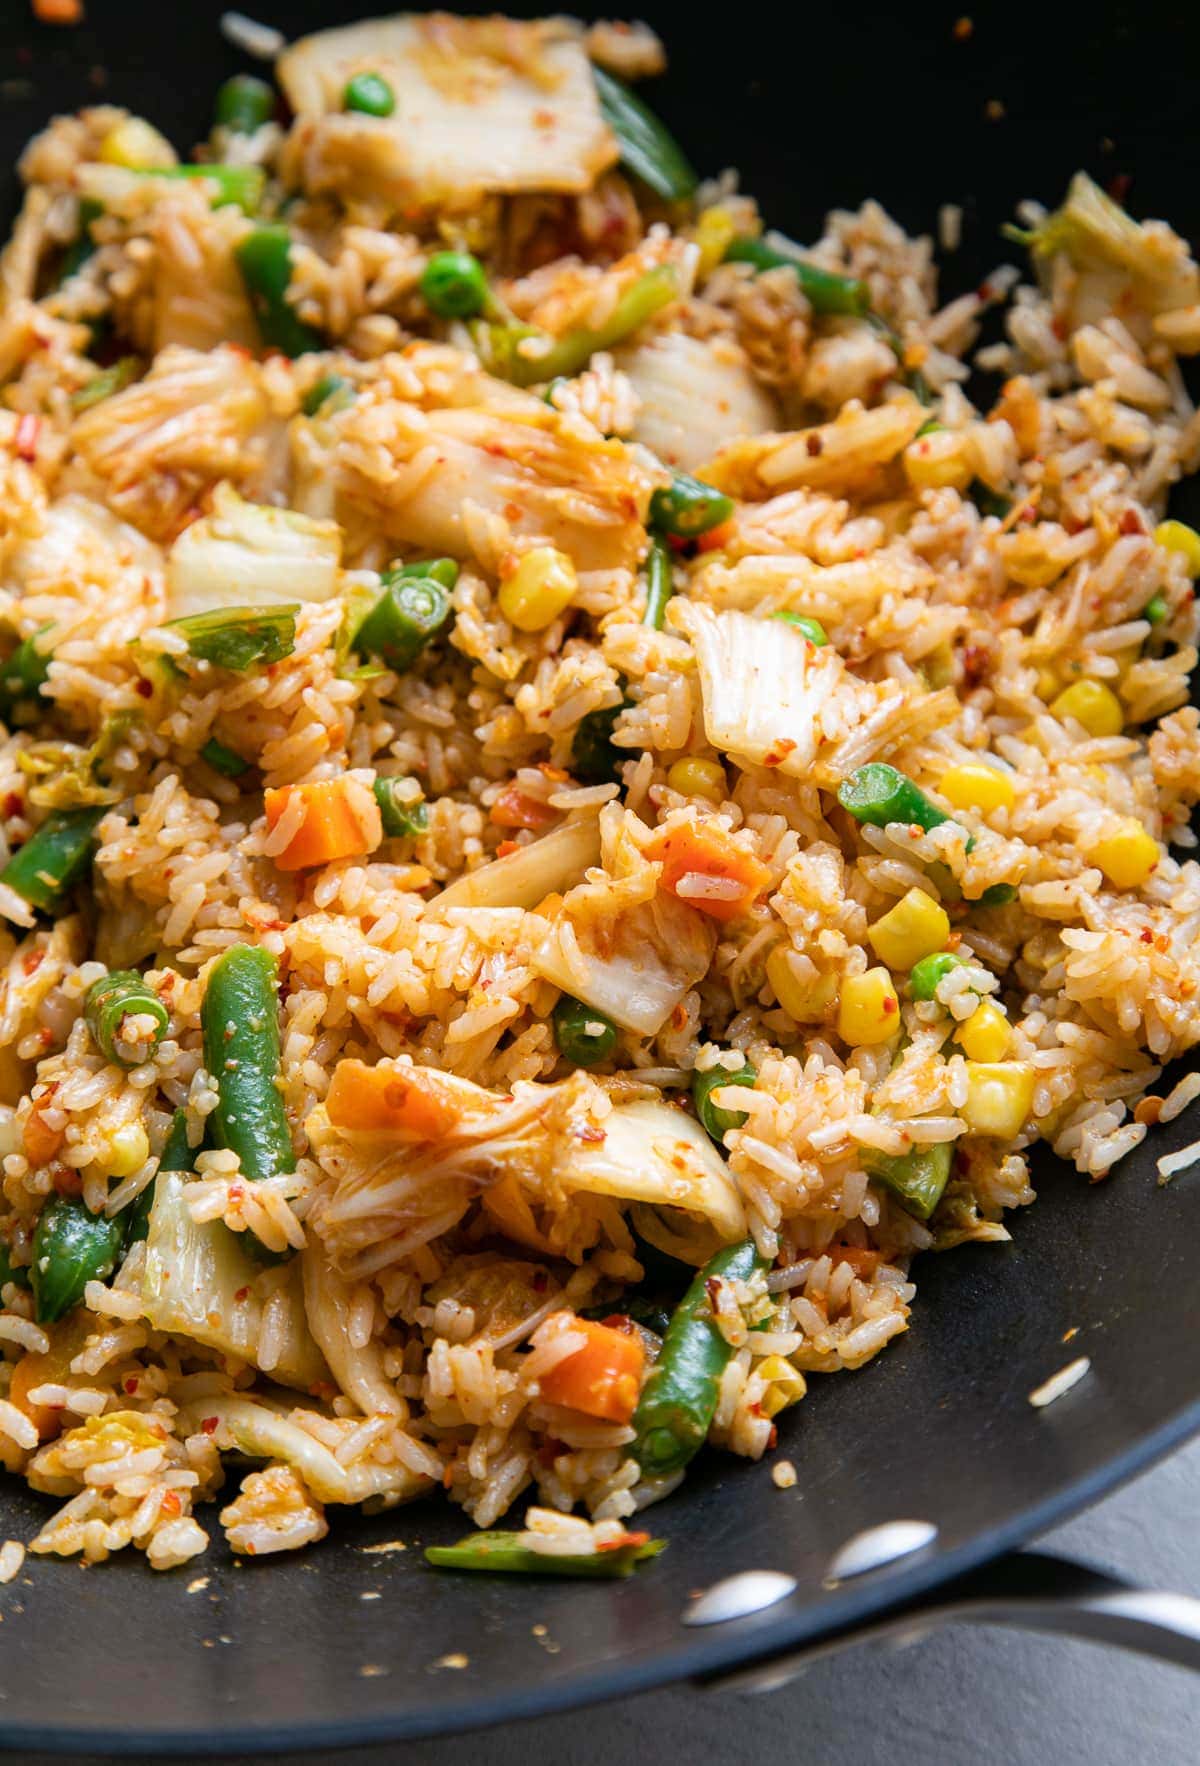
How To Store Leftovers
- Refrigerator: Leftovers can be stored in a covered container in the refrigerator for up to 3 – 4 days.
- Freezer: Vegan kimchi fried rice is freezer-friendly and can be stored in the freezer for 2 – 3 months. To freeze, let cool completely and store in freezer-safe containers, leaving 1/2-inch head space for expansion. You can also freeze portions using freezer zip-lock bags, removing as much air as possible before zip-locking. Let thaw before reheating.
- Reheat: Simply re-warm on the stovetop over low heat until warmed through, adding a splash or two of water for moisture, so it doesn’t stick to the pan. Alternatively, reheat in the microwave using 30 – 60 second intervals, stirring after each, until warm.
Serving Suggestions
This spicy, savory rice dish is filling on its own and can be eaten for breakfast, lunch, or dinner. Here are a few ideas of what you can serve with kimchi fried rice:
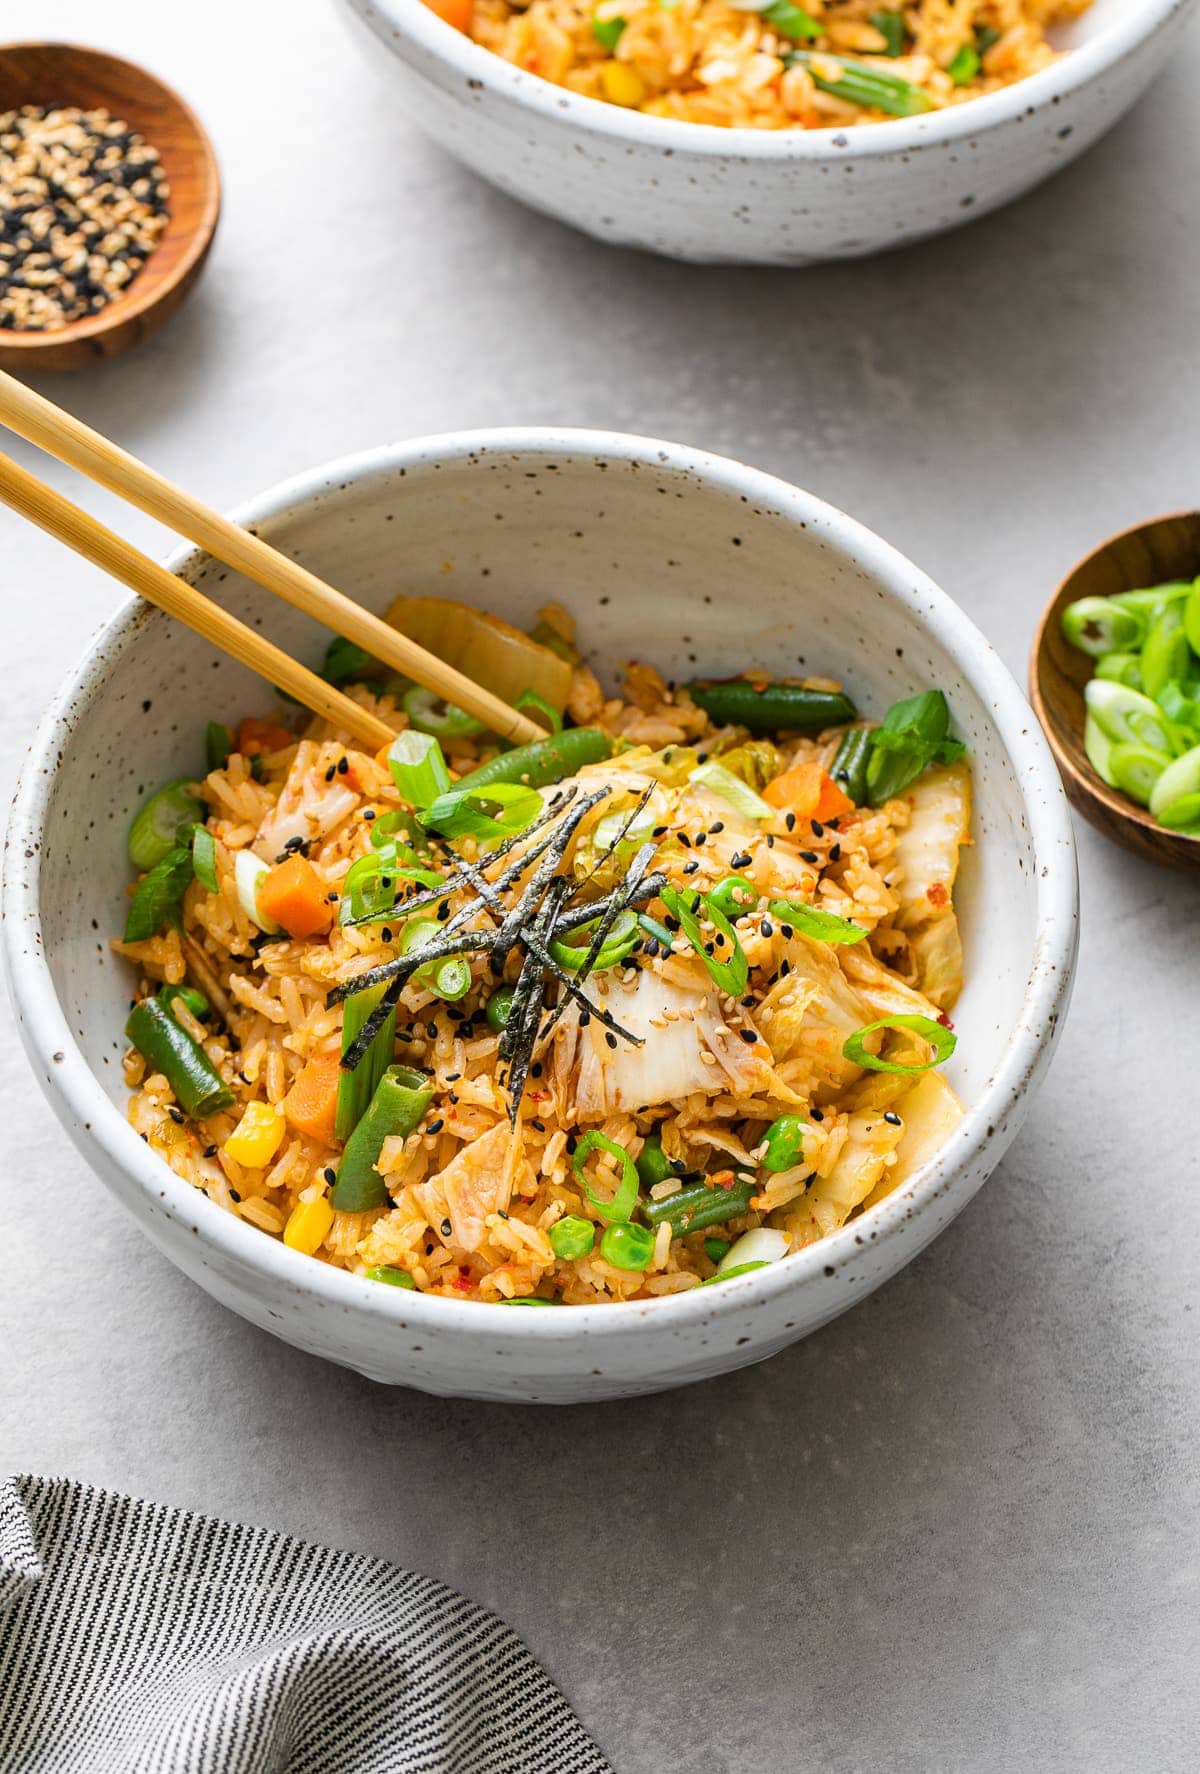
- Toppings: Serve garnished with thin strips of nori, scallions, and sesame seeds.
- Soups: Serve with a small bowl of Garlic Miso Soup and Greens or Simple Miso Noodle Soup.
- Scramble: Pair with a side of this Simple Tofu Scramble.
- Other sides: Pair with Tempeh Chow Mein or Mushroom, Bell Pepper + Basil Stir Fry.
If you try this kimchi recipe or have questions, please let me know! Leave a comment and rate it below. I love to hear what you think, or any changes you make.
PrintVegan Kimchi Fried Rice
Quick and easy Kimchi Fried Rice is loaded with veggies, kimchi, garlic, and ginger, and ready in just 30 minutes! It’s full of tangy kimchi flavor and sure to be a weeknight favorite! Vegan and gluten free recipe.
- Prep Time: 5 min
- Cook Time: 20
- Total Time: 25 minutes
- Yield: Serves 4
- Category: Side, Entree
- Method: stir fry
- Cuisine: Asian, Korean
- Diet: Vegan
Ingredients
- 1 cup dried rice (or 3 cups cooked)
- 1 tablespoon sesame oil
- 1 – 2 cloves garlic, minced
- 1 inch knob ginger, grated or minced
- 1 cup frozen veggie mix (anything with carrots, peas, corn and/or green beans)
- 1 – 1 1/2 cups Vegan Kimchi (the more the merrier), chop the kimchi if you like
- 1 tablespoon tamari, soy sauce or coconut aminos, or to taste
- 1 tablespoon gochujang, or to taste (optional)
To garnish
- 1 nori sheet, thinly sliced
- 2 scallions, thinly sliced (pale green + green parts only)
- sesame seeds (white, black, toasted or combo)
Instructions
Rice: Cook the rice according to package directions. For best results, use day old rice.
Stir-fry: In a wok or pan, heat the oil over medium-high heat, add the garlic and ginger, cook until fragrant, about 30 – 60 seconds, stirring frequently. Add the rice, kimchi and frozen veggies, give a good mix, add the tamari and optional gochujang, stir fry for 3 – 4 minutes, or until most of the liquids have been absorbed. Taste for flavor, adding more tamari or chili pepper flakes.
Serve: Spoon into individual bowls with sliced nori sheets, scallions and sesame seeds.
Store: Leftovers can be kept in the refrigerator for up to 3 days in a covered container. For longer storage, keep in the freezer for up to 2 – 3 months. Let thaw before reheating on the stovetop or microwave.
Notes
No rice, no problem. Not a fan of rice, try using 2 – 3 cups of cauliflower rice or cooked quinoa!
Aromatic. Add 1/2 of a small onion, diced, and saute for 5 minutes before adding the garlic and ginger.
Add protein. Add a couple servings of crispy fried tofu for extra protein and texture.
Where to find kimchi? Kimchi can be found in most grocery stores, usually in the refrigerated plant-based section. Be sure to check the label as most store bought kimchi contains fish. If it’s vegan, it will be labeled.
Gluten free: For gluten free, use tamari or coconut aminos.
Soy free: Use coconut aminos.
FOLLOW TSV on Facebook, Instagram, Pinterest, Youtube, Subscribe (email), or RSS for more recipes and inspiration!

Isn’t tamari a byproduct of fermented soybeans?
So how can this be soy-free?
I’ve recently did an intolerance food test and I’m highly soy intolerant.
Yes, tamari isn’t soy free. To make this soy free, use coconut aminos in place of tamari or soy sauce. I’ve also updated the recipe to include notes to make this soy free. Enjoy!
Thanks !