Raw Sprouted Hummus
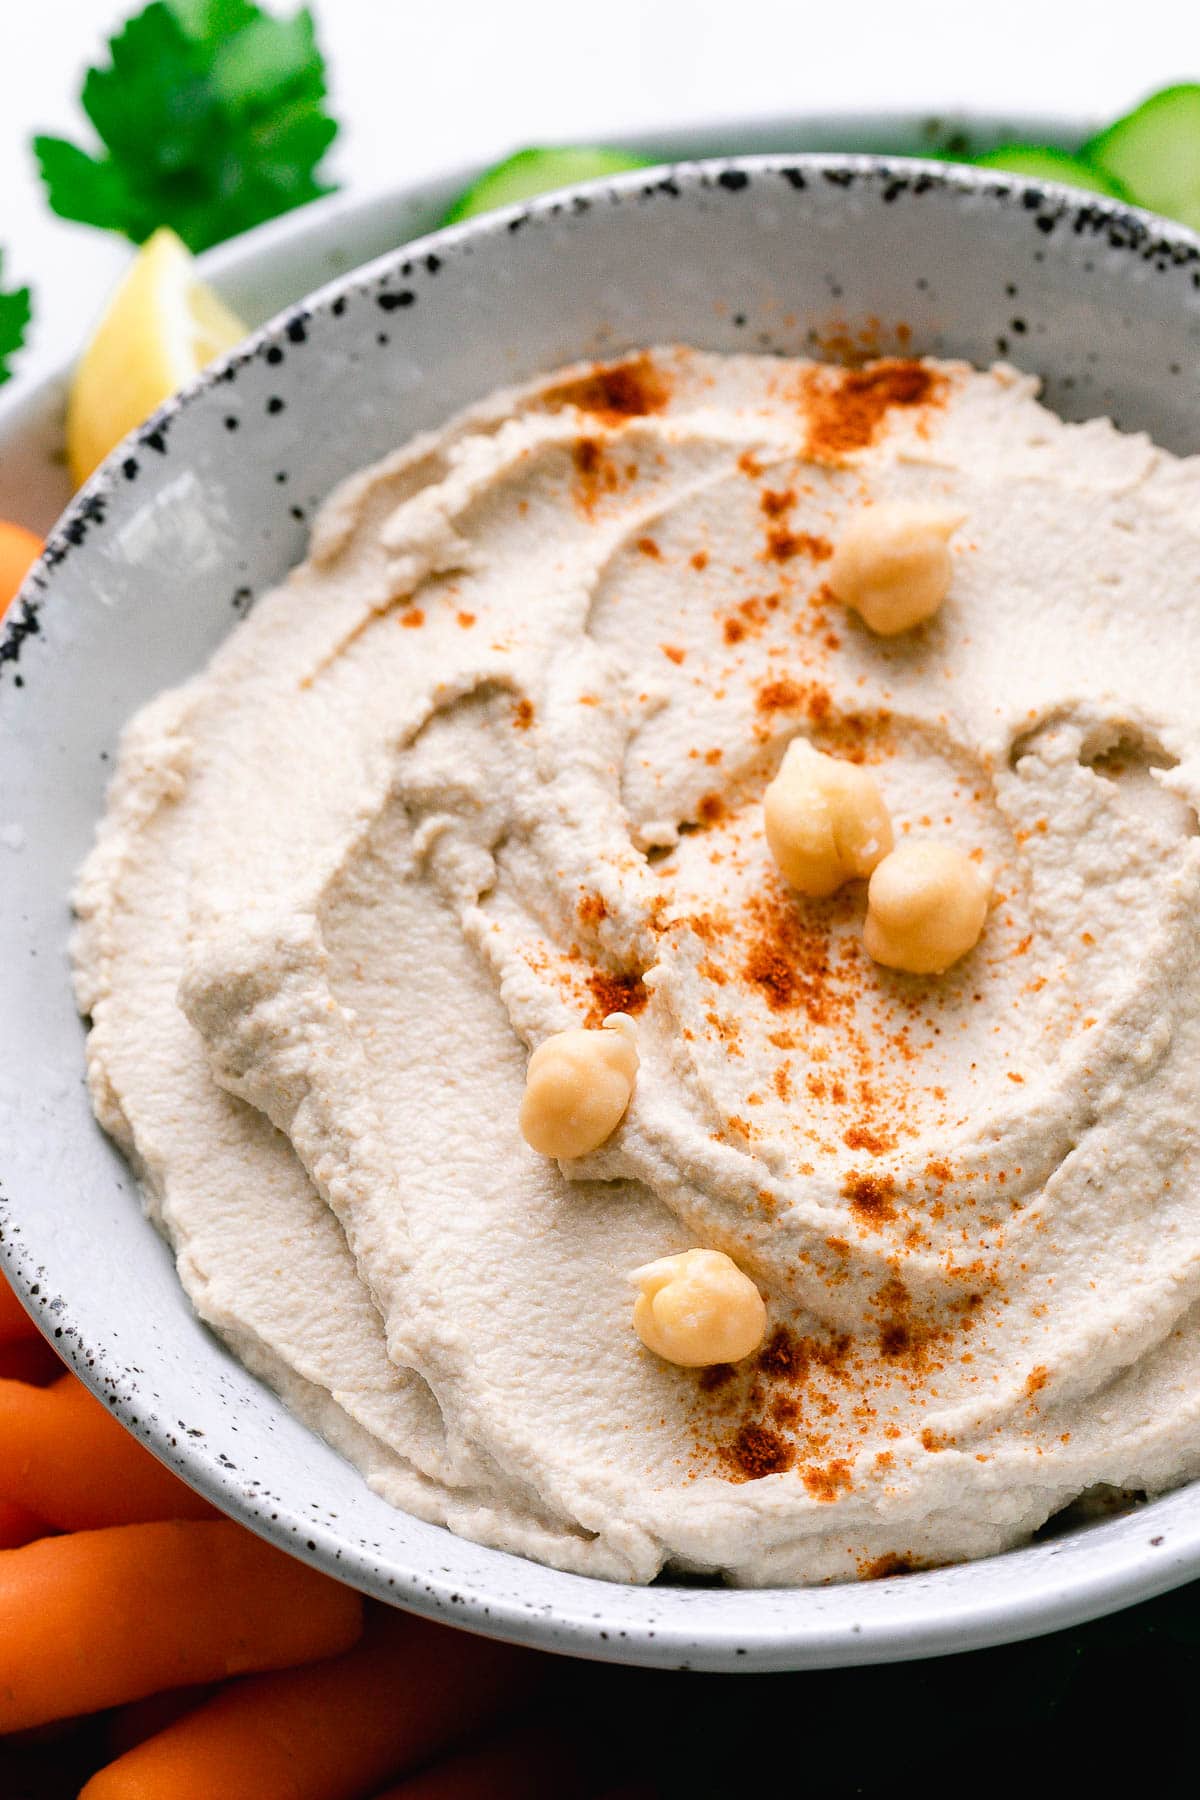
Raw Sprouted Chickpea Hummus is full of nutrition and easy to make. It’s a healthy, oil-free vegan dip that tastes delicious with fresh sliced veggies or whole-grain crackers!
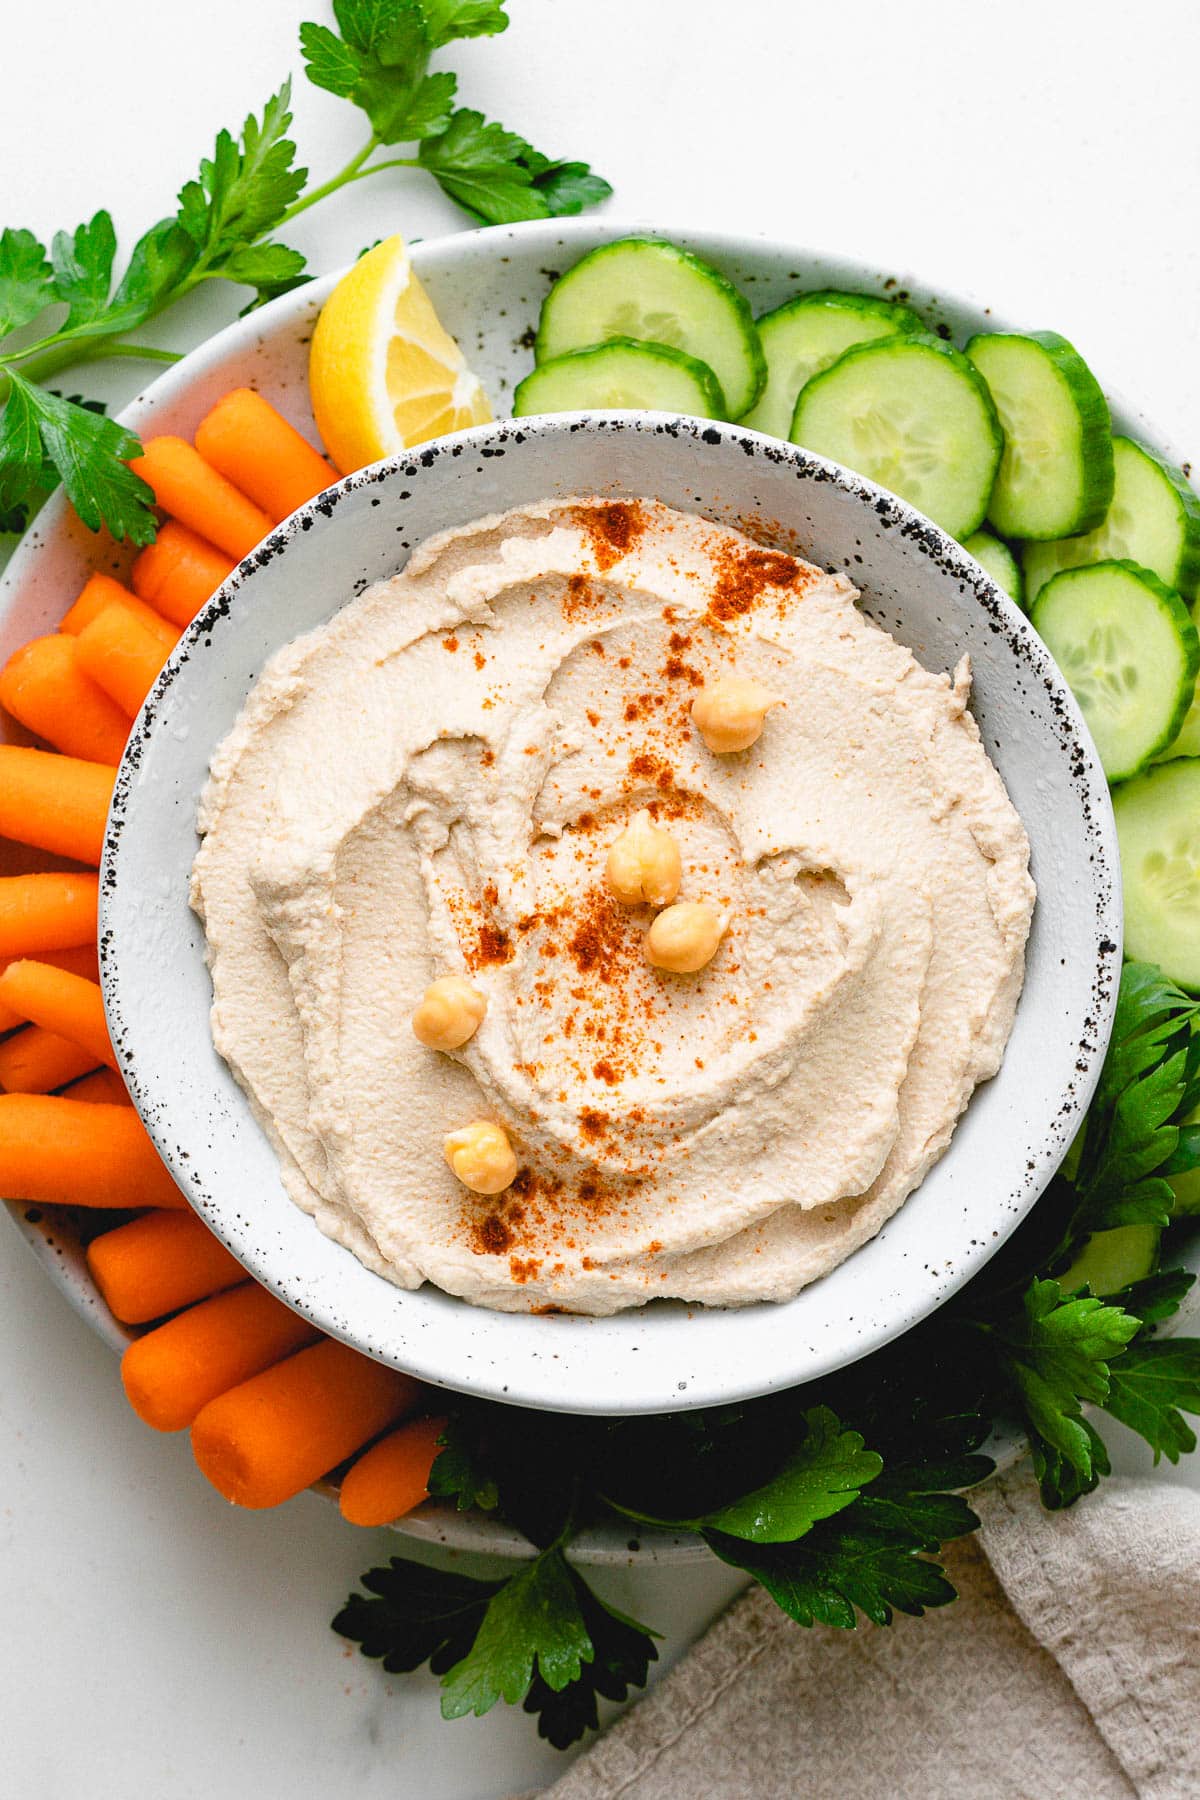
Yes, another chickpea recipe is born! This time it’s a raw sprouted hummus that’s full of delicious earthy flavor and packed with nutrition!
Raw chickpeas have a much different flavor than the cooked ones I’m used to. At first, I wasn’t sure if I would like this. But it came out really well and I would absolutely make this again and again!
Freshly sprouted chickpeas have a nice flavor alone, but in hummus they are spectacular!
I made this sprouted chickpea hummus the same as I make regular hummus, except I added extra of everything to really get a good and flavorful raw sprouted hummus.
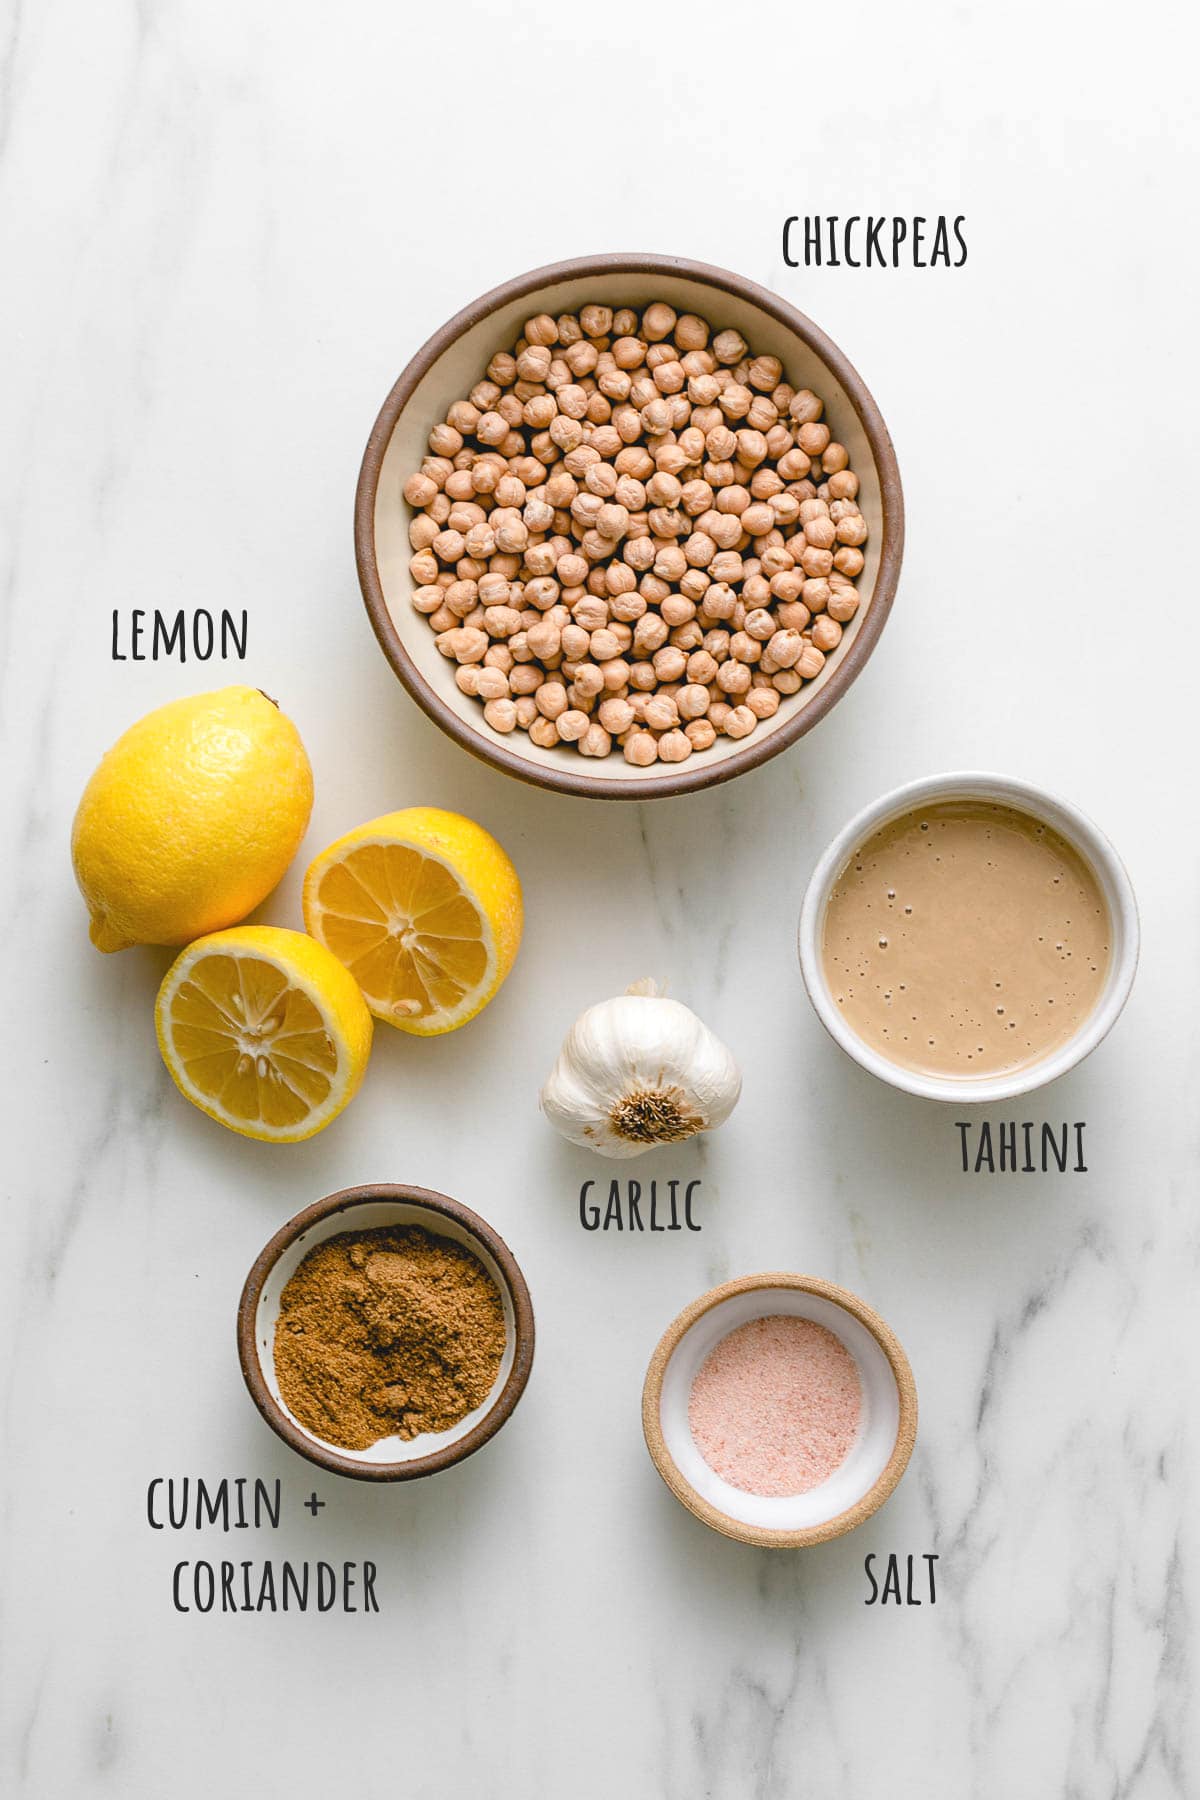
Why We Love This Spouted Hummus Recipe!
We know cooked chickpeas are good for us but they are even better after sprouting!
Sprouting unleashes their full potential. Water is the key to unlocking their rich source of nutrition.
Germination is a life force, and we can benefit from adding sprouted nuts and seeds to our daily lives. Once sprouted, the protein content will increase by as much as 20%, nucleic acids by 30%, and many vitamins by as much as 500%—yes, 500%. Pretty amazing!
Best of all, chickpeas are really easy to sprout. It just takes a couple of days of patience, but it’s worth watching your little seeds come to life and do their magic.
How To Sprout Chickpeas
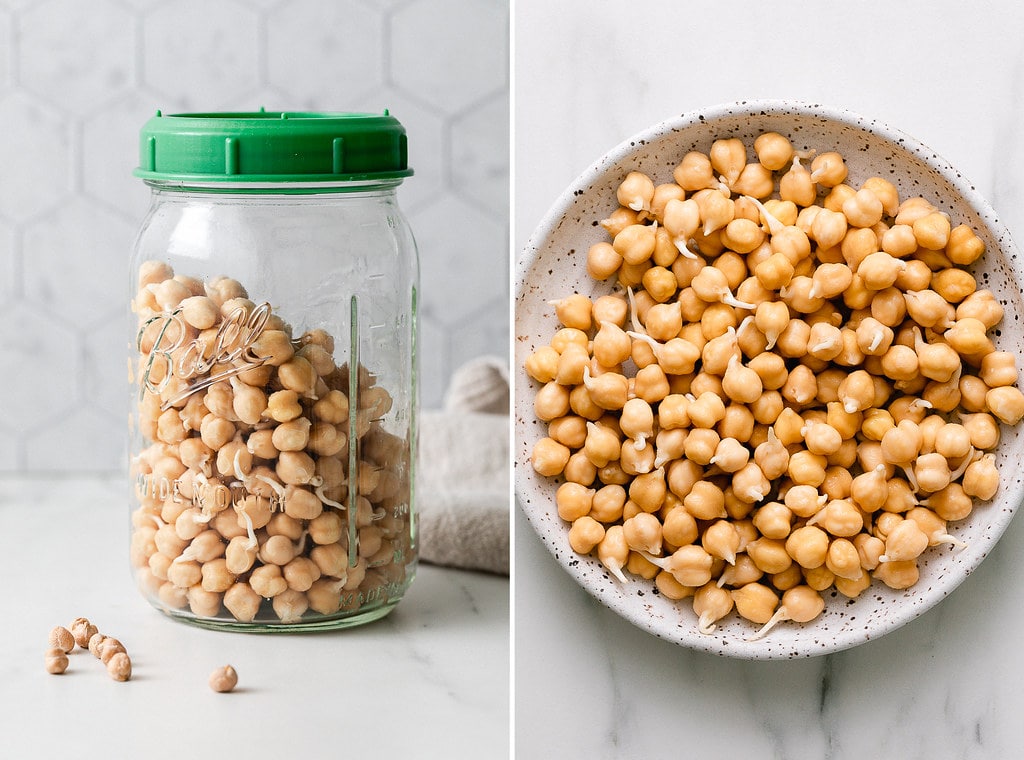
The main point of sprouting is the initial overnight soak, followed by two days of thoroughly rinsing 2 – 3 times a day with purified water.
- You don’t really need any special tools to sprout your chickpeas. I used a mason jar with a sprouting lid but any bowl or jar will do. This sprouting kit would be great too!
- Cheesecloth rubber-banded around the top of a jar will work, too, if you don’t have a sprouting lid. I’ve also sprouted without any lids and did just fine using my hand & fingers as a strainer.
- You could also use a simple colander after the initial soaking process; this will ensure maximum airflow and allow you to rinse them well.
The above picture is two days after the initial soak. Most of my beans sprouted very well, some only had little sprouts, and some had none. You can expect various stages of sprouting and that is perfectly fine.
Once sprouted the beans will be at their highest potential and will give you excellent nutrition along with a wonderful hummus once everything is put together.
How To Make Raw Sprouted Hummus
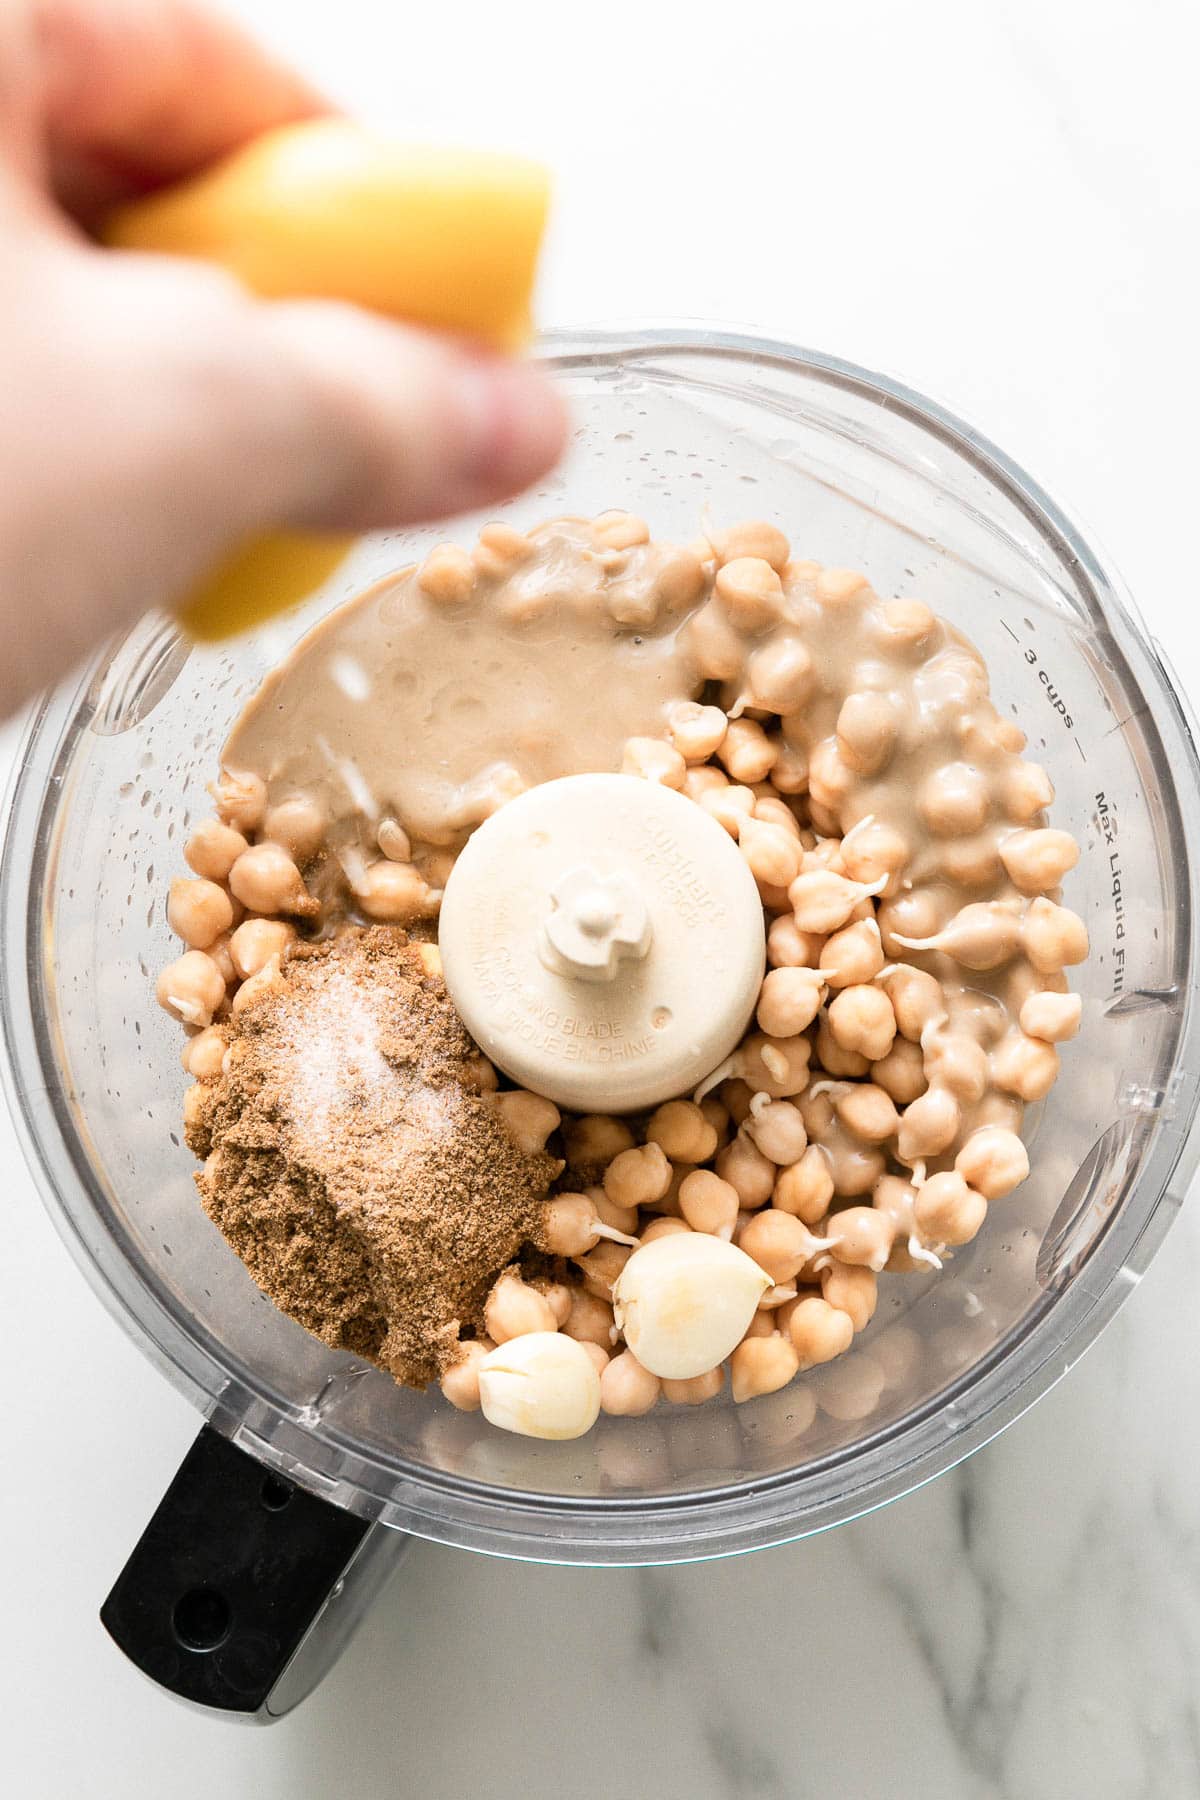
Now that you have sprouted the chickpeas, making sprouted hummus is as easy as can be!
Using a food processor or high-speed blender, add the chickpeas, tahini, cumin, coriander, garlic, lemon, and salt to the bowl/cup and process until smooth and creamy, stopping to scrape down the sides as needed. It literally takes less than 5 minutes!
Top Tips
- For smoother hummus, we recommend using a high-speed blender.
Serving Suggestions
We like to pair this sprouted hummus with fresh veggies such as cucumber, carrots, celery, and colored bell pepper strips. It’s also great with raw juice pulp crackers or traditional pita chips.
More Healthy Dip Recipes!
If you try this sprouted hummus recipe, please let me know! Leave a comment and rate it below. I love to hear what you think, or any changes you make.
RAW SPROUTED HUMMUS
The life force of germination in a refreshing and earthy flavored raw sprouted chickpea hummus will fuel your mind, body and soul! This recipe is vegan, oil-free, and easy to make.
- Prep Time: 48 hours
- Total Time: 48 hours
- Yield: Serves 8
- Category: Snack
- Cuisine: Vegan
Ingredients
- 3/4 cup dried garbanzo beans or 1 1/2 cups sprouted chickpeas
- 1/4 cup tahini
- 2 large garlic cloves
- juice of 2 medium lemons
- 1/4 cup purified water, + more as needed to thin
- 1 tablespoon cumin
- 2 teaspoons coriander
- himalayan salt, to taste
Instructions
Soak chickpeas: If starting with dried beans, place the dried chickpeas in a large bowl and fill with fresh purified water. The beans will double in size so be sure to cover and leave plenty of extra water for them to soak up, about 2 to 3 times as much water. Soak for 8 -12 hours. Rinse and drain thoroughly.
Let beans sprout: Place the chickpeas in a mason jar with a sprouting lid (or sprout them using a colander). Leave the chickpeas anywhere at room temp and rinse and drain them 2 – 3 times a day for 2 to 3 days. If your garbanzo beans are not sprouting, try moving them to a warmer area. Here is a great guide to sprouting garbanzo beans from the Sprout People for reference.
Hummus: Place the ingredients into a food processor or high-speed blender and process until creamy.d You may need to stop every now and then to scrape down the sides. Taste for flavor, adding anything extra you like – garlic, tahini, lemon, spices, or salt. If adding more water, add 1 tablespoon at a time until desired consistency.
Makes about 2 cups
Store: Keep leftovers in the refrigerator for up to 5 days.
Serves 8
Enjoy with fresh sliced veggies or crackers.
Notes
For smoother hummus, use a high-speed blender.
Keep in mind that the below nutritional values are not showing the true nutritional value of sprouted chickpeas. The protein, vitamin & mineral values would be much higher.
FOLLOW TSV on Facebook, Instagram, Pinterest, Youtube, Subscribe (email), or RSS for more recipes and inspiration!

I had a raw chickpea hummus recipe that has been lost and it said if you don’t boil blanch the sprouted beans after sprouting, right before processing, you will have hummus that tastes like cardboard. This recipe didn’t have that step and the reviews say it was a good recipe, so just wondering if anyone has input on this?
Thanks
Hello! Made it. It’s delicious! Question… my fully sprouted chickpeas seem quite firm. Guessing still raw they are not going to be soft as cooked ones. Just checking in to make sure this is safe to eat!
Raw sprouted chickpeas are very to safe to eat if sprouted properly as per my recipe. If you notice there is any mold or weird smell you should immediately discard them without consuming to be safe. I hope that helps. Enjoy!
Edit: Yes it is normal for the sprouted chickpeas to be firm after sprouting.
I made it but my boyfriend and me can’t get used to the strong taste/smell and harder structure of raw chickpeas vs cooked. How can I mask that better in the recipe?
You can try adding more herbs and spices. Also, adding more tahini and extra lemon may help. Basically adding more flavor should do the trick. The earthy flavor of raw hummus is an acquired taste. I hope that helps!
I just made this and it’s delicious! Thank you so much for sharing :)
I totally just made this, and it turned out WONDERFUL!!!! I didn’t have any coriander, so I substituted it for some onion powder and a little bit of garlic salt! Still tastes great :) I’m so excited because this is the first time I have ever made my own hummus, and the first time i’ve ever sprouted my own chickpeas!
So glad you enjoyed the recipe! Thanks for sharing, Mckenna!
I recently sprouted some chickpeas without a plan for them; searching for recipes, I found this and WOW this is delicious!!! Hands down the best hummus recipe I’ve made!! Thank you!! :) :)
My local health foods store sells chickpeas already sprouted, so I finally bought some today and made this. I didn’t have coriander but it was still super delicious. Thank you!
Hi…it looks great but I’d like to know calories and carbs and I’m not clear how big the serving size is from the label you included?
This recipe makes about 2 cups, and the serving size is about 1/4 cup, serving 8. I’ve included the serving size in the nutritional information. Thanks for bringing it to my attention with your question! Cheers :)
Takes a little getting used to because we are used to cooked chickpeas. I made this for our main meal at midday yesterday, and my daughter didn’t like it – I ate it alone. But a little later I had such a happy, satisfied feeling in my tummy that I knew it came from your raw hummus. I ate more for the eveining meal and then I really liked it.
Thank you for sharing…
Madeleine