Instant Pot Farro
Instant Pot Farro – Learn how to cook farro right in your pressure cooker with this easy, no-fuss recipe! It cooks perfectly every time without any hands-on time and frees up space on the stovetop!

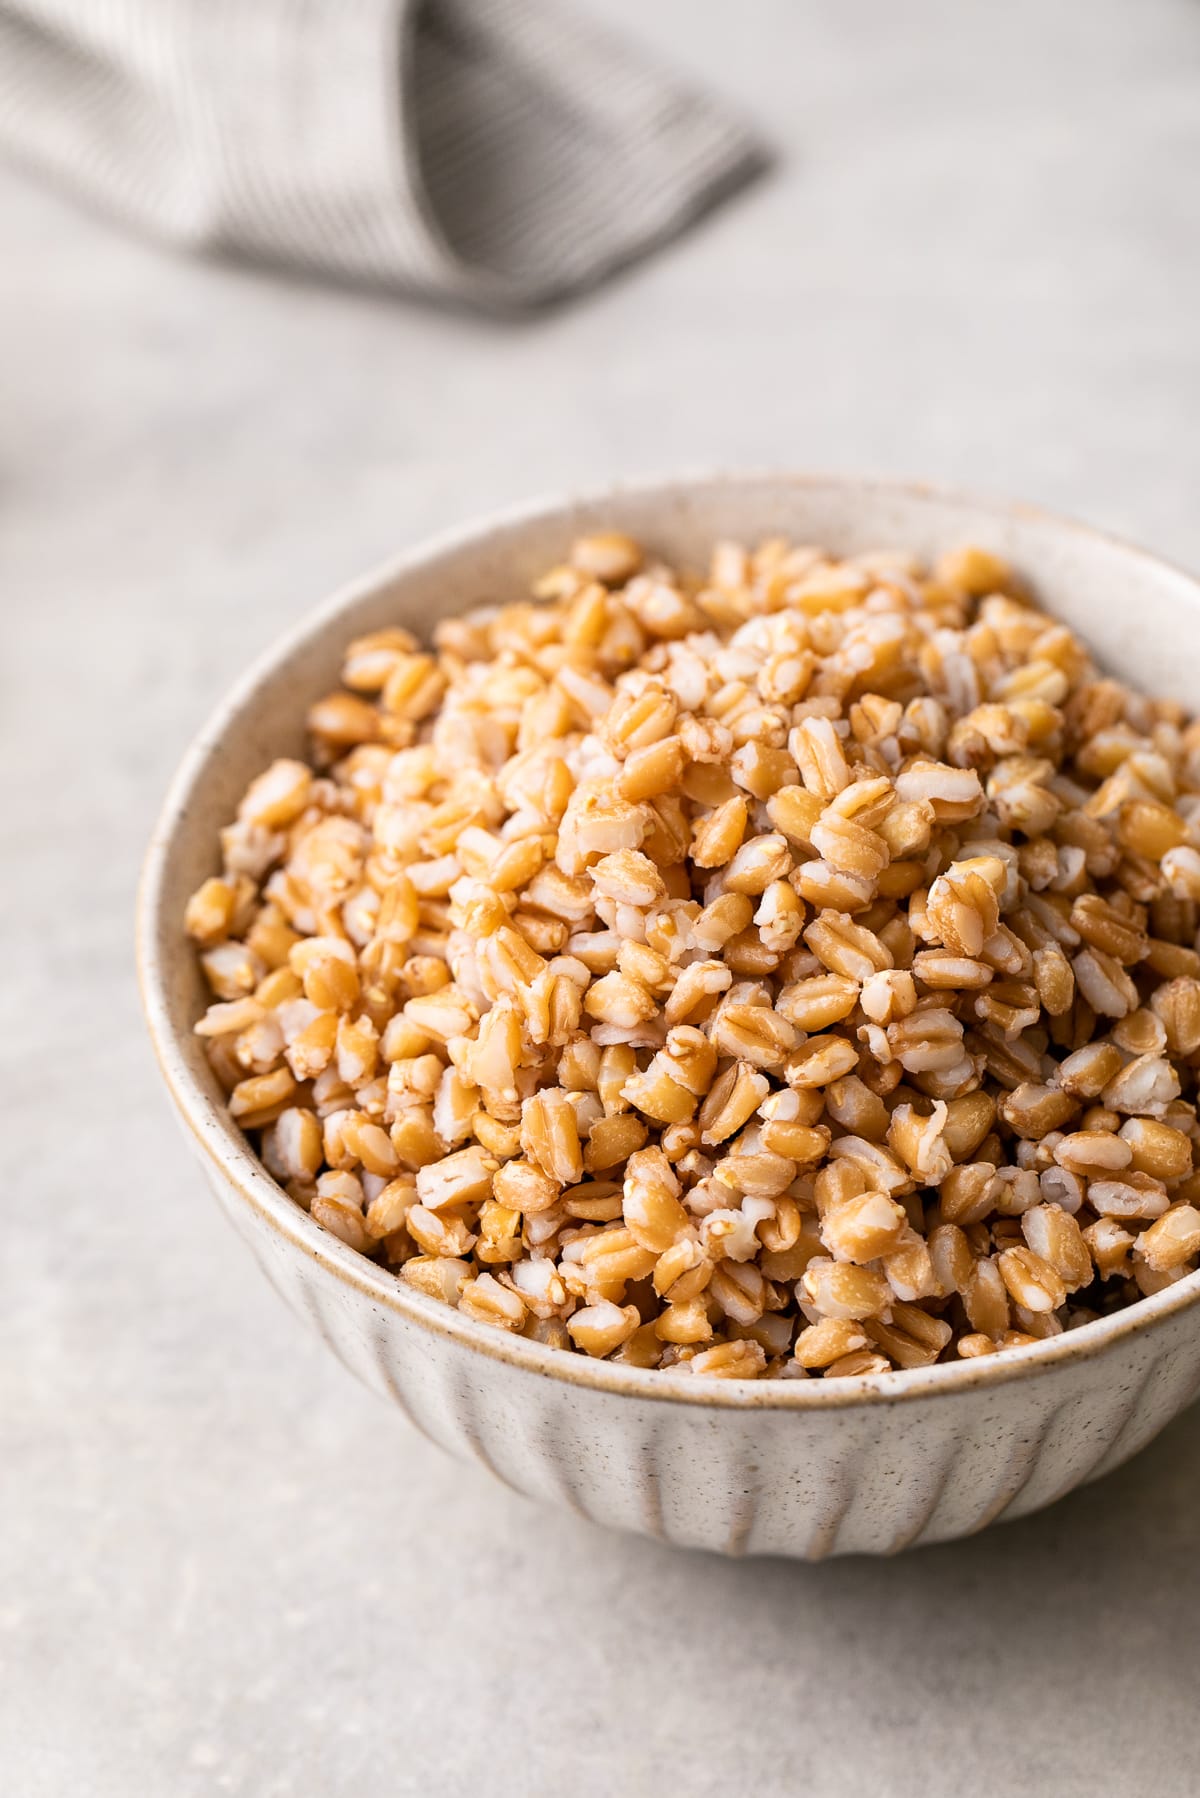
Farro (also known as emmer wheat) is a wonderfully nutty and chewy ancient grain that is healthy, delicious, and super versatile. It’s packed with nutrients and flavor and can be served hot or cold.
Why We Love Cooking Farro in an Instant Pot
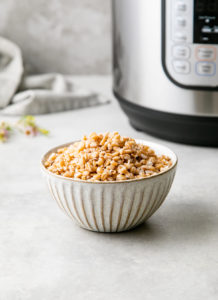
Cooking farro in an Instant Pot is a game-changer for busy home cooks! This method delivers perfectly tender, nutty farro in half the time of stovetop cooking—typically just 10-12 minutes under pressure.
The Instant Pot ensures consistent results with minimal effort and is basically fail-proof. You can set it and forget it, no stirring required. Plus, it locks in nutrients and flavor, making your farro ideal for salads, bowls, or side dishes.
Save time, reduce cleanup, and enjoy delicious, wholesome farro with the ease of an Instant Pot!
Ingredients You’ll Need
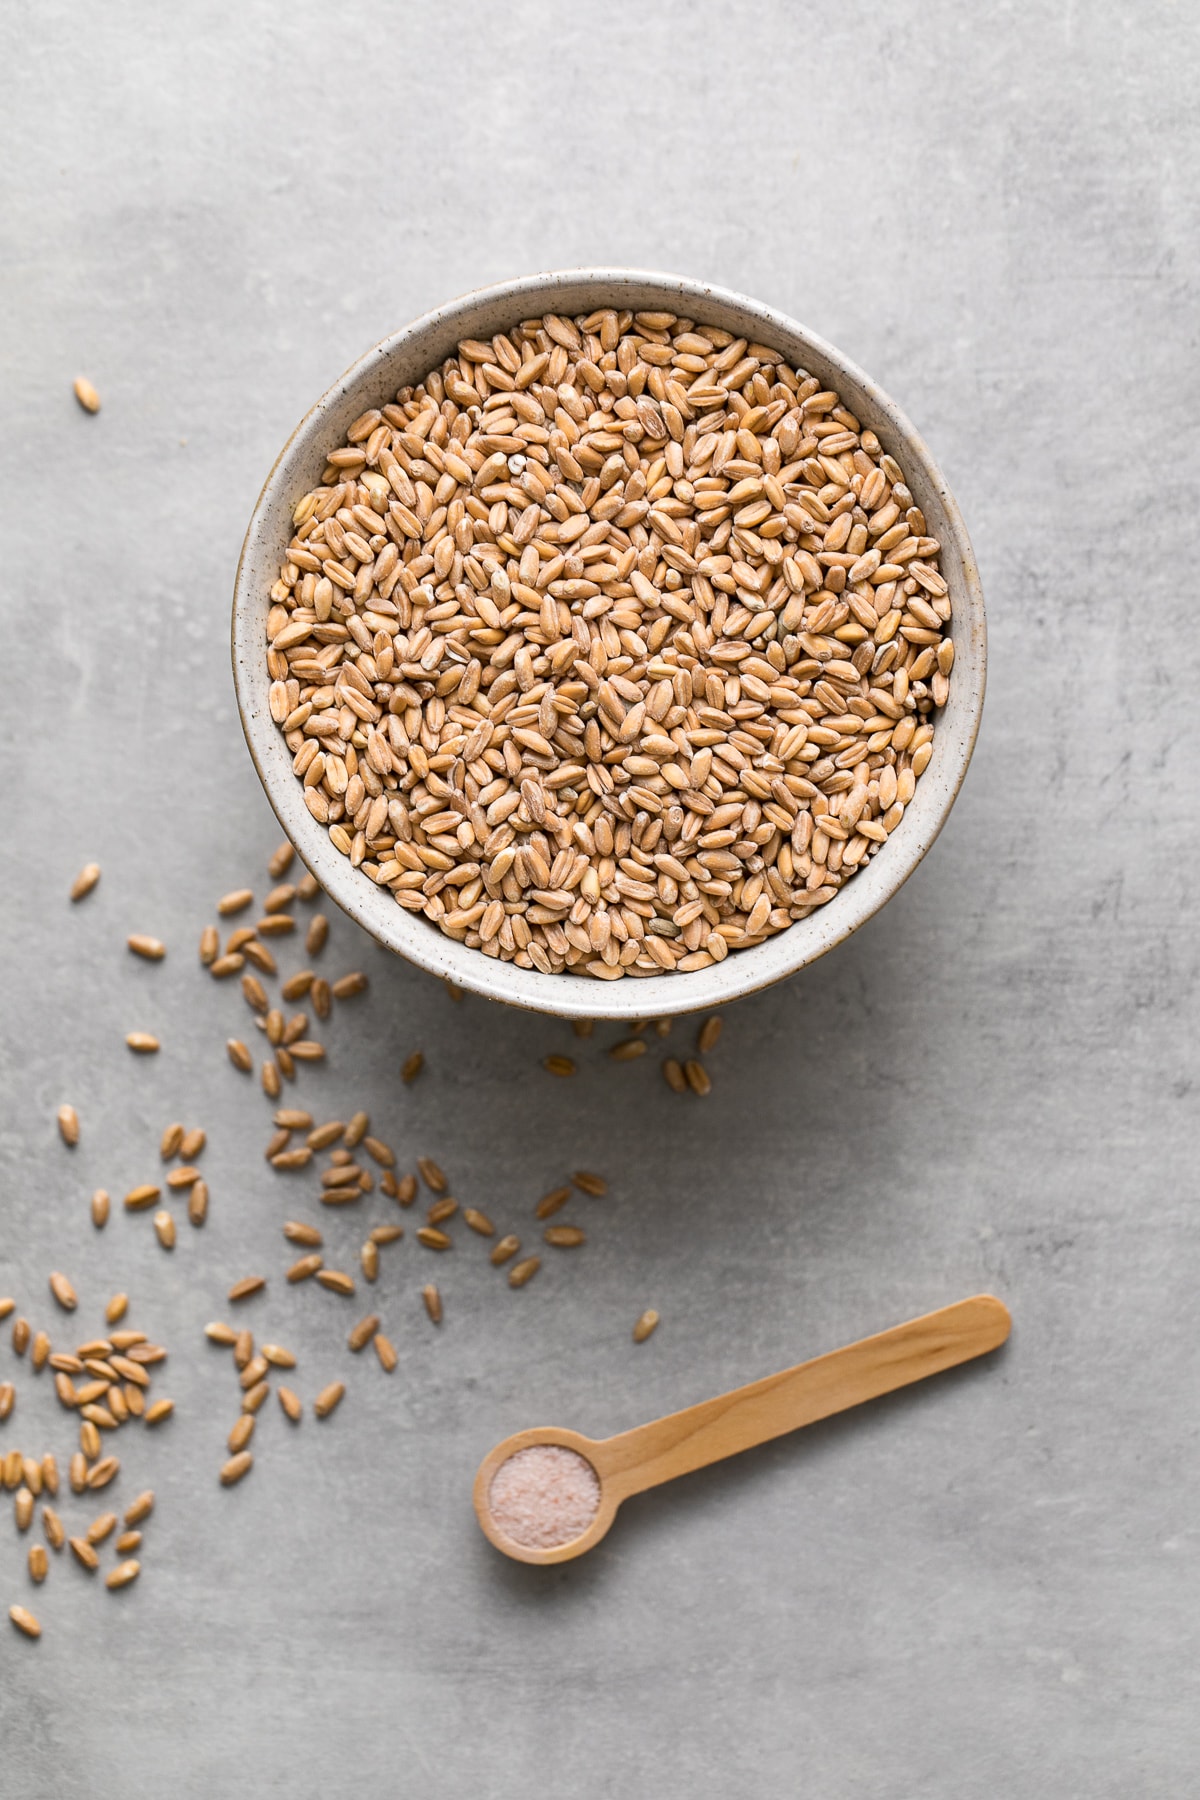
- Farro – see below for more about farro
- Salt – a generous pinch is all you need
- Water – can use vegetable broth or vegetable paste for added flavor
Selecting Farro
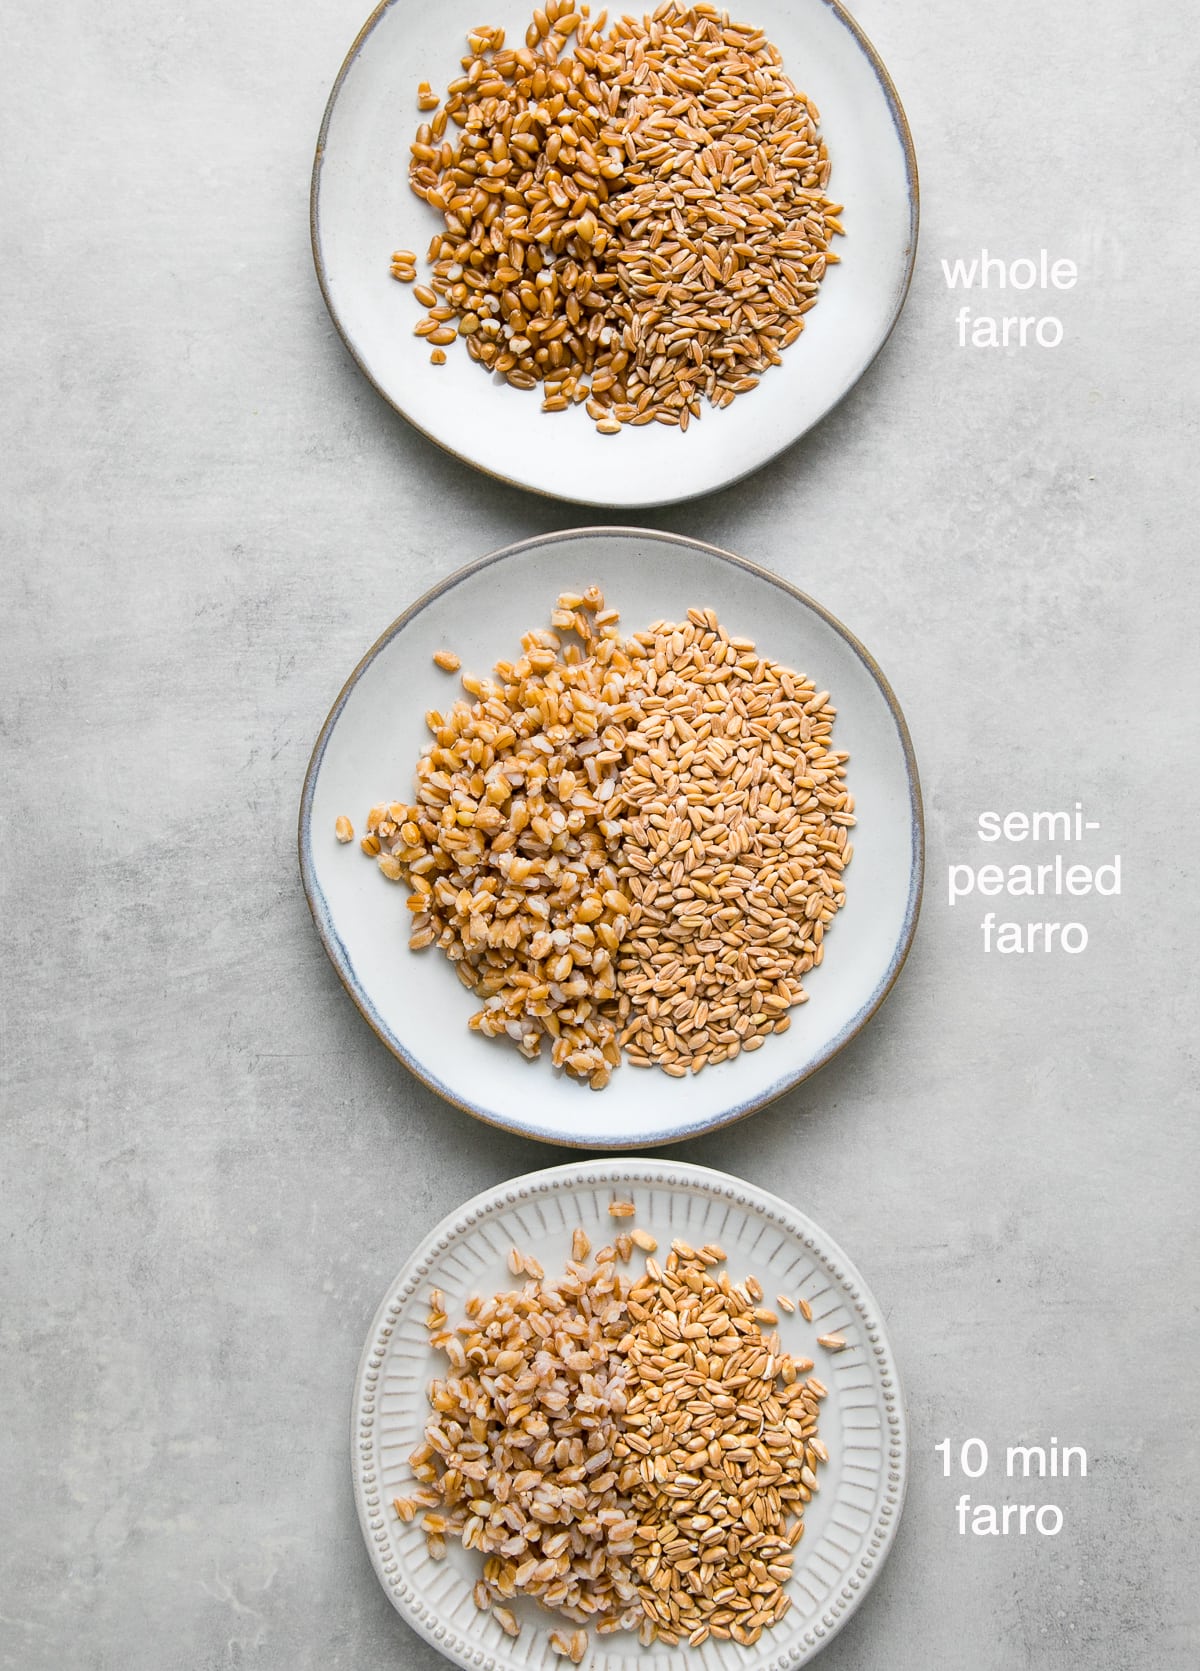
A few types of farro are sold in stores and online, so it’s good to know the variations as they cook differently. Here are the types of farro to look for:
- 10 min – This precooked farro is the fastest to cook. I used this 365 10-Min Farro (affiliate link).
- Pearled – Most of the bran has been removed.
- Semi-pearled – Some of the bran has been removed, retaining most of the nutrients. I used Bob’s Red Mill Farro and Rustichella Farro (affiliate links). This is my all around favorite type to use!
- Whole – The entire grain is intact and cooks up dark and plump. I used this whole-grain Emmer Farro (affiliate link). It was expensive, but it’s the real deal!
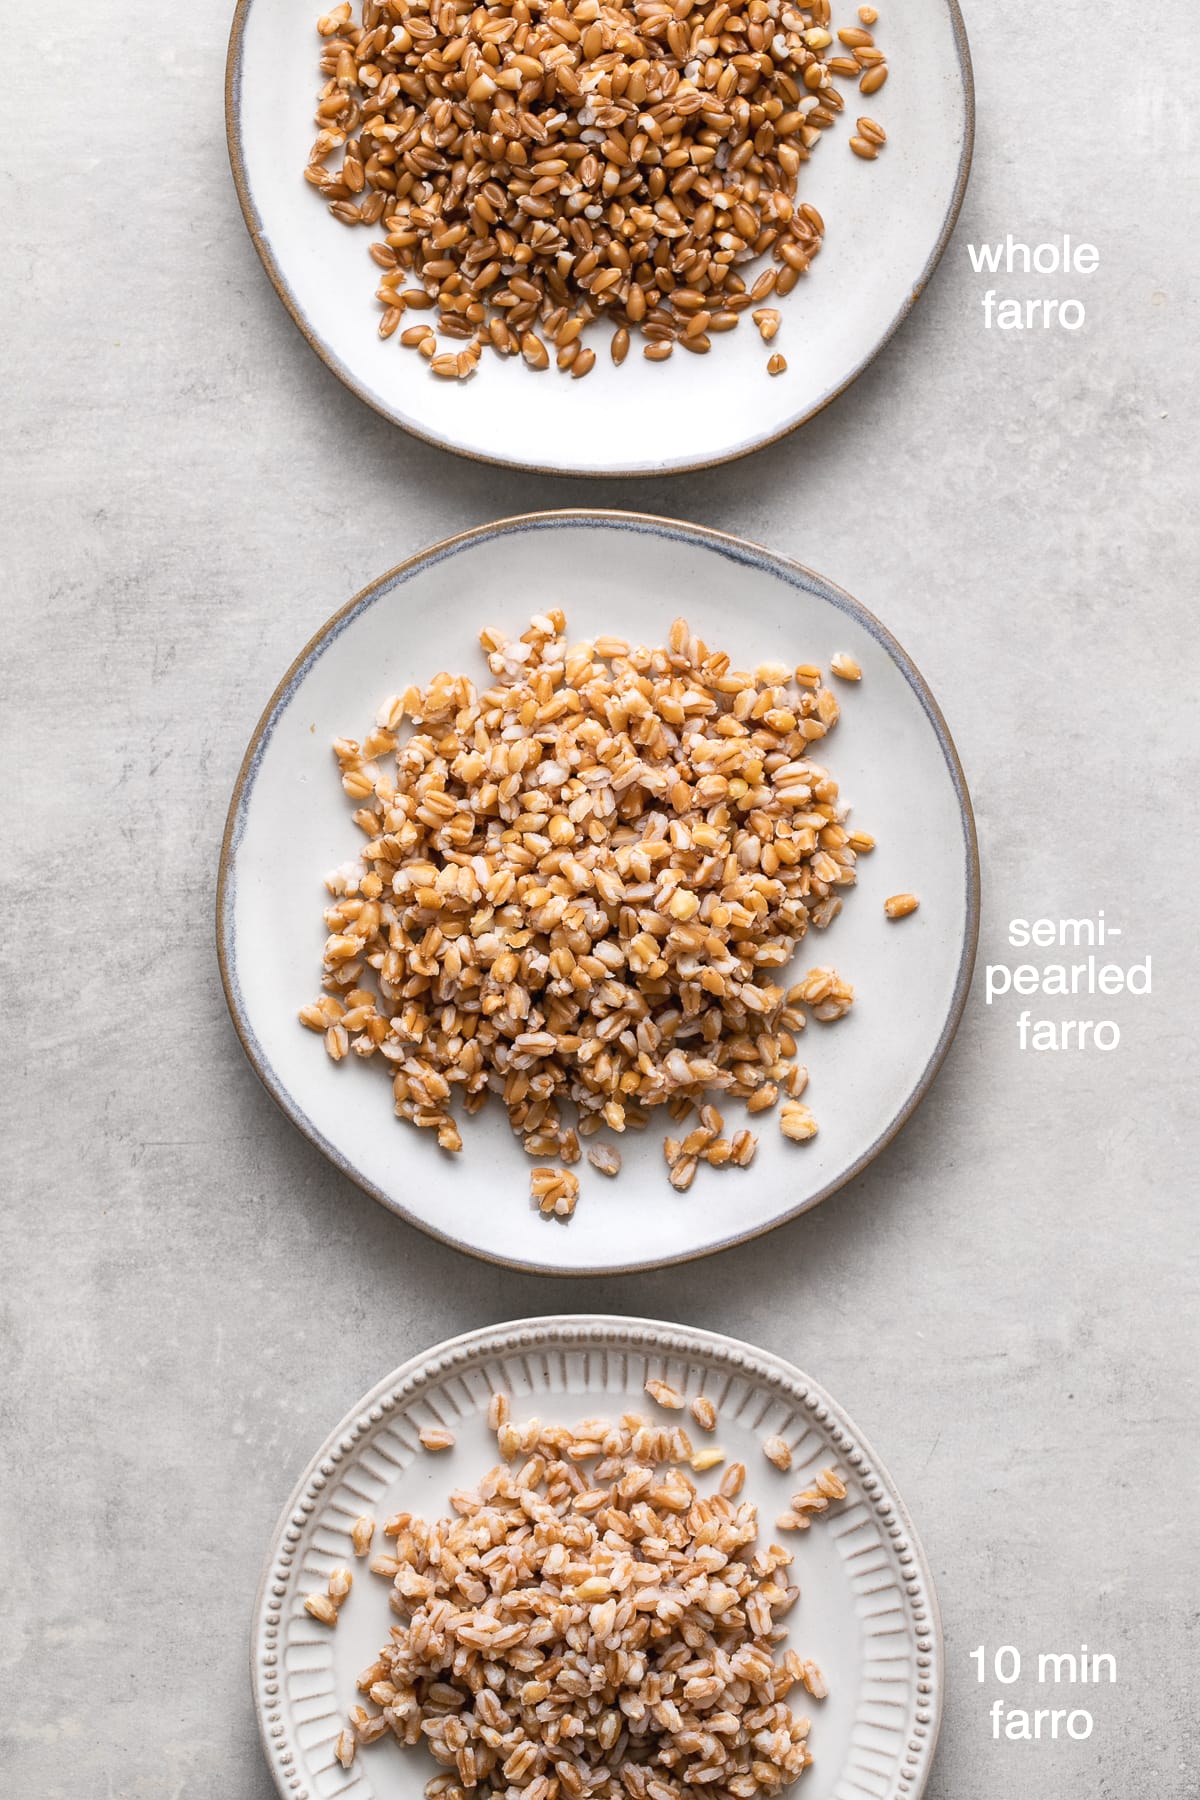
For reference, the picture above shows the before-and-after of the whole, semi-pearled, and 10-minute farro. The cooked portion is on the left, and the uncooked is on the right.
How To Make Instant Pot Farro
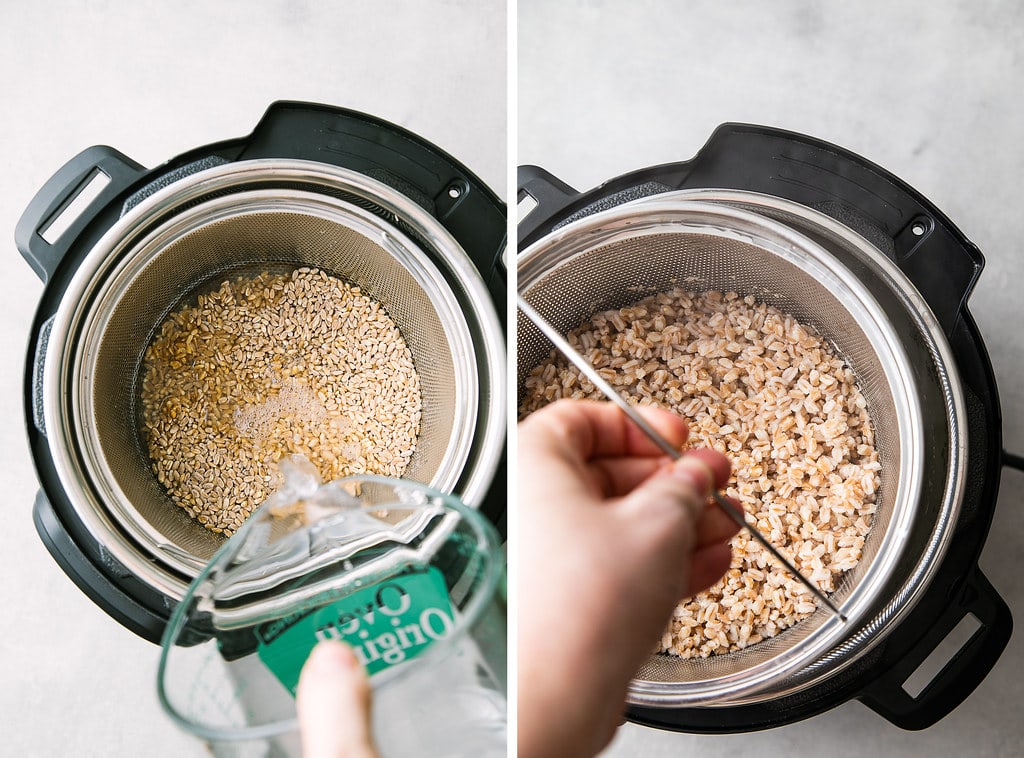
I’ve tested and retested to come up with the perfect farro every time. When cooking farro, I use a strainer for ease, but it’s not necessary.
- With strainer: Use 7 cups of water (takes 10 min to come to pressure).
- Without strainer: Use 3 cups of water (takes 5 min to come to pressure).
Cooking times:
- Pearled + Semi-pearled farro: Add farro, water and salt. Manually set to HIGH pressure for 7 minutes for al dente (great for salads) or 8 minutes for softer farro (perfect for soups). Quick release or give 5 minutes before releasing pressure. Drain and rinse farro.
- Whole farro: Add farro, water and salt, HIGH pressure for 10 minutes, set valve to sealing. Give 5 min to natural release.
- Drain and rinse farro.
- 10 Minute Farro: Adjust water with or without the strainer and cook on LOW pressure for 1 minute, set valve to the sealing position. Let natural release for 5 min.
- Drain and rinse farro.
Top Tips
Quick-release safety measure: When venting early, I put a thin folded kitchen towel over the valve so the pressure doesn’t spew liquids all over. If using a thicker towel, just one layer is good. You want to be sure it’s porous enough to let the steam through.
Rinse farro after cooking: Once farro is done, lift the strainer basket (or move the farro to a colander) and give a good rinse under cool or warm running water.
Recommended Equipment: For this Instant Pot, I used this perforated strainer (cutting off the black rubber handle to avoid cooking with plastic), but this official IP mesh strainer combo (affiliate links) looks great and is on my to-get list!
How To Store Leftovers
- Refrigerator: Leftovers can be stored in the refrigerator for 5 – 6 days.
- Freezer: Cooked farro can be stored in the freezer for 2 – 3 months. To freeze, spread the grains on a baking sheet in a single layer and place them in the freezer for at least 2 hours. Once the grains are frozen, transfer to freezer-safe containers or bags. It’s important not to skip the initial single-layer freeze, or the grains will freeze in one giant clump!
- Make ahead: Farro is great to make ahead, so you have it on hand for a quick lunch or dinner.
- Reheat: Warm on the stovetop over low, adding a splash of water for a little moisture, until warmed through. Alternatively, reheat in the microwave using 30 – 60-second intervals, stirring between intervals until warm.
Ways To Use Instant Pot Farro
This hearty and chewy grain can be used just about anywhere you would use rice, quinoa, or barley. Here are a few of my favorite options:
- Gratin: Serve as a bed for this Kale + Mushroom Gratin.
- Stews + Stroganoff: It’s fantastic served with this Mushroom Bourguignon or Vegan Mushroom Stroganoff.
- Vegetables: Serve with Savory Sautéed Kale, Vegan Collard Greens, or Skillet Asparagus & Tomato Medley.
- Buddha bowls: Farro is a hearty and healthy grain for Roasted Nourish Bowls or this Vegan Buddha Bowl.
- Breakfast bowls: Serve farro with fresh or dried berries, a little Vegan Cream, and a drizzle of pure maple syrup.
More Instant Pot Recipes!
- Vegan Mashed Potatoes (Instant Pot + Stovetop)
- Instant Pot Applesauce
- Instant Pot Black Beans
- Instant Pot Red Beans + Rice
- See all vegan Instant Pot recipes on TSV!
If you try this farro recipe, please let me know! Leave a comment and rate it below. I love to hear what you think, or any changes you make.
INSTANT POT FARRO (NO-FUSS RECIPE)
Easy, no-fuss Instant Pot Farro cooks without any hands-on time needed, simple add to the instant bowl, set the timer and cook, freeing up space on the stovetop!
- Prep Time: 1 min
- Cook Time: 25 min
- Total Time: 26 minutes
- Yield: Serves 4
- Category: Side
- Method: pressure cooker
- Cuisine: Vegan
Ingredients
- 1 cup farro
- 3 – 7 cups water
- generous pinch of salt
Instructions
- With strainer: Use 7 cups of water (takes 10 min to come to pressure).
- Without strainer: Use 3 cups of water (takes 5 min to come to pressure).
Cooking times (recipe if for a 6qt. Instant Pot):
- Pearled + Semi-pearled farro: Add farro, water and salt. Manually set to HIGH pressure for 7 minutes for al dente (great for salads) or 8 minutes for softer farro (perfect for soups). Set the valve to SEALING. After cooking, quick release right away or give 5 minutes before releasing pressure.
- Whole farro: Add farro, water and salt, HIGH pressure for 10 minutes, set the valve to SEALING. Give 5 min to natural release before releasing pressure.
- 10 Minute Farro: Adjust water with or without the strainer and cook on LOW pressure for 1 minute, set the valve to SEAL. Let natural release for 5 min.
Drain: Once farro is done, lift the basket (or transfer the farro to a colander) and give it a good rinse under cool or warm running water.
Use in salads, casseroles, soups, nourish bowls, and more.
Serves 4
Notes
Add flavor using vegetable broth or vegetable paste with water.
Tip: When venting early, I put a thin folded kitchen towel over the valve so the pressure doesn’t spew liquids all over. If using a thicker towel, just one layer is good. You want to be sure it’s porous enough to let the steam through.
Storing:
- Refrigerator: Cooked farro can be stored in the refrigerator for 5 – 6 days.
- Freezer: Farro is freezer friendly and be kept for 2 – 3 months in the freezer. To freeze, spread the grains on a baking sheet in a single layer, and place in the freezer for at least 2 hours. Once the grains are frozen, transfer them to freezer-safe containers or baggies. It’s important to not skip the initial single layer freeze, or the grains will freeze in one giant clump!
- Make ahead: Farro is great to make ahead and keep stored so you have on hand for a quick and easy grain when fixing a quick lunch or dinner.
- Reheat: Warm cooked farro on the stovetop over low, adding a splash of water for a little moisture, until warmed through. Alternatively, reheat in the microwave using 30 – 60 second intervals, stirring between each interval, until warm.
Recommended Equipment: I used this Instant Pot and perforated strainer (cutting off the black rubber handle to not cook with plastic), but this official IP mesh strainer combo looks great too (affiliate links).
FOLLOW TSV on Facebook, Instagram, Pinterest, Youtube, Subscribe (email), or RSS for more recipes and inspiration!
I haven’t tried Farro, but I think that I should. All of your recipes look quite tasty!
This for sure gets the 5 stars… I did not use the strainer and it turned out perfectly! This is a really delicious grain and so so easy to make in the instant pot! I like the chewy texture of this… Thanks for the instructions! I did not use the strainer and it turned out perfectly!
I made it using no strainer method.
9 minutes as I was worried about being gummy. Hi pressure. Rinsed and drained. Perfect.
Making a farro salad for our upcoming farm party, any recommendation for changes to cooking time, etc. when making more than the one cup of farro? And in a 6-quart Instant Pot, any guidance on the maximum amount I should attempt to make?
Great question, Sandy! Although I haven’t tested using more than 1 cup of farro at a time, I feel you can go up to 2 cups of farro with an additional 2 cups of water using any of the directed cooking methods. Cooking times will stay the same. I hope that helps. Do let us know how it goes, it’s helpful to others that may have the same question!
Initially I tried using the basket, and I had to keep adding more time. I think it may be because I’m using the bigger instant pot. Today I tried it putting the water and Farro directly into the pot and it came out perfectly! I am currently trying the freezing technique. This will save me so much $ (usually buying pre-cooked frozen from the store). Thank you!
This instapot recipe should be recalled. 9 cups of water for three cups of farro left me with watery mush. Hoping the water burns off eventually.
Thanks for sharing, Greg! You will need to drain the water after cooking. I cook my farro similar to pasta which needs to be drained. Sorry if that didn’t work for you.