Roasted Brussels Sprouts
Make perfectly crispy Roasted Brussels Sprouts with this super easy, no-fuss recipe that even non-brussels sprouts lovers will devour! Easily customizable, with a healthy oil-free option, and great for casual or elegant dining!
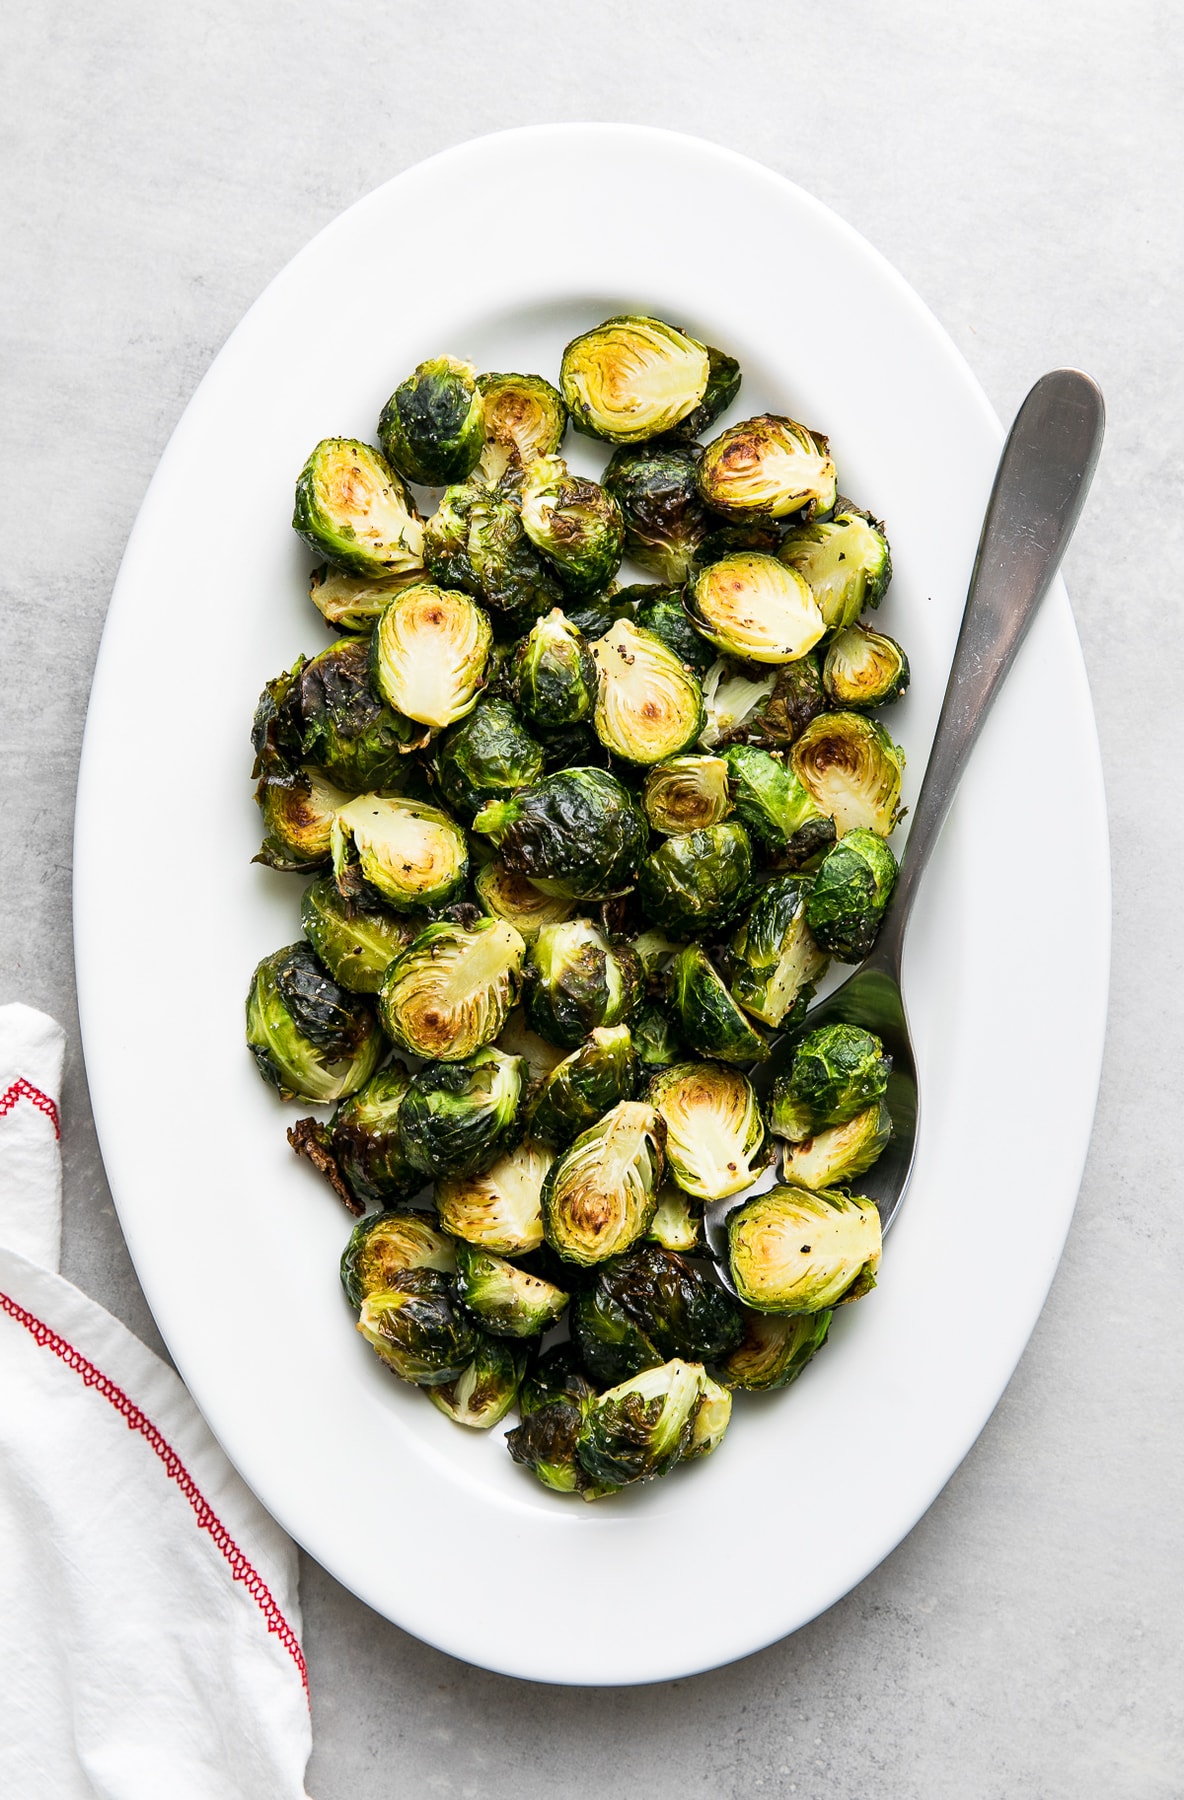
This crispy roasted Brussels sprouts recipe is my mom’s favorite way to make Brussels sprouts, and I couldn’t agree with her more! After having them over the Thanksgiving Holiday, I decided it was time to bring this simple recipe to TSV.
Brussels sprouts (much like its cousin, cauliflower) are best roasted until the edges are caramelized and the center is tender. It’s a perfect combination of texture and flavor!
These green leafy globes are in season most of the year in California. In the U.S. in general, brussels sprouts are in season and at their best from September to April. They are a fall and winter produce.
With just a few ingredients, a baking sheet with an optional liner, and 30 minutes, you’ll have perfectly crispy and delicious roasted Brussels sprouts to adorn your dinner table. You can also eat them as a mono meal with a creamy tahini sauce or sriracha aioli.
So without further ado, let’s get to the good stuff!
Ingredients + Substitutions
Brussels sprouts don’t need much to be perfect, but of course, a few flavors can be added for variations that don’t hurt one bit.
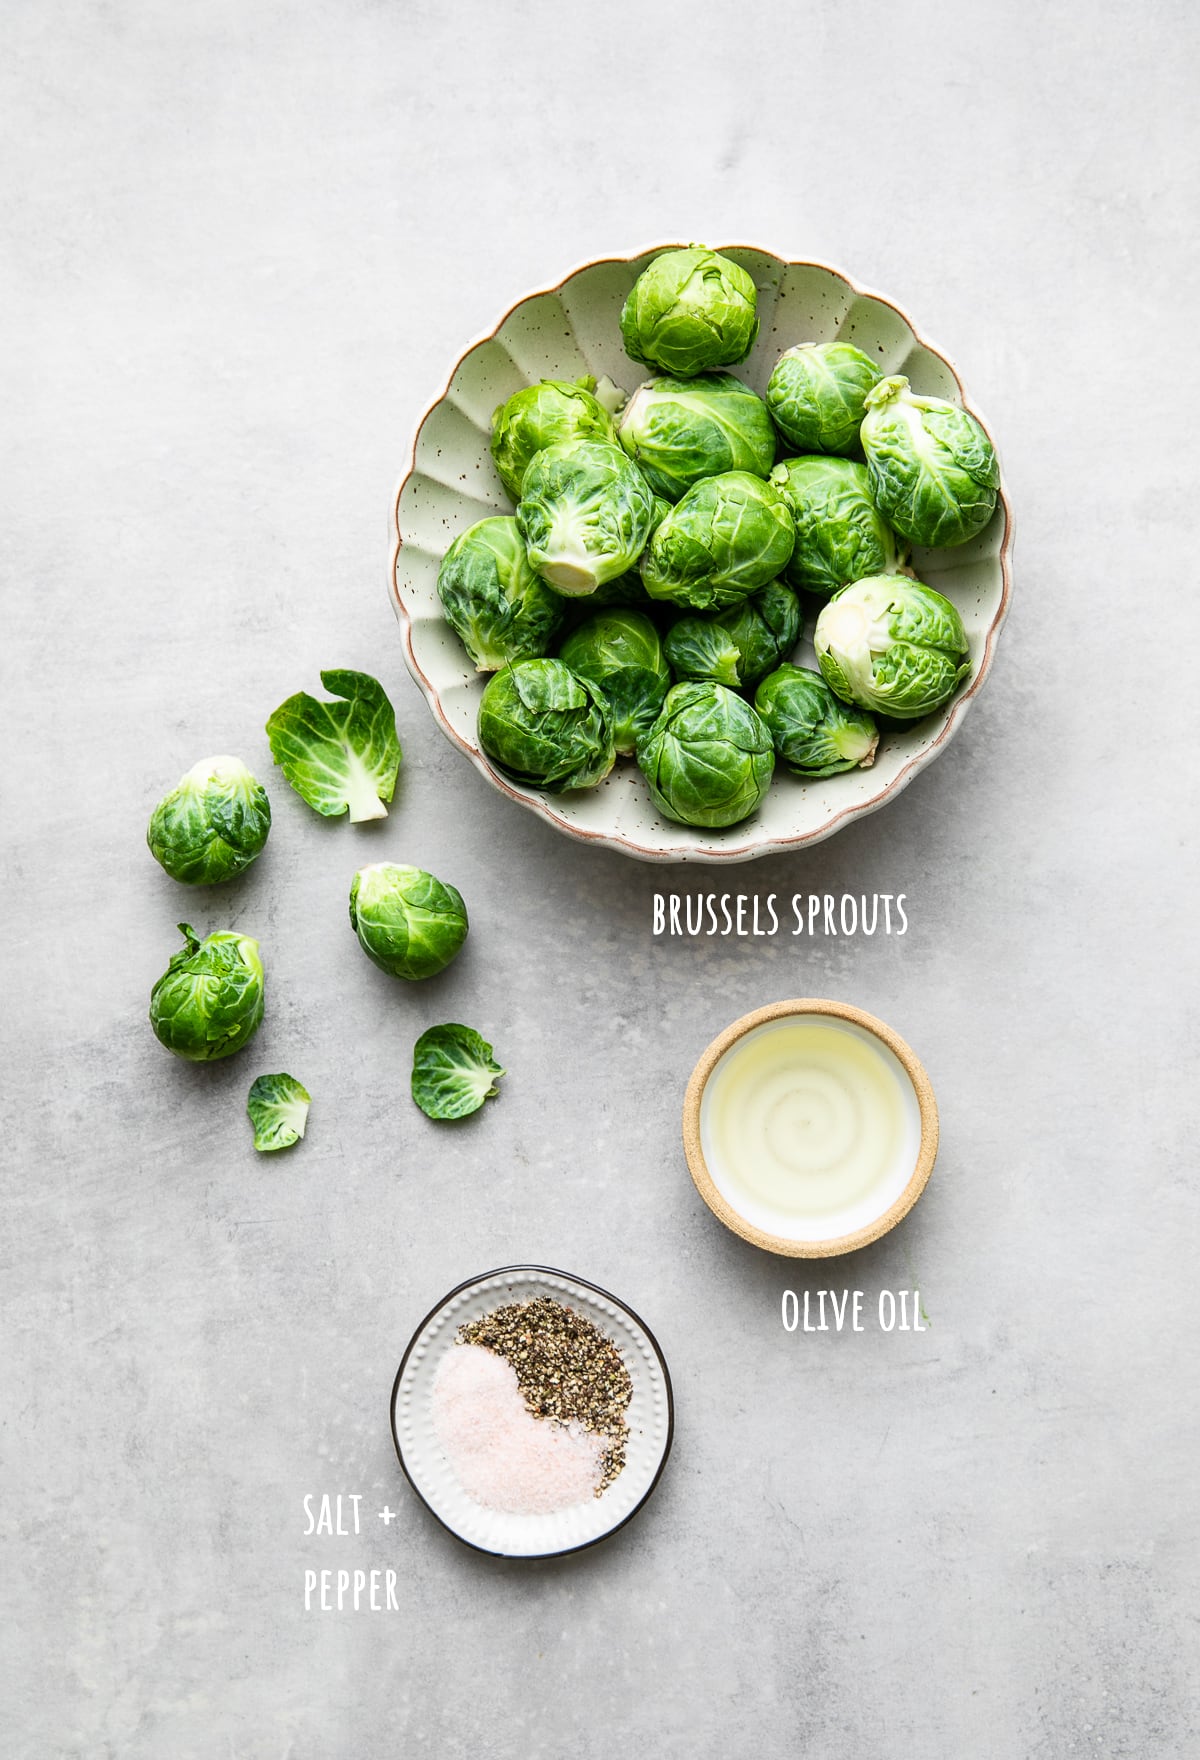
Here is everything you will need, including a few ideas to change up your Brussels sprouts when you want something different (measurements are in the recipe card below):
- Brussels sprouts – use pre-packaged or fresh off the stalk
- Olive oil – use garlic olive oil for flavor, or sub with avocado, organic canola, or sesame oil. (See the tips below for an oil-free option.)
- Salt + pepper
How To Make Crispy Roasted Brussels Sprouts
Here is a quick look at the steps. See the bottom of the post for a full printable recipe card.
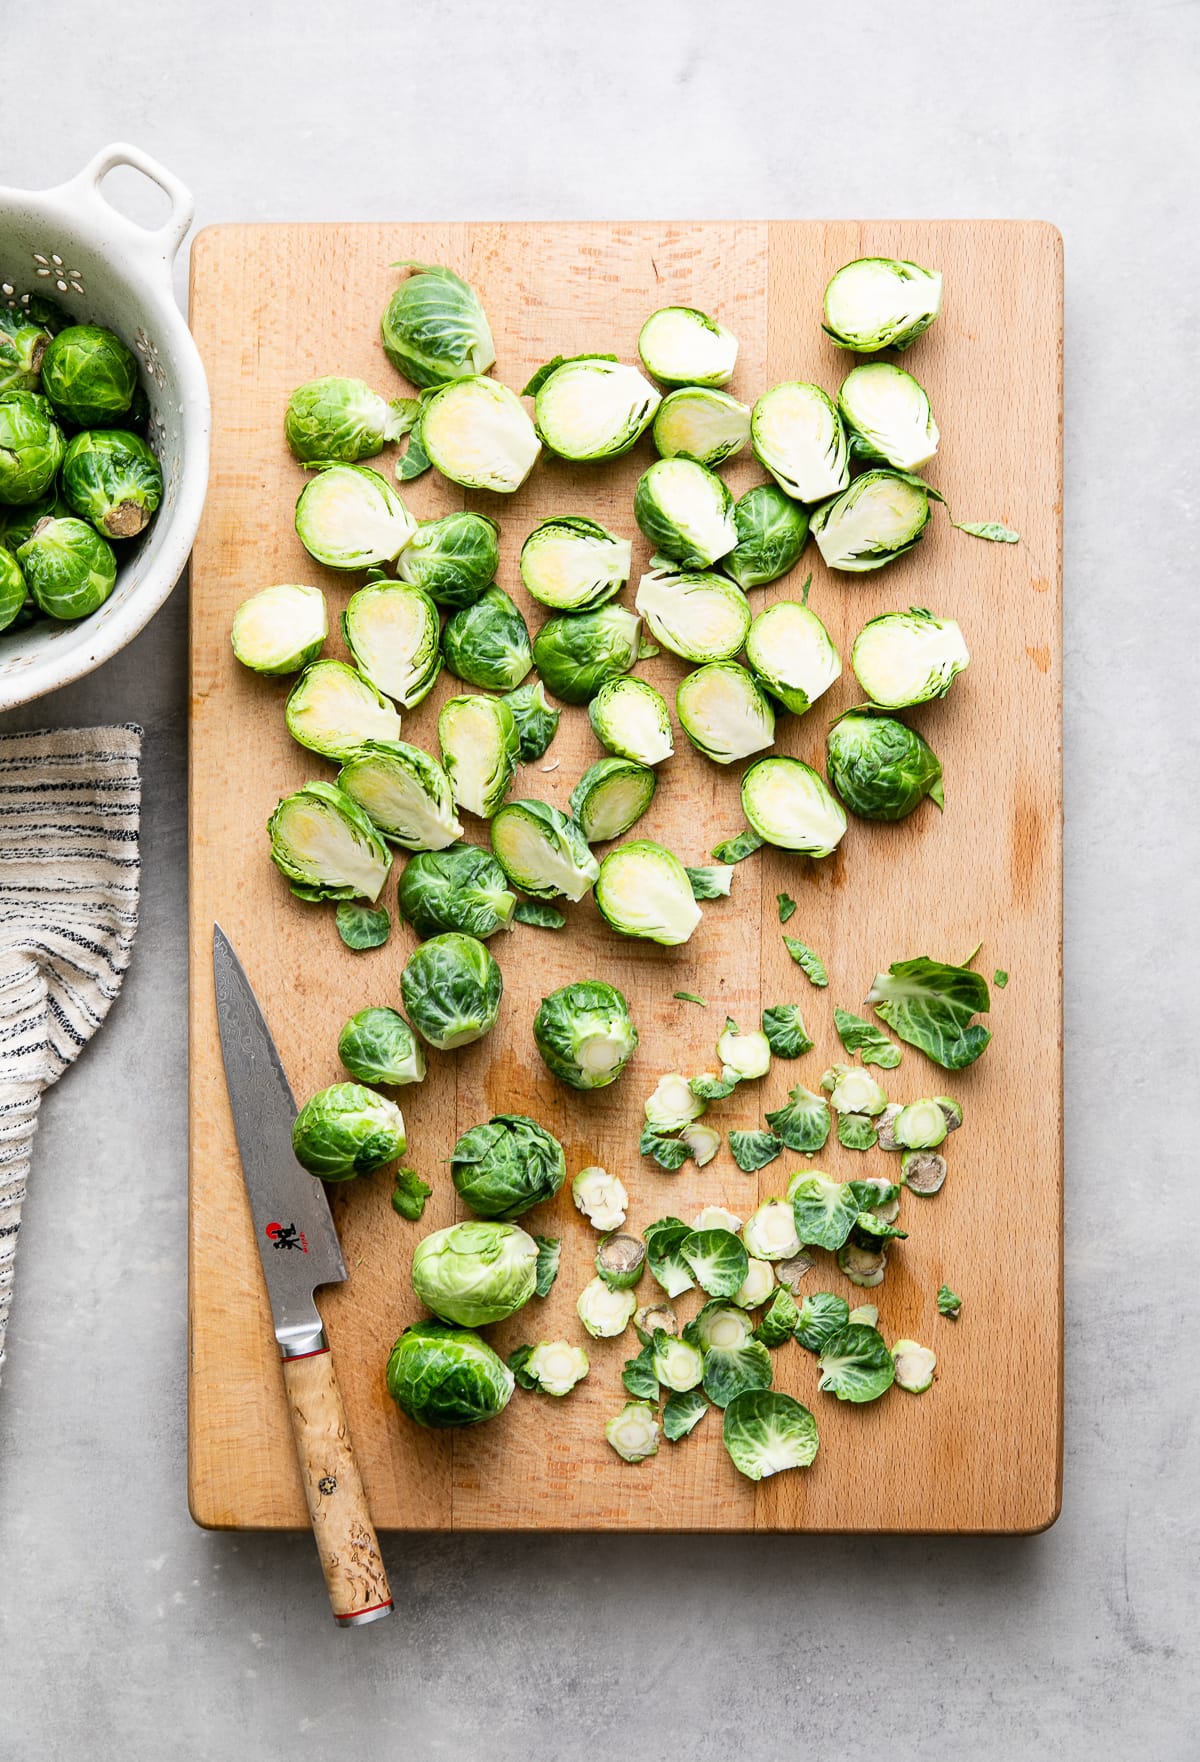
- Trim ends and cut in half. If needed, rinse the sprouts under cool running water and pat dry. Trim the bottom end of the sprouts to remove any unsightly dry and/or dark-colored ends. Slice in half. If they are on the larger side, you can quarter them, but the results are best (in my opinion) if they are cut in half.
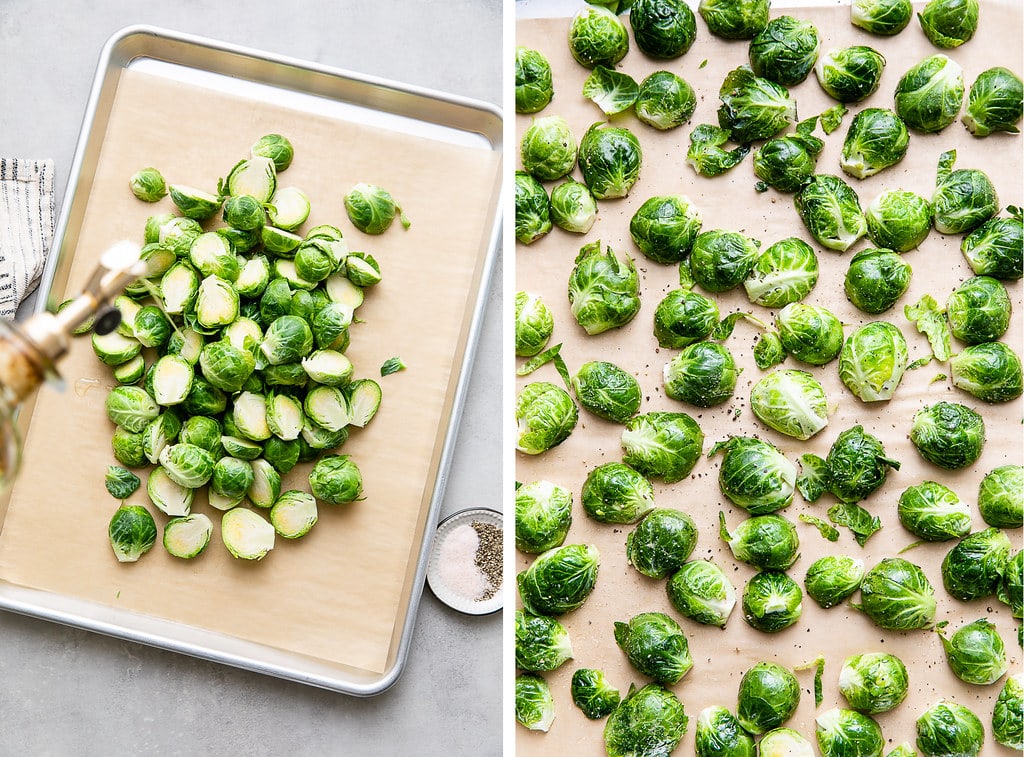
- Oil and season. Place Brussels sprouts on a rimmed baking sheet, lined or unlined, and drizzle with oil (see oil-free tips below), a generous pinch of salt, and a few twists of fresh cracked pepper. Toss to coat.
- Arrange in a single layer, cut side down. Place the Brussels sprouts cut side down and evenly spread them in a single layer on the baking sheet. Placing the Brussels sprouts cut side down keeps the moisture in for a caramelized and tender center while allowing the outside to achieve crispy goodness.
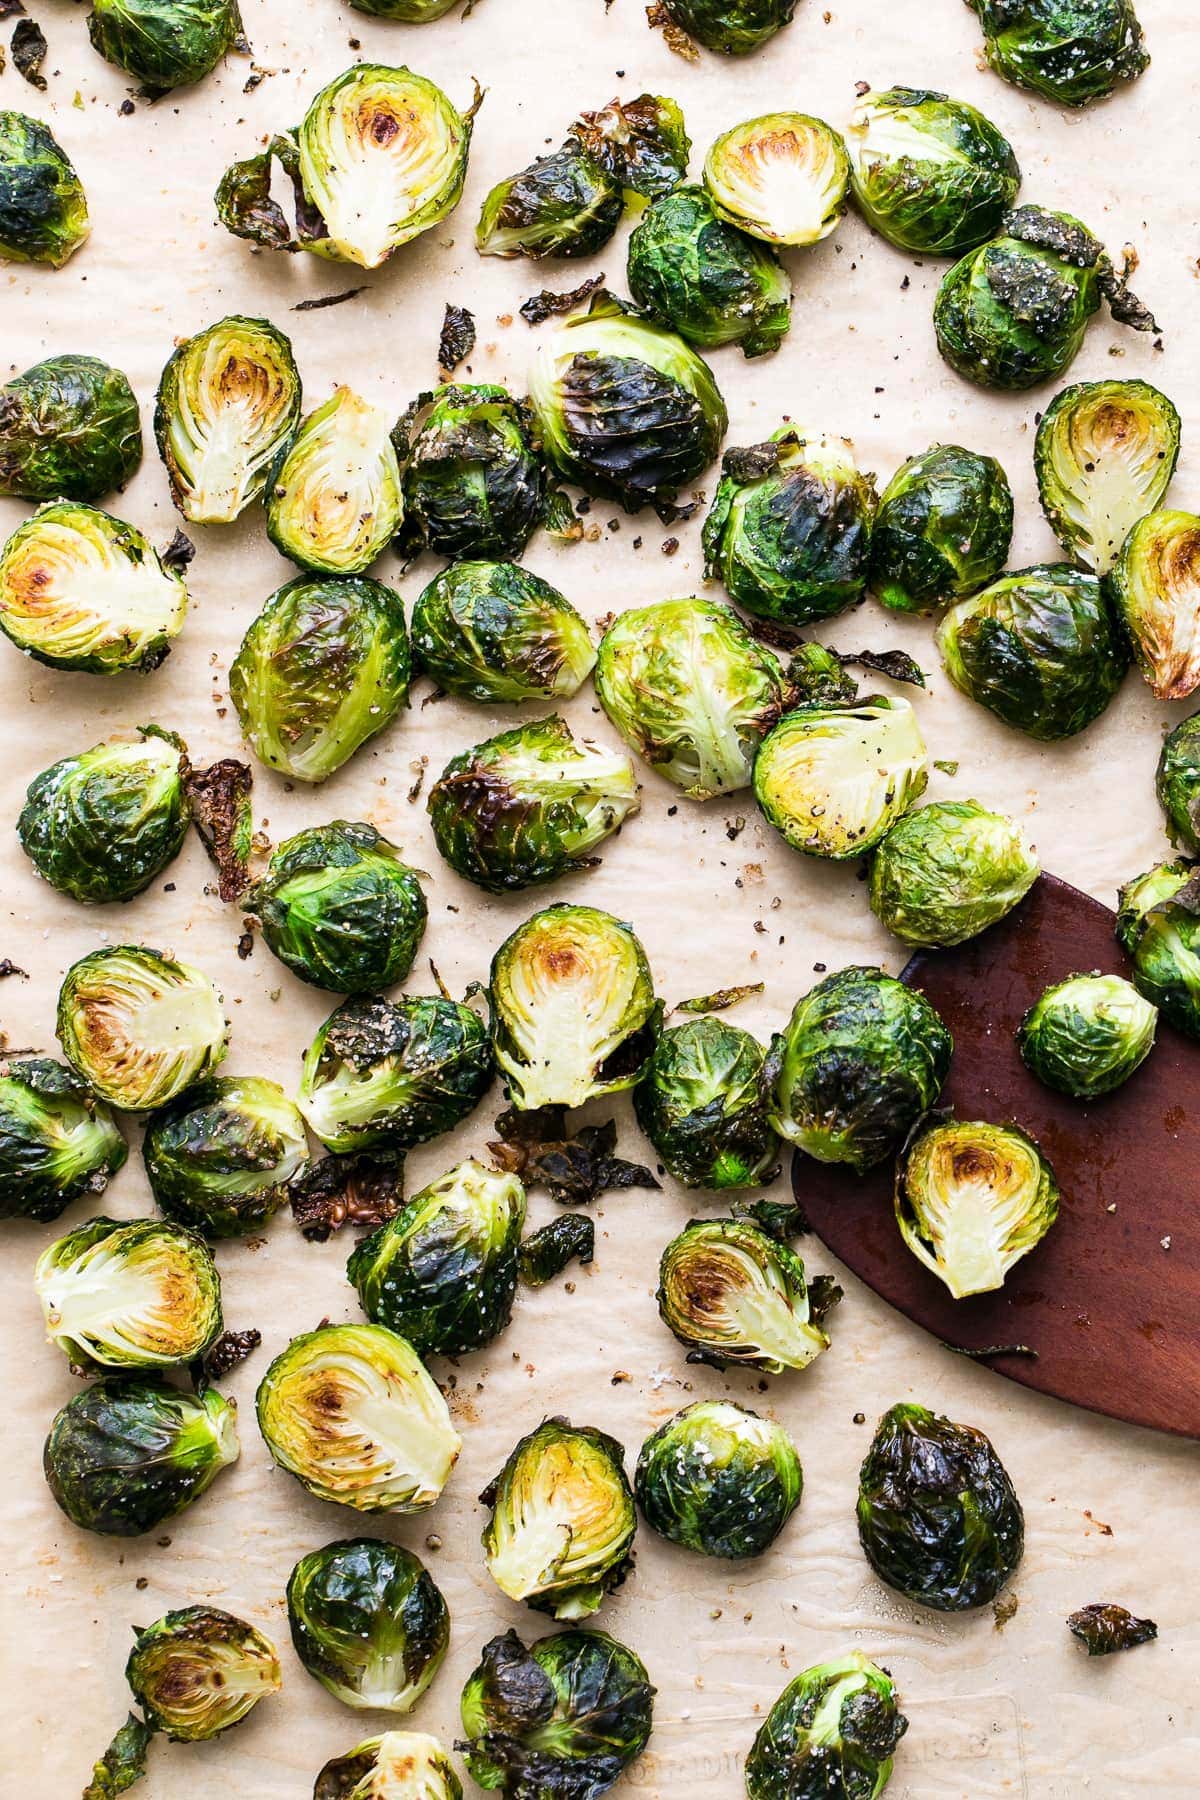
- Roast and relax. Place Brussels sprouts in the oven preheated to 425, on the center rack, and roast for 25 – 30 minutes.
And there you have it!
Perfect. Crispy. Roasted Brussels sprouts even non-sprout lovers will enjoy!
Roasting Tips
- Don’t cover during roasting. Covering brussels sprouts during roasting will trap in too much moisture, keeping them from crisping properly.
- Place them cut-side down. Placing Brussels sprouts cut side down will keep the moisture in for a tender center that’s caramelized on the cut while allowing the outside to achieve crispy goodness for a perfect combination of textures and flavors.
- No need to flip or toss during cooking. They roast just fine without the need to toss them. The only fussing you may want to do is rotate the pan 180 degrees halfway through roasting to ensure even cooking.
- Make them Oil-Free. You can easily make crispy roasted brussels sprouts oil-free by using 2 – 3 tablespoons canned chickpea juice instead of oil. Alternatively, use water, vegetable broth, lemon juice, or balsamic vinegar.
- A convection oven cooks faster. If using one keep an eye on them after 15 – 20 minutes as they cook faster.
Flavor Variations
Here are a few easy and delicious flavor combinations to try:
- Holiday festive – Dried cranberries and chopped walnuts (or pecans) add a festive touch to the holiday table. Add up to 1/2 cup each to the roasting pan 5 – 7 minutes before brussels sprouts are done. The cranberries alone add a wonderful sweetness and pop of color!
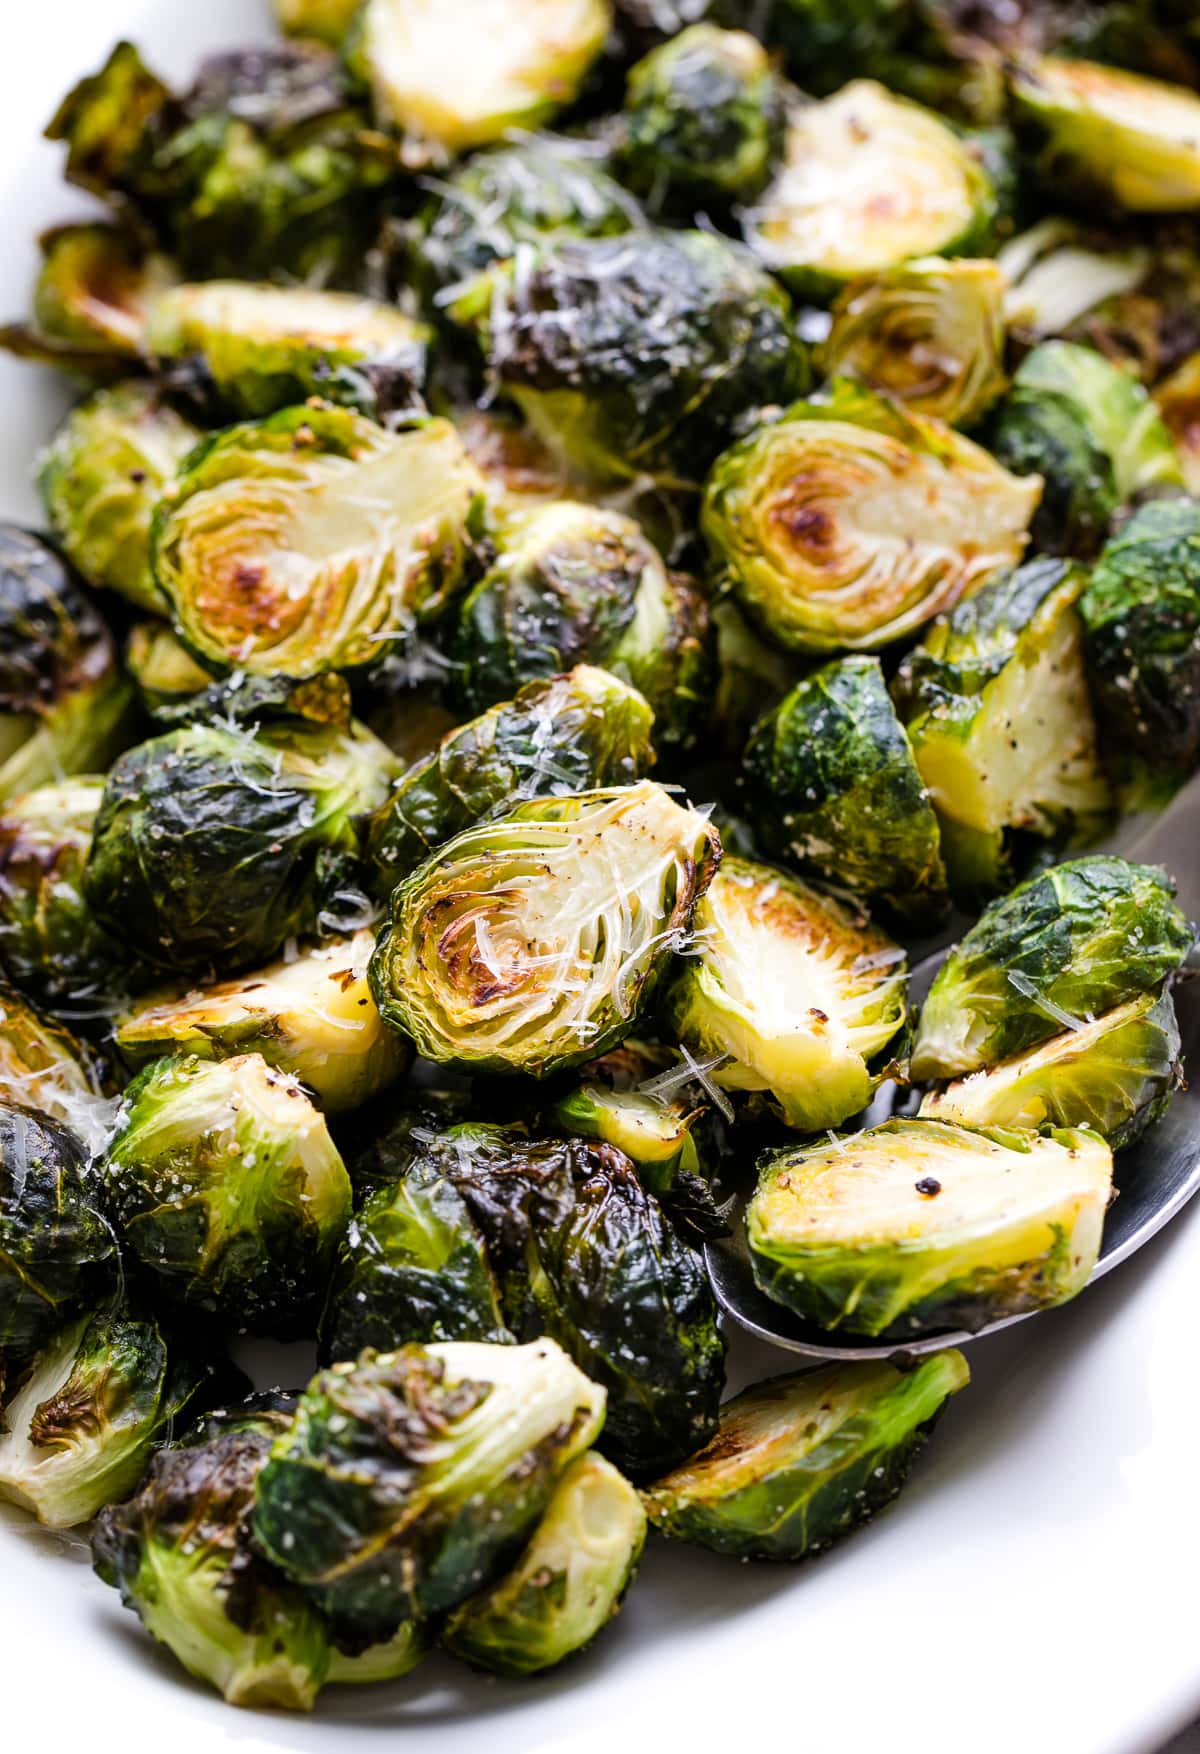
- Vegan Parmesan – I love adding Violife, shaved or grated, just after the sprouts are pulled from the oven.
- Garlic + Lemon – Before roasting, add a dusting of garlic powder or a few whole cloves of garlic to the roasting pan. Once roasted, you can also add a small squeeze of lemon. Better yet, use a good olive oil infused with garlic or lemon!
- Mustard + Lemon – Toss the roasted brussels sprouts in this 4 ingredients mustard dressing.
- Balsamic Glaze – This classic pairing is always a winner. Once roasted, simply toss with a few tablespoons of your favorite balsamic glaze.
How to Store + Reheat
- Refrigerator: Leftovers can be stored in a sealed container for 5 – 6 days.
- Freezer: Roasted Brussels sprouts can be stored in the freezer for up to 2 months. To freeze, let cool completely and store in freezer-safe containers (affiliate links) or Ziploc bags. If freezing a large amount and you don’t want them to stick together when freezing, simply place them on a baking sheet in a single layer and freeze for 2 hours. Once sprouts are frozen, place them in freezer-safe containers or Ziploc bags. Let thaw before reheating.
- Reheat: They are best reheated in the oven or toaster oven set to 375 degrees. Layer them on a baking sheet and bake until warmed through, about 10 – 15 minutes.
Serving Suggestions
Whether eating alone or entertaining a crowd, here are a few of my favorite options that pair well with roasted brussels sprouts.
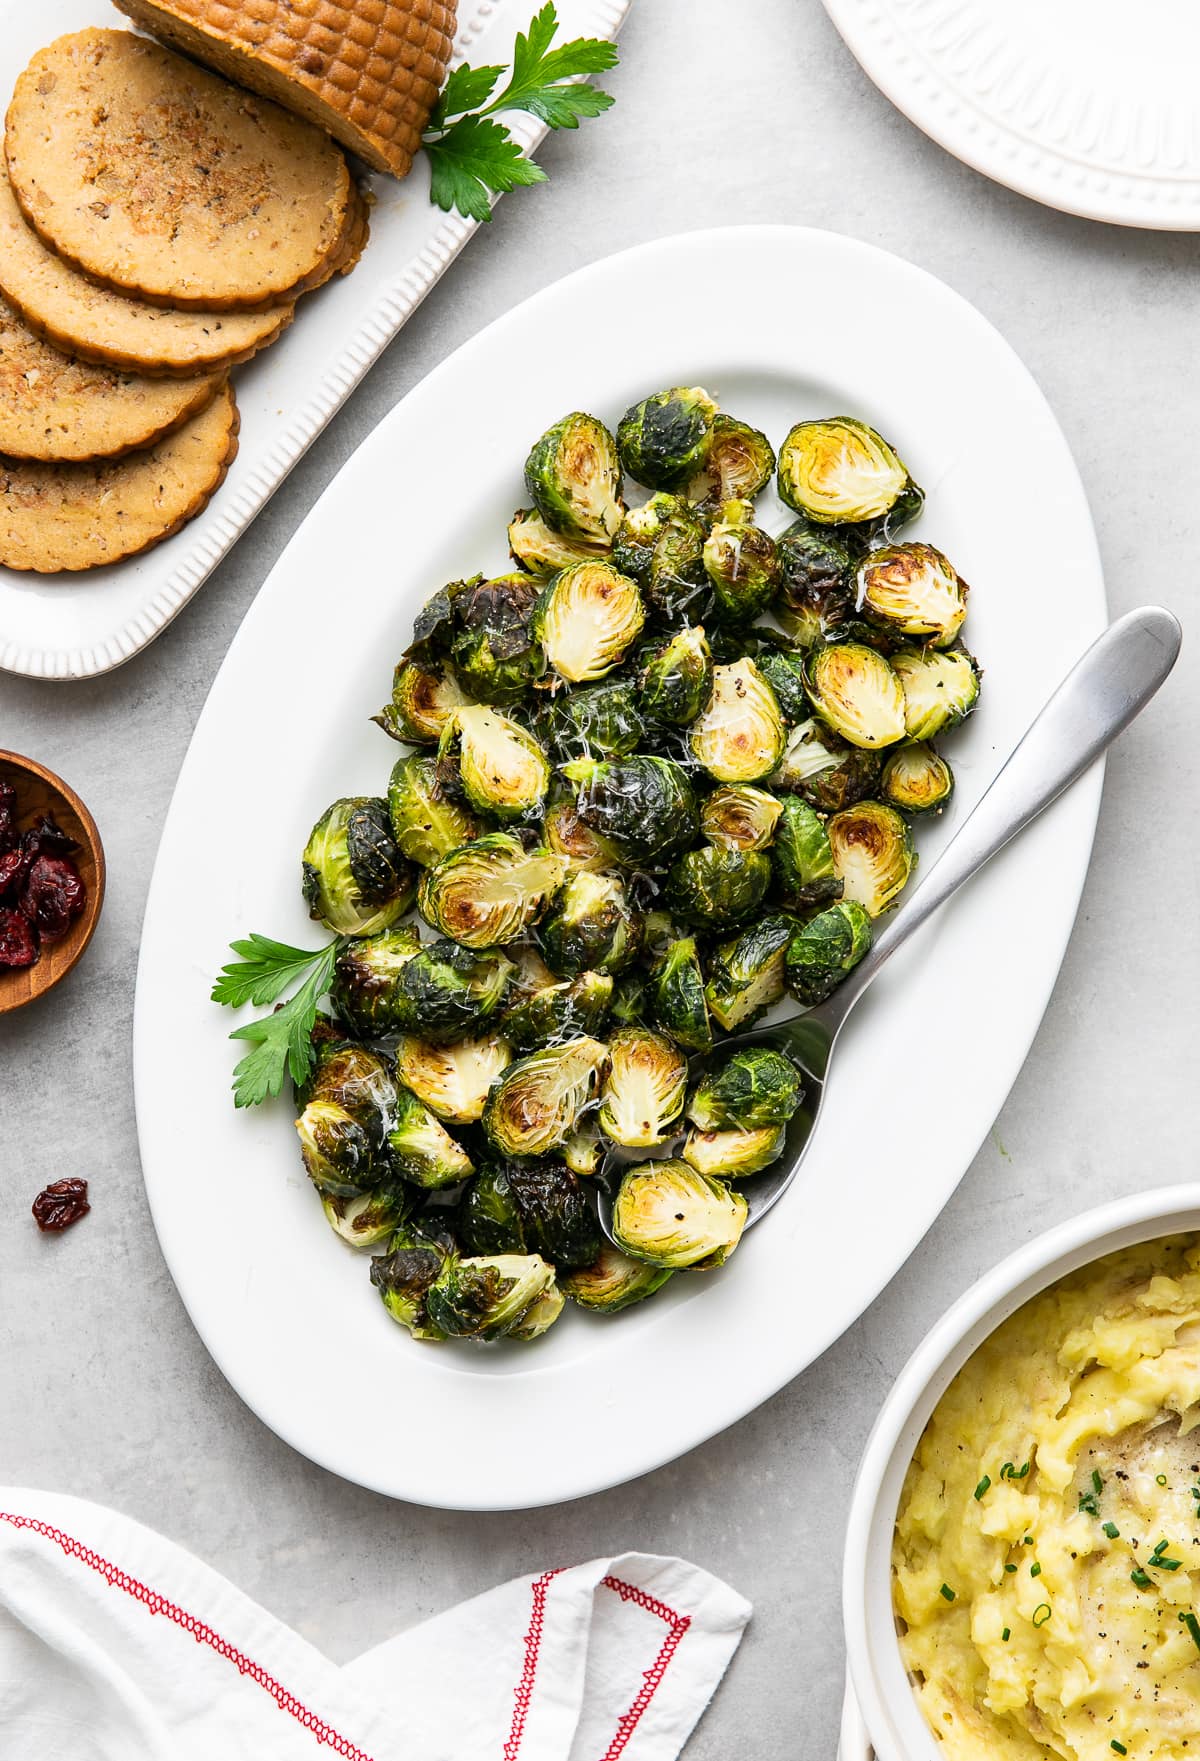
- Loaf: As a main dish, homemade Ultimate Vegetable Lentil Loaf, Lentil Walnut Loaf, or store-bought Field Roast (shown below) is delicious.
- Potatoes: Pair with a side of Mashed Potatoes, Vegan Scalloped Potatoes, or Easy Oven Roasted Red Potatoes.
- Salad: Pair with this festive Roasted Delicata Squash + Cranberry Salad or Roasted Butternut Squash Quinoa Salad.
- Gravy: Serve with a drizzle of Vegan Mushroom Gravy or you might prefer this Country Gravy.
- Sauce: I love roasted brussels sprouts with a simple lemon tahini dressing, cashew-based Vegan Aioli, or spicy Sriracha Aioli.
If you try this easy side dish recipe or have a question, please let me know! Leave a comment and rate it below. I love to hear what you think, or any changes you make.
CRISPY ROASTED BRUSSELS SPROUTS
Make perfectly crispy, caramelized, and tender Roasted Brussels Sprouts with this easy, no-fuss recipe that even non-brussels sprouts lovers will devour! Easily customizable and includes a healthy, oil-free option!
- Prep Time: 10 min
- Cook Time: 25 min
- Total Time: 35 minutes
- Yield: Serves 4 – 6 1x
- Category: Side
- Method: roast
- Cuisine: American
- Diet: Vegan
Ingredients
- 1 – 1 1/2 lbs. brussels sprouts
- 2 tablespoon olive oil (or 3 – 4 tbsp. aquafaba)
- salt + pepper, season to taste
Instructions
Preheat oven to 425 degrees F. Line a rimmed baking sheet lined with parchment paper or lightly grease the pan when tossing the brussels sprouts (the latter will caramelize best, but make for more cleanup).
Trim ends and cut in half: Trim the very end of the sprouts to remove any unsightly dry and/or dark colored ends and leaves. Slice in half lengthwise (top to end). If on the larger side you can quarter them, but results are best (imo) if they are cut in half to hold in the moisture.
Oil and season: Place brussels sprouts in the center of a rimmed baking sheet and drizzle with oil, generous pinch of salt and few twists of fresh cracked pepper, toss with your hands to coat.
Arrange in single layer, cut side down: Place the brussels sprouts cut side and evenly spread them in a single layer on the baking sheet with a little space in between each for air flow.
Roast: Place baking sheet on the center rack and roast for 25 – 30 minutes.
Serves 4 – 6
Store: leftovers can be kept in the refrigerator for up to 5 – 6 days. For longer storage, freeze for up to 2 – 3 months. Thaw before reheating.
Notes
Flavor Variations
- Holiday festive – Dried cranberries and chopped walnuts (or pecans) add a festive touch for the holiday table. Add up to ½ cup each to the roasting pan 5 – 7 minutes before brussels sprouts are done. The cranberries alone add a wonderful sweetness and pop of color!
- Vegan Parmesan – I haven’t tempted a block style plant based parmesan, but Violife makes one that not only tastes delicious, but it can be shaved and grated just like the dairy version (picture below shows some grated overtop). Add when just pulled from the oven.
- Garlic + Lemon – Add a dusting of garlic powder or add a few whole cloves of garlic to the roasting pan before roasting. You can also add a small squeeze of lemon once roasted. Or better yet, use a good olive oil infused with garlic or lemon!
- Mustard + Lemon – Toss the roasted brussels sprouts in this 4 ingredients mustard dressing.
- Balsamic Glaze – This classic pairing is always a winner. Once roasted, simply toss with a few tablespoons of your favorite balsamic glaze.
Helpful Tips
- Don’t cover during roasting. Covering your brussels sprouts during roasting will trap in moisture, keeping your brussels sprouts from crisping properly.
- Roast Cut-side down. Placing the brussels sprouts cut side down will keep the moisture in for a tender center that’s caramelized on the outside, while allowing the outside to achieve crispy goodness for a perfect combination of textures and flavors.
- No need to flip or toss during cooking. Brussels will roast just fine without the need to toss them. The only fussing you may want to do is rotate the pan 180 degrees halfway through roasting to ensure even cooking.
- Make them Oil-Free. You can easily make crispy roasted brussels sprouts oil-free by using 2 – 3 tablespoons canned chickpea juices. Alternatively, use water, vegetable broth, lemon, or balsamic vinegar.
- A convection cooks faster. If using a convection oven, they will cook faster so keep an eye on them after 15 – 20 minutes.
Nutritional values are estimates only. See our full nutrition disclosure here.
FOLLOW TSV on Facebook, Instagram, Pinterest, Youtube, Subscribe (email), or RSS for more recipes and inspiration!

These turned out perfect! Thanks for the tip on facing them cut side down, worked like a charm.