
Homemade Baked Potato Chips (Rustic + Crispy)
So simple and healthy, it’s easy to make your own homemade baked potato chips that are rustic and crispy! And once you do, there’s no going back to the bag!
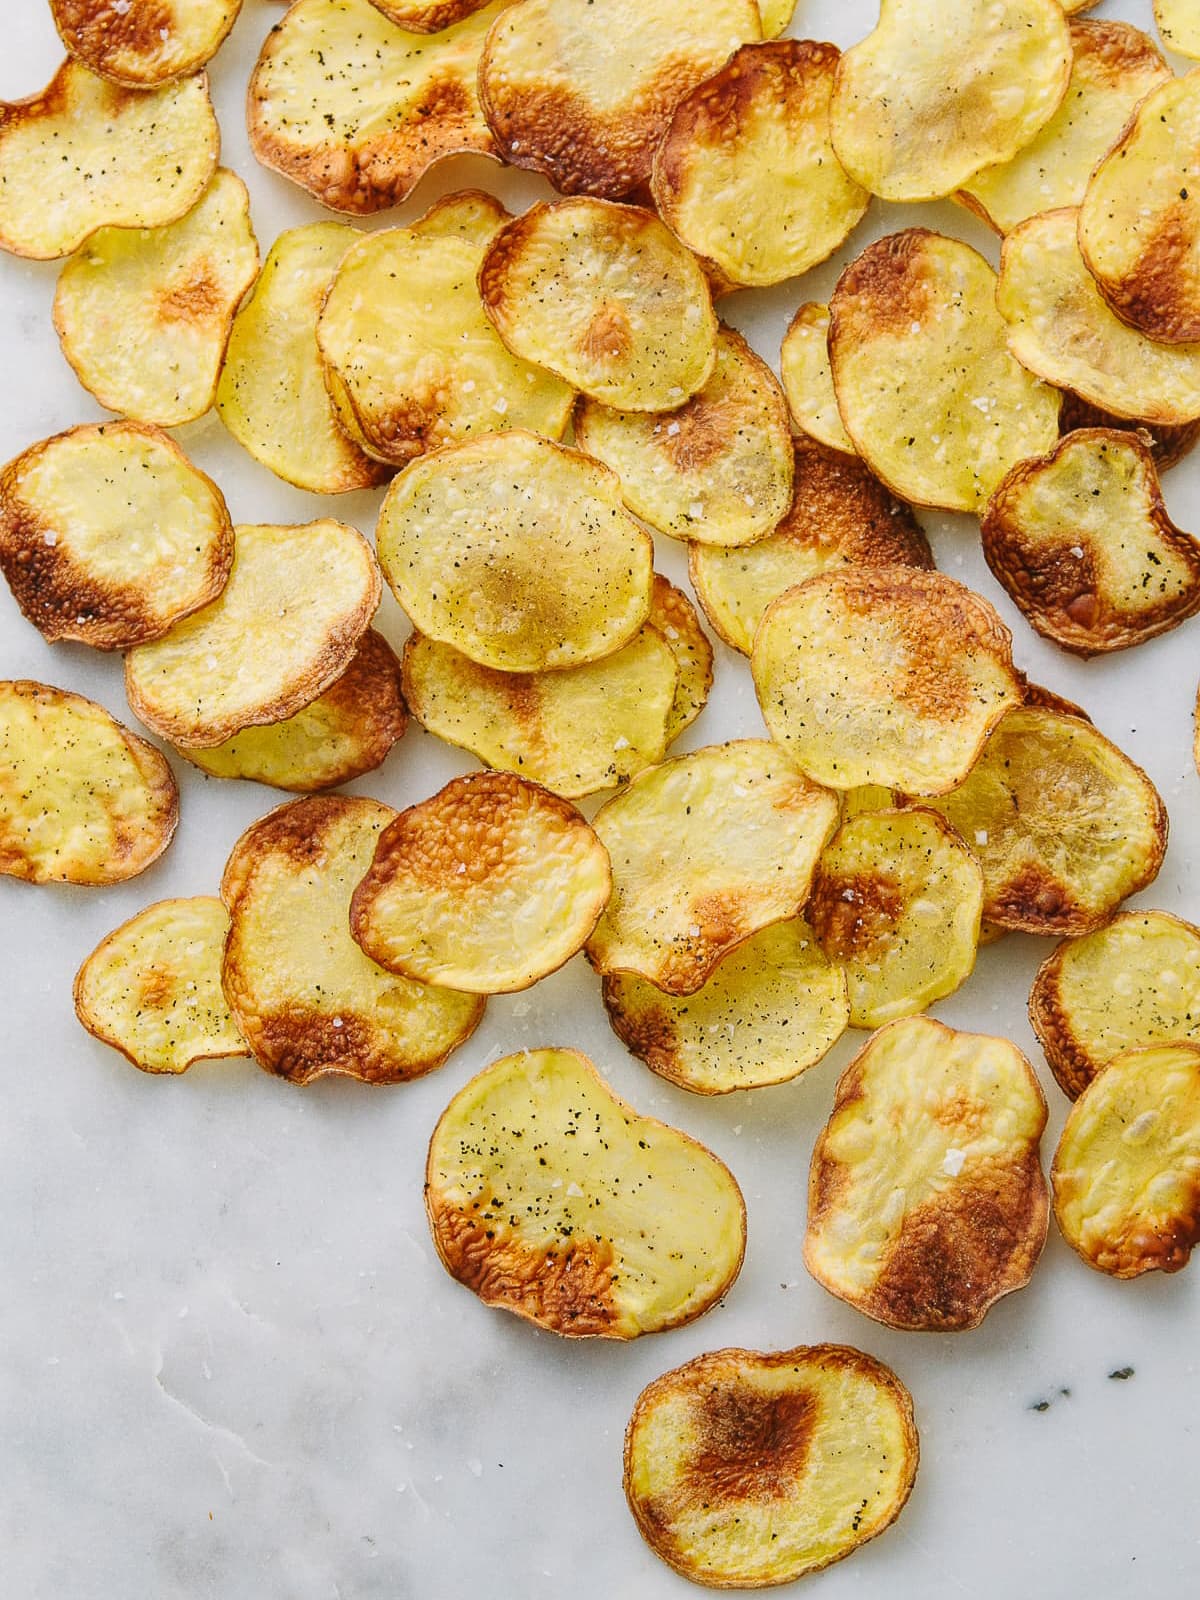
Once you go homemade – there is no turning back!
Forget the bag, this homemade baked potato chips recipe bakes up perfectly crispy and delicious. Plus, they are so much healthier than packaged potato chips since you control the amount of oil and salt!
Since starting my clean eating habits, I’ve dramatically altered my system, and it knows when something is processed and not as close to nature as it should be. It’s amazing how our bodies adjust and I much prefer these new habits and feel terrific.
I can finally enjoy potato chips again, and I know you’re going to love this recipe too. Cheers to good health and good eating!
These crispy baked potato chips make a great side to these Spicy Black Bean Burgers, Quinoa + White Bean Veggie Burgers, or this Summer Vegetable Sandwich.
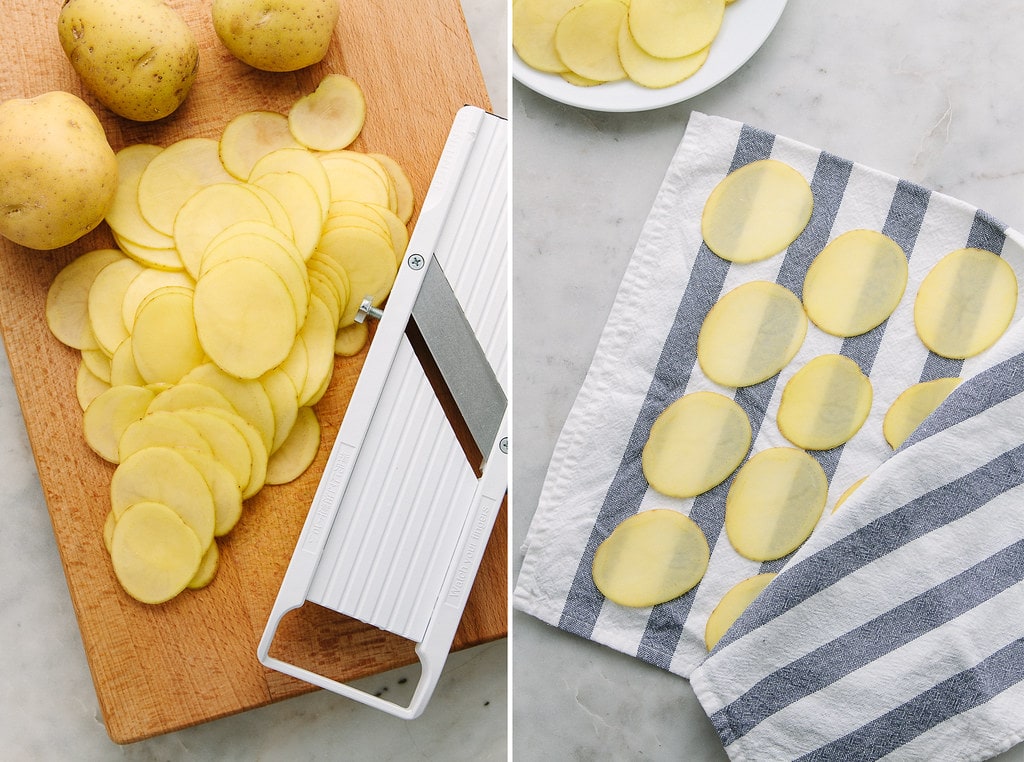
How To Make Crispy Baked Potato Chips
It’s easy to make homemade baked potato chips that are healthy with just a few simple steps.
- It starts with the right oven temperature. I’ve made oven baked potato chips with varying degrees, 375 – 450 F., and find that 400 – 425 is the sweet spot. Depending on where you live may affect what temperature you use. I would play around with both and see what works best for you.
- Prep the potatoes. Scrub the potatoes well and pat them dry with a paper or cloth towel.
- Thin is best when slicing. Thinly slice the the potatoes to about 1/16 of an inch. I wouldn’t slice them any larger than 1/8 inches. I used this mandoline (affiliate link) which made it a breeze and super easy, but if you’re good with a knife slice away.
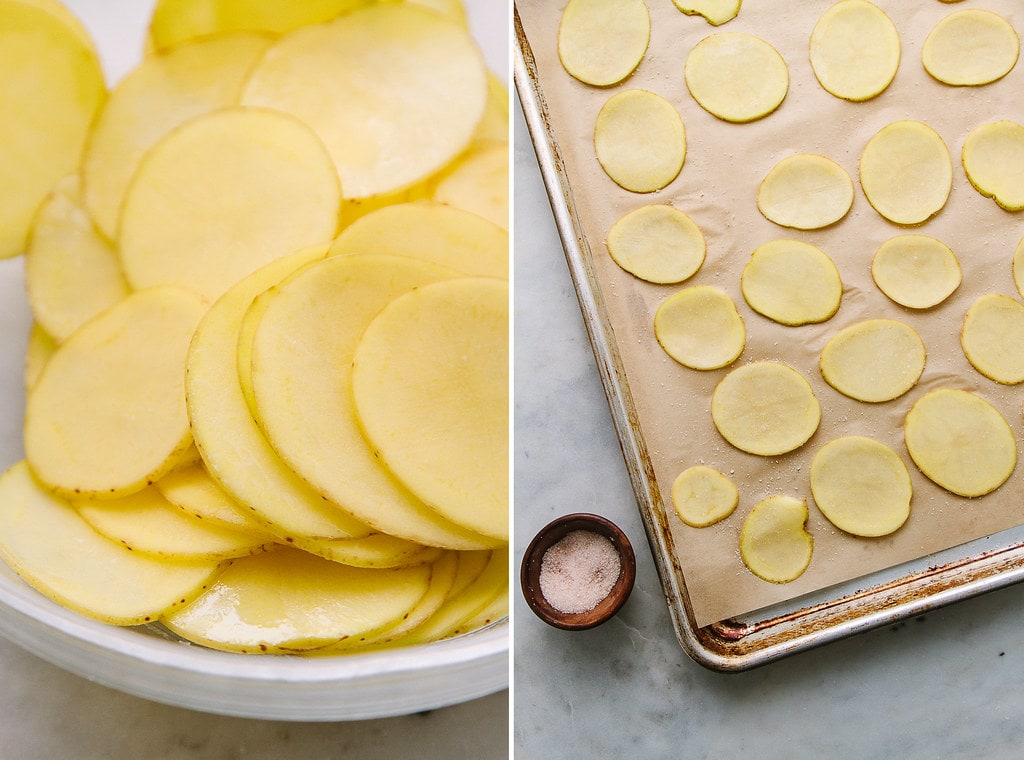
- Toss with a little olive oil. You can oil the potatoes by tossing them together in a bowl or oil them right on the baking sheet with basting brush. No need to use a lot of oil, just enough to lightly coat each slice.
- Layer on baking sheet. When layering the potatoes, be sure they have space between them so the heat has plenty of room to get all around each chip.
- Bake to perfection. Bake for 10 minutes, carefully remove from the oven, and using tongs, flip each one and bake for 7 – 8 minutes more. Be sure to keep an eye on them at the end as they will cook fast towards the end.
What Kind Of Seasoning Can I Use?
Just about any spice or herb you can think of will work, here are a few ideas:
- simple as salt & pepper
- paprika or old bay seasoning
- spiced up with some cayenne or chipotle powder
- maybe a little garlic salt or onion powder
- or any special blends you have
Maybe salt and rosemary will be my next batch!
How To Store Leftovers
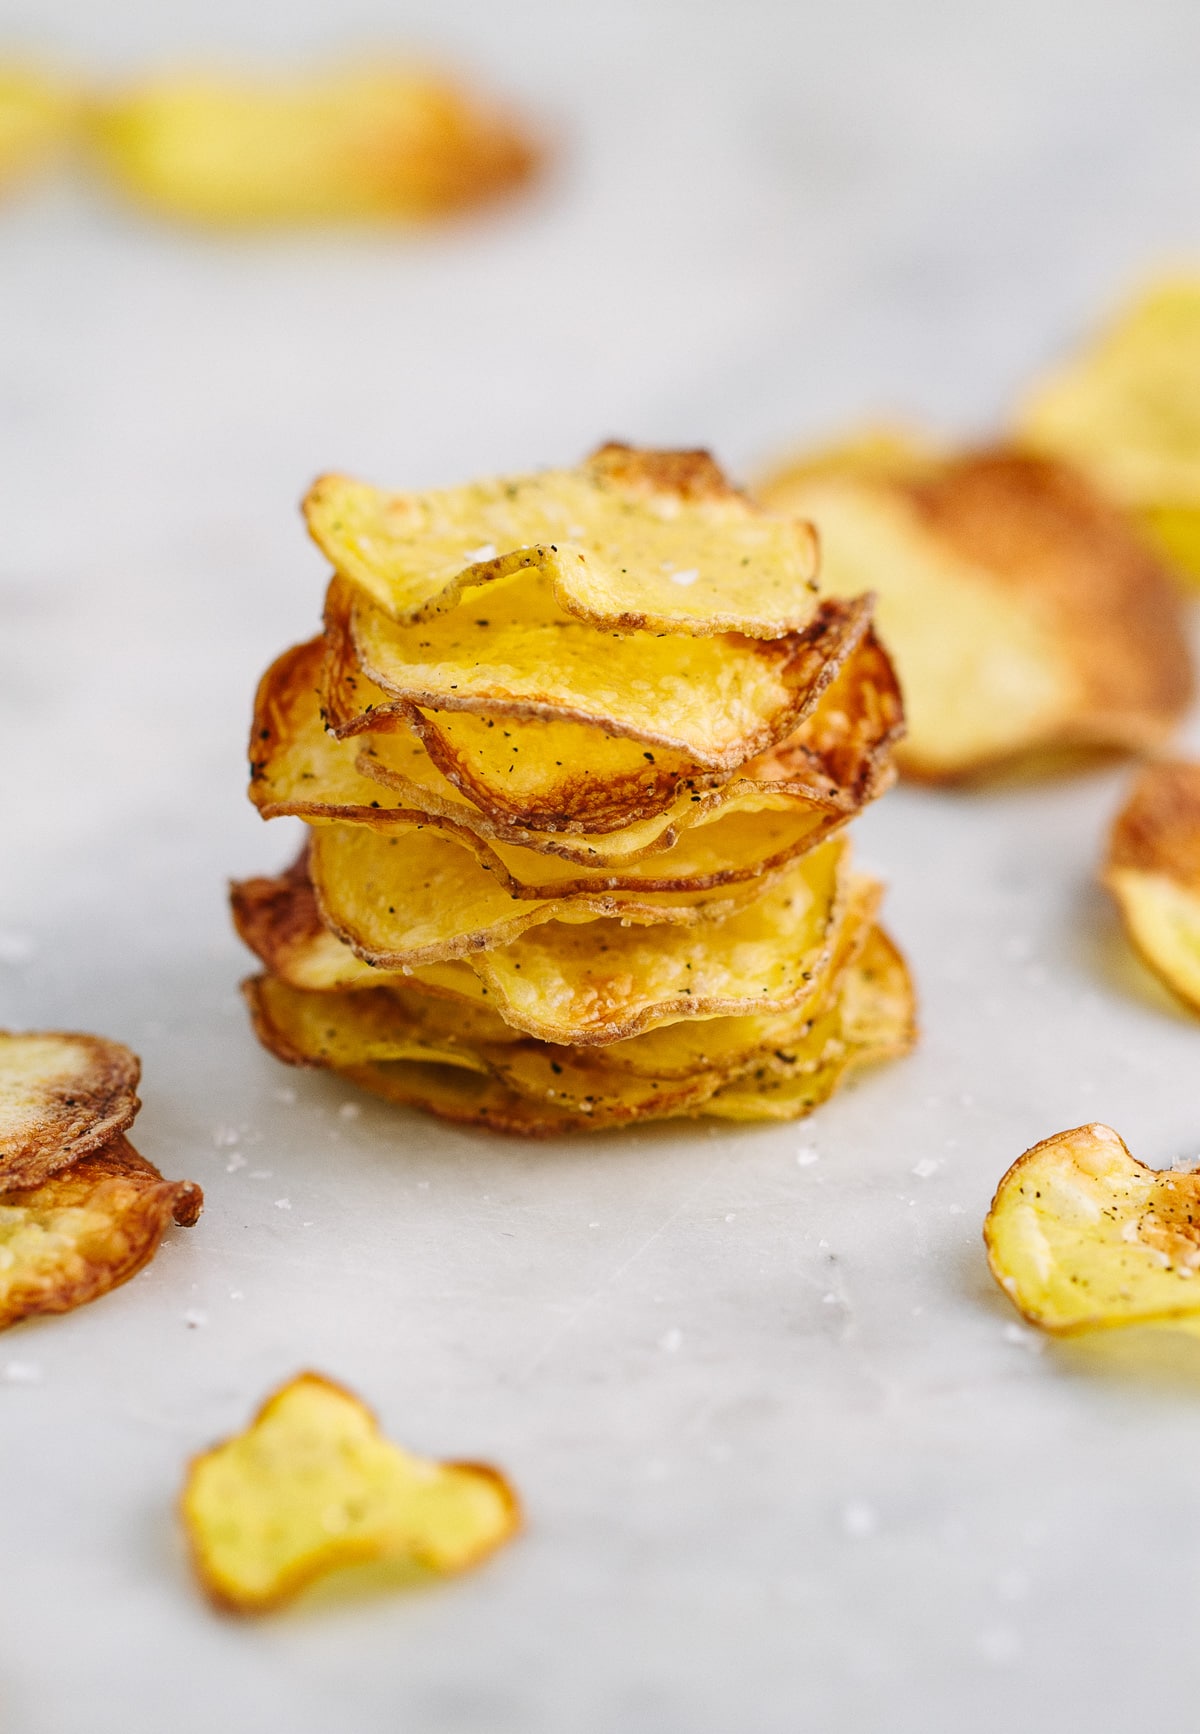
Baked potato chips are best eaten right away, but can be stored in a covered container for 1 – 2 weeks (just be sure to let them cool completely before storing).
Serving Suggestions
- Dip: Serve with this classic Vegan French Onion Dip.
- Burgers: Serve alongside Smoky Black Bean Burgers or Quinoa & White Bean Veggie Burgers.
- Sandwich: Serve with Grilled Hummus Salad with Sauteed Onions, Tomatoes & Arugula, Summer Vegetable Sandwich, or Spicy Carrot & Hummus Sandwich.
- Soup: Vegan Tomato Basil Soup, Hearty Vegan Lentil Soup or Vegetable Quinoa Soup.
More Easy Snack Recipes!
- Roasted Delicata Squash Fries
- Baked Sweet Potato Shoestring Fries
- Baked Sweet Potato Wedges
- Crispy Baked Kale Chips
If you try this baked potato chip recipe, please let me know! Leave a comment and rate it below. I love to hear what you think or any changes you make.
HOMEMADE BAKED POTATO CHIPS

So simple, healthy and easy to make, once you make your own crispy homemade baked potato chips, there’s no going back to the bag!
- Prep Time: 10 min
- Cook Time: 20 min
- Total Time: 30 minutes
- Yield: Serves 2
- Category: Snack
- Cuisine: Vegan
Ingredients
- 2 medium potatoes (I used gold)
- 2 tsp olive oil
- himalayan salt, to taste – go easy as they can get too salty
Instructions
Preheat the oven to 400 F. Prep a baking sheet with parchment paper or silicone mat.
Prep potatoes: Using a sharp knife, food processor attachment or mandolin, thinly slice the potatoes to about 1/16 of an inch. Pat the potatoes dry to remove excess moisture. Toss potatoes with oil and salt in medium size bowl (or you can go to the next step and lightly coat each side with oil while on the cookie sheet using a silicon brush – one less thing to wash this way, which was my way).
Roast: Place the potatoes in a single layer on the baking sheet and spread them out so they don’t touch each other. Place in the oven on the center rack and bake for 10 minutes. Carefully remove from the oven, turn each chip and bake another 7 – 9 minutes, keep an eye on them towards the end so they don’t overcook. Remove any that seem ready or about to burn completely. Once baked, remove from oven and let cool for 2 – 5 min.
Serves 2 – 4
Notes
The thicker you cut the potatoes, the longer it will take to cook. I recommend cutting them 1/16 for the best results. Any thicker and your results will vary.
Seasoning ideas:
- simple salt & pepper
- salt & rosemary
- salt & paprika
- salt & garlic powder or onion powder
- for spicy, cayanne or chipotle powder
- or any special blends you have
RECOMMENDED EQUIPMENT: I used these parchment liners and rimmed baking sheet. For slicing, this mandoline works great (affiliate links).
FOLLOW TSV on Facebook, Instagram, Pinterest, Youtube, Subscribe (email), or RSS for more recipes and inspiration!
Question – no water soak first?
No, we just pat them dry – but you can soak them in water first if you prefer. We tested both ways, and they turned out just as well without soaking the slices to remove starches before patting dry.
If using flavorings, when do you put them on the chips? Is it before they are cooked or after?
I sprinkle before cooking, adding with the salt. Enjoy the chips!
Was wondering if you could use sweet potatoes instead? Would the recipe need to be changed?
Yes, you can use sweet potatoes. They will cook the same amount of time. Enjoy!
Excited to make this. Looks super easy and quick to make. Plus it is surely healthier. Thank you for sharing this :)
Delicious recipe that’s super easy. Made it even easier by using oil spray. I spray the parchment with quick short spritzs, sprinkle a tiny bit of salt/seasonings, lay the potato slices on top and then lightly spray the slices and followed the recipe as above. Turned out great!
Works very well a delicious sack for after school.
Just made them! They turned out so good!
Thank you for the recipe. :)
Thank you for this recipe, I bet my hubby will love them & I will love the sweet potato fries you posted. Take care…
Thanks for the tip about experimenting with the oven temperature. I want to try making my own potato chips so I can season them how I like. I’ll have to buy some seasoning, but I’ll definitely have to try out this recipe soon!
It really looks delicious ! I know my boyfriend would be very, very happy if I would make these…they are tempting
They are really good Lysa, I like to make some veggies burgers and serve these along side. Just be sure to add salt little at a time, mine were pretty salty. Hope you get a chance to make them soon…